

Quick Takeaways
- Harvest Stage: Sprouts are consumed whole (seed, root, and shoot) after 3–7 days; microgreens are harvested above the growing medium at the cotyledon or first true leaf stage after 7–21 days.
- Equipment & Light: Sprouts require no soil and no supplemental light during germination (growing in mason jars); microgreens require growing media (soil/coco coir) and moderate to strong light.
- Food Safety: Sprouts have a higher food-safety risk because contaminated seeds can introduce pathogens that multiply rapidly during warm, moist germination. Microgreens also carry contamination risks, although their growing conditions differ.
Microgreens vs. Sprouts: What’s the Difference?
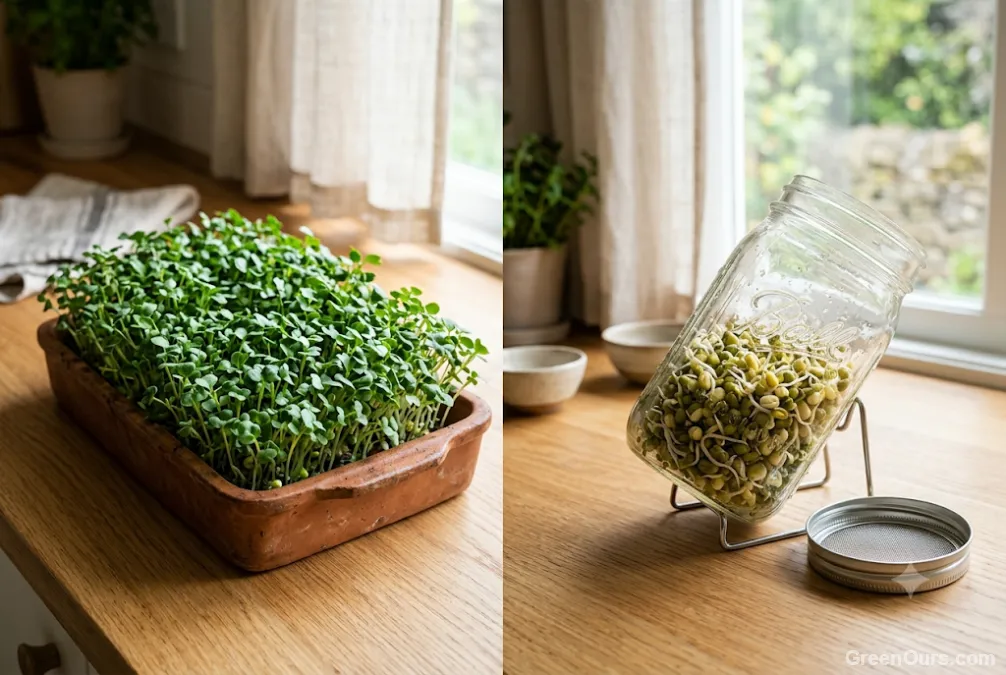
The primary difference between sprouts and microgreens lies in their stage of plant development, how they are grown, and which parts of the plant you actually eat.
Sprouts are germinated seeds harvested very early in their lifecycle—typically within 3 to 7 days. Because they are grown in water inside dark or low-light containers, the entire structure is consumed, including the seed coat, rootlet, and tiny pale shoot. They provide a crisp, refreshing, and mild or bean-like flavor commonly added to sandwiches and salads.
Microgreens, by contrast, are young seedling greens grown in a solid substrate (such as potting mix, coco coir, or hemp mats) under light for 7 to 21 days. Once they develop fully expanded seed leaves (cotyledons) or their first pair of true leaves, they are clipped right above the substrate line. Only the stem and leaves are eaten; the roots and growing medium are discarded. Their flavors are far more intense and varied, ranging from peppery (radish) and earthy (beet) to mildly sweet.
Microgreens vs. Sprouts: Quick Comparison
Use this two-column summary to quickly compare core growing requirements and characteristics before setting up your indoor harvest.
| Feature | Sprouts | Microgreens |
|---|---|---|
| Growing Medium | Water only (no soil or substrate) | Soil, coco coir, or fiber mats |
| Growing Container | Glass jar with mesh lid or tray sprouter | Shallow 1020 or seed-starting trays |
| Light Requirement | No supplemental light required during germination; some growers provide light near harvest. | Moderate to strong ambient/grow light |
| Harvest Time | 3 to 7 days | 7 to 21 days (crop dependent) |
| Maintenance Frequency | At least twice daily; follow seed supplier instructions | Requires moisture monitoring, bottom watering, and airflow control |
| Edible Parts | Whole plant (seed, root, stem) | Stems and leaves only (roots and substrate discarded) |
| Primary Risks | Bacterial multiplication from contaminated seeds | Contamination and mold or damping-off from unsuitable growing conditions |
Which Is More Nutritious?
It is common to hear claims that one crop is a clear "superfood" winner over the other. However, scientific reviews show that nutrient composition varies widely depending on the specific crop variety, cultivar, growing conditions, and harvest stage rather than a blanket category winner.
Nutrient Concentration vs. Total Harvest Weight
When comparing nutrition, it helps to look at how each crop develops:
- Sprouts: Germination triggers metabolic changes that mobilize stored seed nutrients, altering vitamin and mineral profiles as the seed begins to sprout. Because sprouts are commonly eaten whole, including the seed, they retain more of the original seed structure in the harvested food. However, actual nutrient availability varies with seed type and germination conditions.
- Microgreens: As the young plant grows under light and initiates photosynthesis, it synthesizes secondary metabolites, polyphenols, carotenoids, and vitamins. Research has found that certain microgreens, including red cabbage, can contain notable concentrations of vitamin C, carotenoids, and polyphenols compared to mature leaves. Nutrient levels vary with growing conditions and harvest stage.
Key Takeaway: Rather than picking one as universally superior, vary your intake. Different crops offer different chemical profiles, and results depend entirely on what specific plants are being compared.
How to Grow Sprouts at Home
Sprouting is one of the fastest culinary projects you can undertake indoors, requiring minimal equipment and no sunshine. Important safety note: Rinsing and draining reduce the opportunity for bacterial growth but cannot eliminate pathogens already present inside contaminated seeds. Raw sprouts carry an inherent food-safety risk even when grown carefully at home.
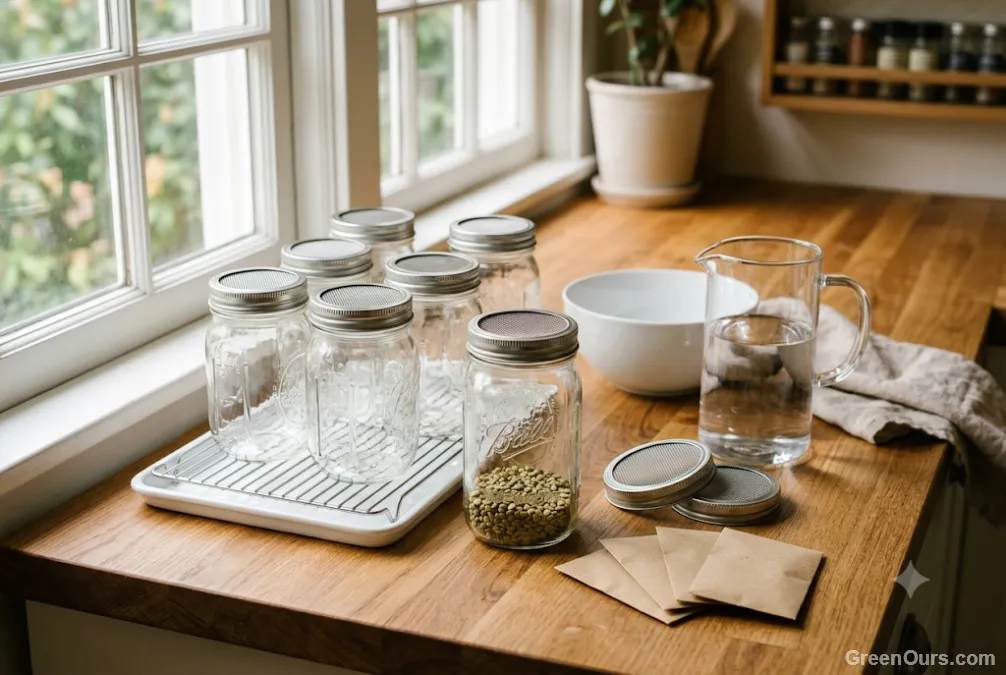
- Source Sprouting-Grade Seeds: Purchase seeds explicitly labeled and tested for sprouting. Standard garden seed packets may carry chemical treatments or lack pathogen testing. For a first batch, try 1 to 2 tablespoons of easy-sprouting seeds like mung beans or alfalfa.
- Initial Soak: Place your measured seeds in a sanitized glass jar, cover with cool tap water, and soak. Note: Soaking time and rinsing frequency vary by seed type (e.g., hard seeds like mung beans benefit from an 8–12 hour overnight soak, while smaller seeds may require less), so follow supplier instructions when available.
- Rinse and Drain: Attach a stainless steel mesh screen lid. Drain the soak water completely. Refill with fresh cool water, swirl, and drain thoroughly.
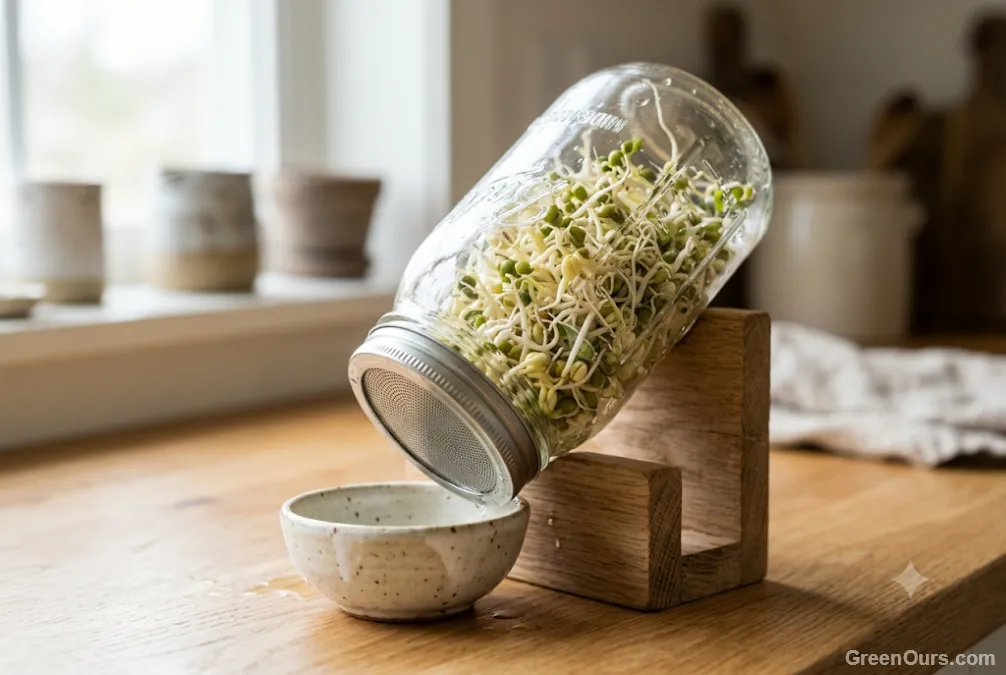
- Invert for Airflow: Prop the jar upside down at a 45-degree angle in a drying rack or bowl so excess water drains out completely. Store in a room-temperature area out of direct sunlight.
- Repeat Twice Daily: Rinse and thoroughly drain the sprouts at least twice per day (morning and evening) until roots and tiny shoots form (3–6 days).
- Harvest, Dry, and Store: Wash sprouts one last time, drain thoroughly, and spin or paper-towel dry. Refrigerate sprouts promptly at 40°F (4°C) or below and consume them as soon as practical as an approximate quality window rather than a safety guarantee. Storage life depends on initial freshness, cleanliness, and temperature. Discard questionable produce immediately, but remember that harmful bacteria may be present without noticeable changes in smell or appearance.
How to Grow Microgreens at Home
Microgreens take slightly longer and require a growing substrate. Their growing conditions generally present less favorable opportunities for rapid pathogen multiplication than jar sprouting, but contaminated seeds, growing media, water, and handling can still introduce foodborne pathogens.
- Prepare Your Tray: Fill a shallow tray with 1 to 2 inches of moist potting mix, fine coco coir, or a pre-soaked hydroponic hemp mat. Beginners can use ordinary clean, food-safe containers with suitable drainage if specialized trays are unavailable. Lightly press the surface flat.
- Sow Seeds: Scatter seed density according to crop type (e.g., dense seeding for brassicas like broccoli or radish; spaced slightly wider for larger seeds like peas). Mist the surface lightly with water.
- Blackout Phase: Cover the sown tray with a second inverted tray or cardboard lid. Blackout duration depends on the crop; some varieties can be uncovered as soon as seedlings germinate and begin lifting the cover, while others benefit from 3 to 5 days in darkness. Some large seeds benefit from a light weight to root downward.
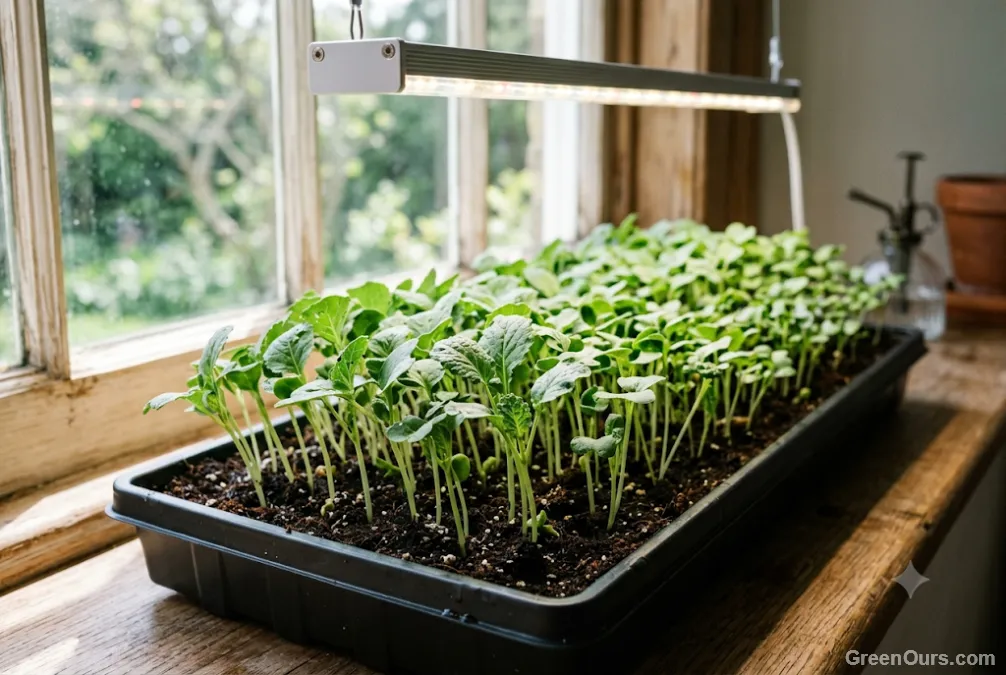
- Expose to Light: Once seedlings germinate and push up the cover, remove the blackout lid and place the tray under a sunny windowsill or LED grow light for 12–16 hours daily.
- Bottom Water & Airflow: Water by pouring liquid into a bottom catch tray rather than spraying tops. Maintain good air circulation, using a small fan if necessary, to discourage fungal growth and damping-off, avoiding persistently wet foliage.
- Harvest and Store: When cotyledons are vibrant and green (or when true leaves begin to emerge, depending on the crop), clip stems cleanly just above the substrate line using clean kitchen shears. Rinsing under running water helps remove surface debris and some microorganisms, but it does not make contaminated produce safe. Pat dry and store in a clean container in the refrigerator as an approximate quality window (typically 5 to 7 days), emphasizing clean handling and prompt consumption. This is an approximate quality window, not a food-safety guarantee. Storage life depends on initial freshness, moisture, handling, and refrigerator temperature.
Food Safety: What Home Growers Need to Know
Food safety is a central consideration when choosing between these two crops. Because sprouts are grown in warm, humid, enclosed environments without sunlight or soil competition, they create ideal conditions for bacterial growth if pathogens are present.
Understanding Sprout Safety Risks
According to safety guidelines from the FDA and public health agencies, the primary source of contamination in sprouts is the seed itself. Pathogens like Salmonella, E. coli, or Listeria can hide inside seed coat crevices where household rinsing cannot reach them. During the warm germination phase, these bacteria can multiply rapidly under favorable warm, moist conditions.
- Risk Reduction vs. Elimination: Using sprouting-grade seeds, clean equipment, potable water, thorough draining, and prompt refrigeration reduces risk, but it cannot guarantee pathogen-free raw sprouts.
- Vulnerable Groups: Children under five, adults aged 65 and older, pregnant individuals, and people with weakened immune systems should avoid consuming raw or lightly cooked sprouts. Thorough cooking significantly reduces this risk.
Understanding Microgreens Safety
Microgreens are generally grown in ventilated trays rather than the warm, enclosed, continuously moist conditions used for jar sprouting. However, growing media can remain moist and contamination is still possible through seed stock, water, or handling. Use clean growing media, potable water, sanitized trays, and clean harvesting tools, and wash harvested greens under running water before eating.
Which Is Better for Beginners in Small Spaces?
If counter space and apartment constraints dictate your gardening choices, evaluate these practical lifestyle factors:
- Counter Space & Gear: Sprouts win on sheer compactness, easily fitting into tight spaces like a dish rack or small counter corner. Microgreens offer a more conventional leafy-green harvest but need horizontal growing space for trays and separate catch trays.
- Light & Utilities: Sprouts require zero supplemental lighting or sunny windowsills, making them ideal for dark apartments. Microgreens need bright ambient light or a desktop LED grow light to prevent leggy, weak stems.
- Cleanup & Waste: Microgreens generate spent root mass and growing substrate that must be composted or disposed of. Sprouts leave no media waste—just a glass jar to wash. However, neglected sprout jars can sour quickly if rinsing routines lapse.
What Equipment Do You Actually Need?
You do not need expensive commercial setups to start harvesting greens indoors. Beginners can start simply:
Essential Sprouting Gear
- Wide-mouth quart glass mason jar (view recommended sprouting jars)
- Stainless steel mesh sprouting lid
- Sprouting-certified seeds (such as mung bean or alfalfa)
Essential Microgreen Gear
- Shallow tray with drainage holes plus a solid catch tray (view recommended microgreen trays)
- Potting soil, coconut coir, or hemp fiber mats
- Kitchen shears for clean stem harvesting
- Bright windowsill or small LED grow lamp
Which Should You Grow?
Rather than declaring one crop universally better, select the option that aligns with your daily routine and space:
- Choose Sprouts If: You have low natural light, want a harvest in under a week, prefer zero substrate cleanup, and are comfortable with the inherent food-safety precautions required for raw sprouts.
- Choose Microgreens If: You want colorful leafy salad toppers, enjoy bold flavors like radish or mustard, prefer a lower-risk growing environment, and have space for a shallow tray under light.
Quick Decision Guide
Want fast, crunchy salad toppers with minimal gear? Grow Sprouts. Want vibrant, flavorful mini-greens with lower pathogen risk? Grow Microgreens.
FAQs
Can you grow microgreens in a sprouting jar?
No. Microgreens require light, airflow, and flat surface area to expand their leaves above a substrate. Trying to grow microgreens in a sealed jar results in tangled, yellow, water-logged stems prone to rot.
Do microgreens regrow after cutting?
Most microgreens (like radish, broccoli, and mustard) do not regrow after being clipped because their main growing tips are removed during harvest. Certain pea shoot and sunflower varieties may yield a small second flush if cut above the lowest node.
Are regular garden seeds safe for sprouting or microgreens?
Seeds intended for microgreens and seeds intended for sprouts have different handling and food-safety requirements. Sprouting-grade seeds are especially important because the warm, moist germination environment supports rapid bacterial multiplication. Standard garden seeds intended for field planting may be treated with chemical fungicides or pesticides and are generally not tested for foodborne pathogens. Always use untreated seeds specifically sold for edible growing, and prioritize sprouting-grade seeds tested for foodborne pathogens when growing sprouts.
How long do harvested sprouts and microgreens last in the fridge?
Properly dried sprouts stored in a sealed container usually last 3 to 5 days as an approximate quality window. Harvested microgreens wrapped loosely in a paper towel inside a sealed container typically keep for 5 to 7 days in the refrigerator under proper cold storage conditions. Always inspect produce before eating and discard any items showing signs of spoilage or decay. These are quality estimates, not food-safety guarantees; remember that harmful bacteria can be present without noticeable changes in smell or appearance.