Before You Buy: Your Quick Balcony Assessment
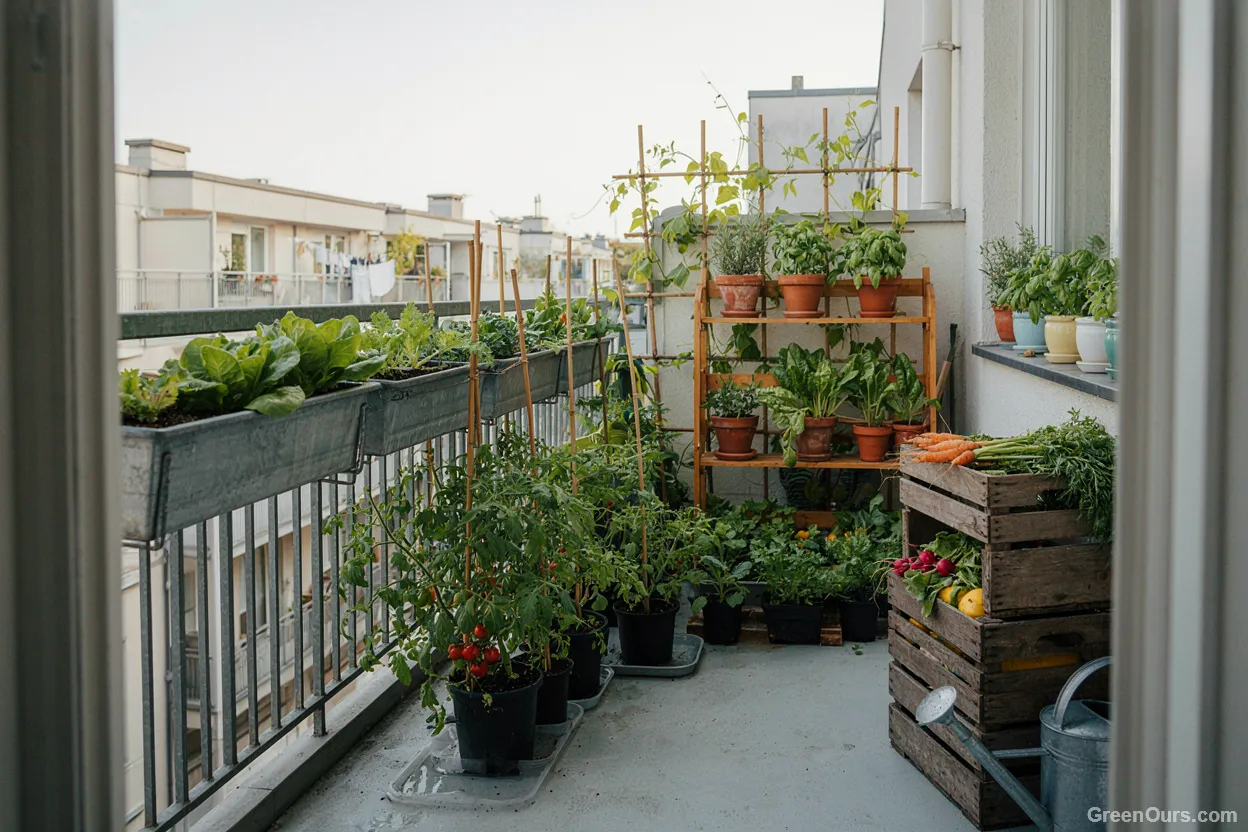
Before heading to the garden center, take five minutes to assess your balcony's actual growing conditions. Every balcony has unique physical characteristics that influence plant survival.
- Sunlight Hours: Watch where direct light falls at 9:00 AM, 1:00 PM, and 5:00 PM. Note whether you get full sun (6+ hours) or partial shade (3 to 5 hours).
- Wind Exposure: Higher floor levels and open railings experience higher wind speeds that dry out small containers rapidly.
- Floor & Railing Space: Measure available floor corners and railing space, ensuring walkways and emergency exits remain completely unobstructed.
- Water Access: Identify your water source. If you don't have an outdoor hose spigot, ensure your watering can fits comfortably under your kitchen sink faucet.
The single biggest beginner mistake isn't choosing the wrong herb—it's buying too many at once. Start with three or four varieties you'll actually use in the kitchen.
Why Herbs Are the Ideal Beginner Crop
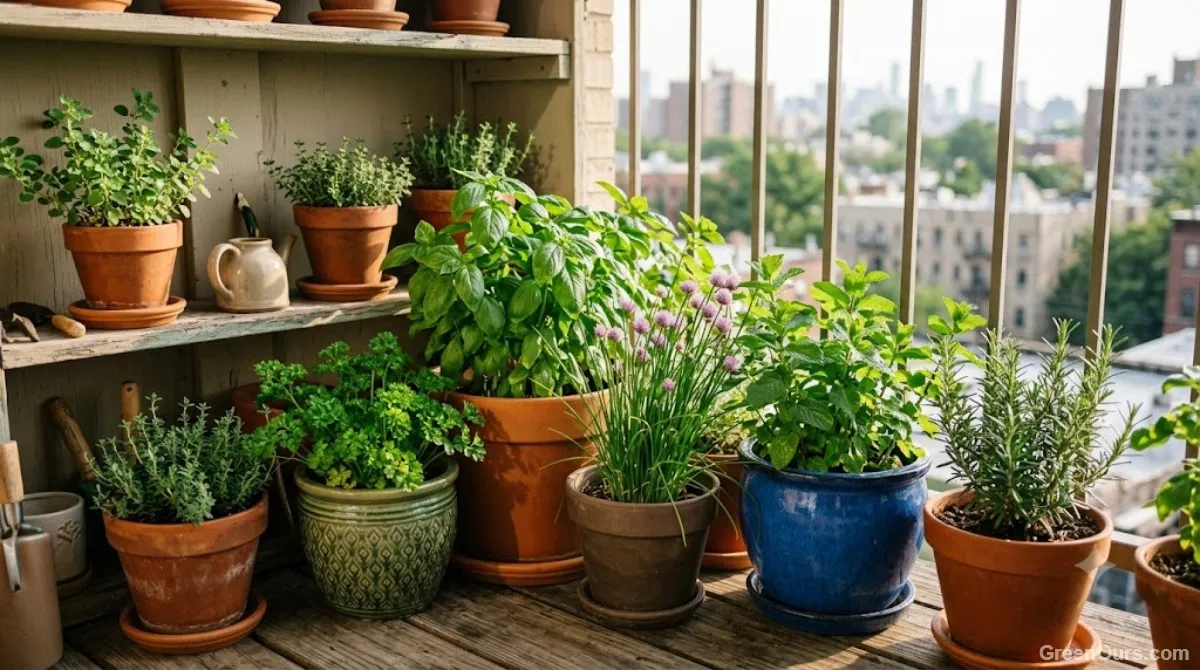
Herbs are forgiving in a way that fruiting vegetables often aren't. Most tolerate a missed watering, grow comfortably in modest-sized containers, and reward you quickly—many are ready to harvest within weeks rather than months. Herbs allow you to build confidence while learning your balcony's light and heat patterns.
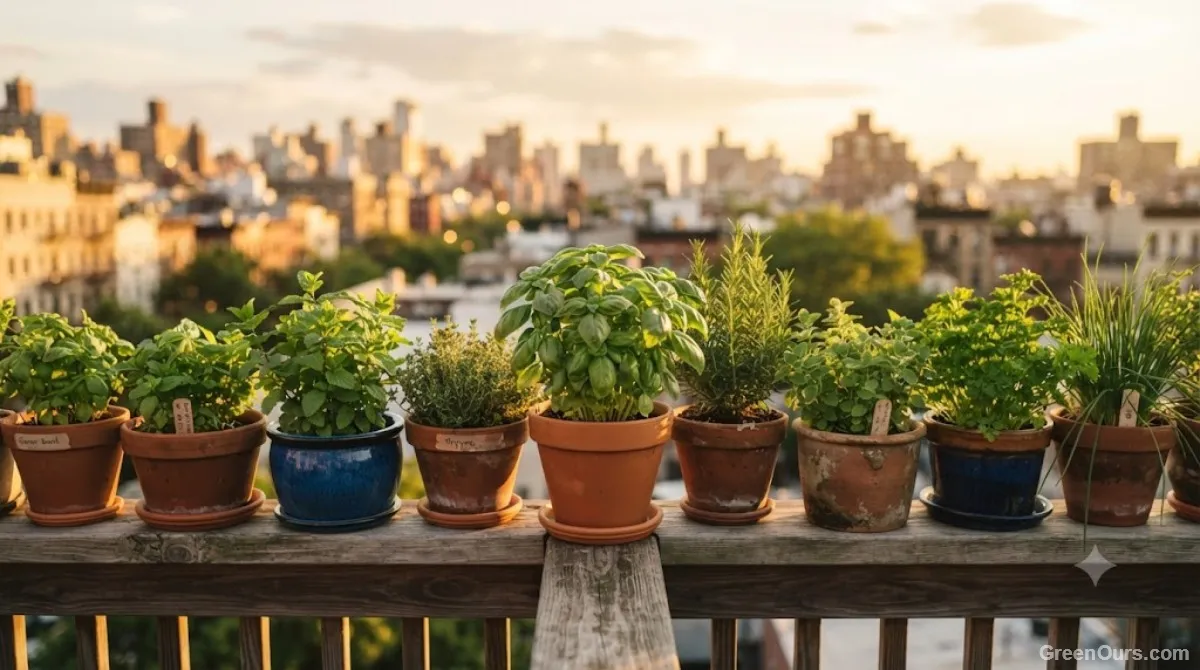
Take basil as an example: a single pot on a sunny ledge keeps producing fresh leaves for months. Chives are another quick win—snip them with kitchen scissors right at soil level, and they grow back within two weeks, making them almost impossible to overharvest by accident.
Essential Supplies: Keep the Shopping List Short
Avoid long, expensive equipment lists. To start a working setup, you only need four basic items:
- 3 to 4 Pots: Choose containers at least 6 to 8 inches deep with bottom drainage holes.
- Bagged Potting Mix: Never use ground garden soil, which compacts into heavy, cement-like mud in containers. Choose a lightweight mix containing perlite or coir.
- Watering Can & Saucers: A small watering can and drainage saucers beneath each pot protect your balcony floor from runoff stains.
- Nursery Starts: Beginning with young nursery plants rather than seeds provides immediate results and higher success rates for first-timers.
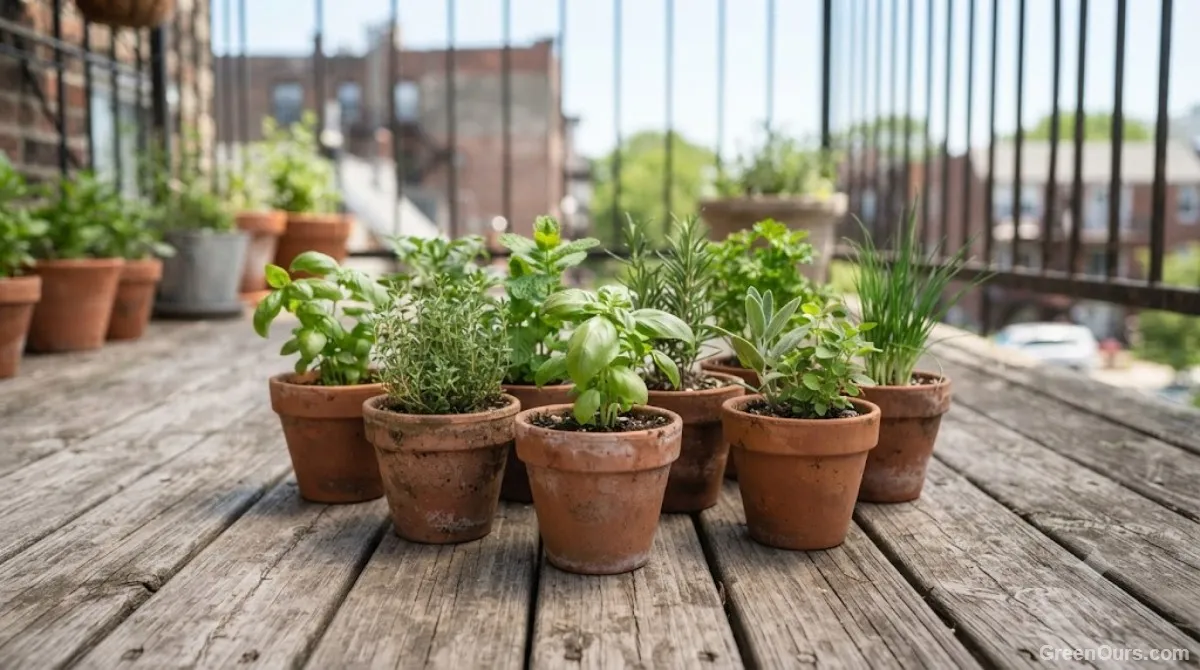
Choosing Your Starter Herbs: 3 Beginner Scenarios
Match your initial herb selection to your lifestyle and balcony light rather than buying purely on impulse.
Scenario 1: Sunny & Busy (6+ Hours Sun, Low Maintenance)
If your balcony gets intense sun and you travel frequently or forget to water, pick Mediterranean herbs: Rosemary, Thyme, and Oregano. Their tough, needle-like or waxy leaves conserve moisture and thrive in dry soil.
Scenario 2: Partial Shade (3 to 5 Hours Light)
If surrounding buildings block direct sun, choose shade-tolerant herbs: Parsley, Chives, and Mint. Parsley grows steadily without bolting easily, while mint flourishes in lower light (always plant mint in its own separate pot to contain its aggressive roots).
Scenario 3: Compact Railing Setup (Maximum Utility, Minimal Footprint)
For narrow balconies with zero floor space, pick high-yield culinary staples: Basil, Chives, and Flat-Leaf Parsley in shallow railing boxes.
Step-by-Step Planting & Setup Guide
Step 1: Fill and Plant
Fill each pot with potting mix to about an inch below the rim. Gently loosen the root ball of your nursery start, nestle it into the soil, and firm the mix around the base without packing it down hard. Herbs need loose soil so their roots can breathe.
Step 2: Water Thoroughly
Water each newly planted pot until excess water streams out of the bottom drainage holes. Let the pot drain completely before resting it on its saucer.
Step 3: Establish a Fixed Location
Resist moving pots around looking for the perfect spot every afternoon. Herbs adapt far better to a consistent light routine than to constant relocation. Give plants at least two weeks in one spot before deciding if they need more or less sun.
First-Month Maintenance & Basic Troubleshooting
During weeks one and two, plants focus on expanding root systems underwater and above-ground growth may appear slow. By week three, fresh leaves will emerge rapidly.
The Finger Test for Watering
Before watering, insert your index finger an inch into the soil. If it feels cool and damp, delay watering for another day. If dry, water thoroughly at the plant base.
Quick Troubleshooting Guide
| Symptom | Likely Cause | Easy Fix |
|---|---|---|
| Yellowing lower leaves | Overwatering / soggy soil | Allow soil to dry out further between waterings; verify drainage hole is clear. |
| Leggy, tall, spindly growth | Insufficient light | Move container to a brighter spot on your balcony. |
| Pinch of tiny green bugs | Aphids | Spray off bugs with a strong stream of water every two days. |
| White powdery film on foliage | Powdery mildew / poor airflow | Space pots a few inches apart to improve air circulation. |
Ready to build on this with more small-space growing ideas?