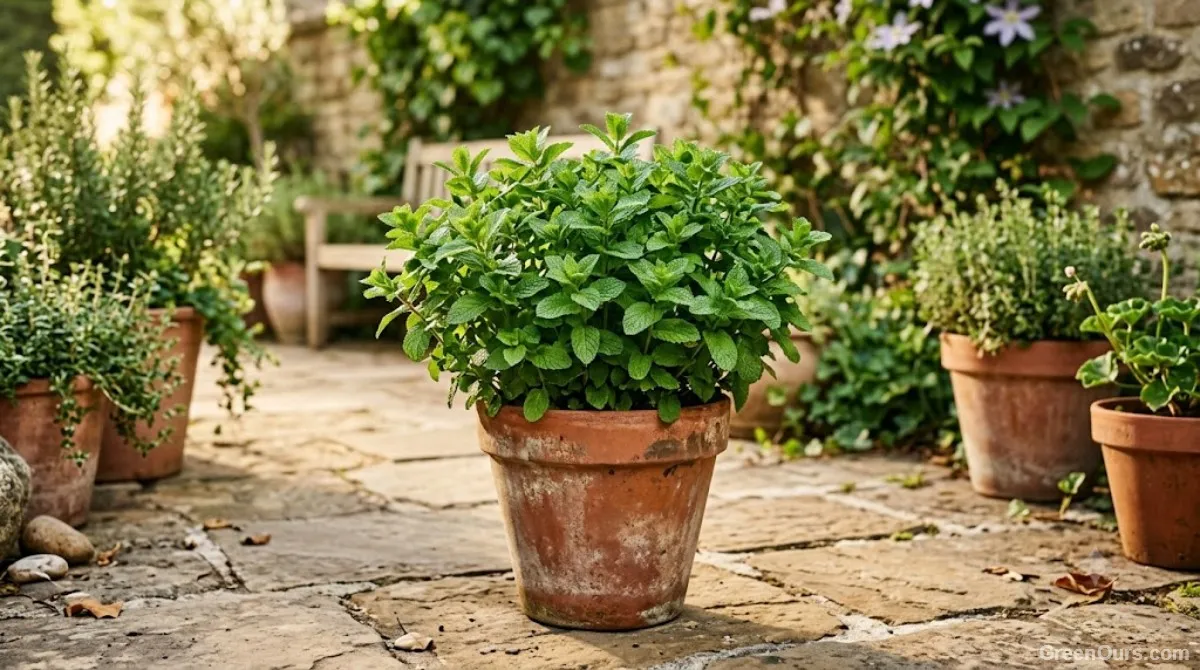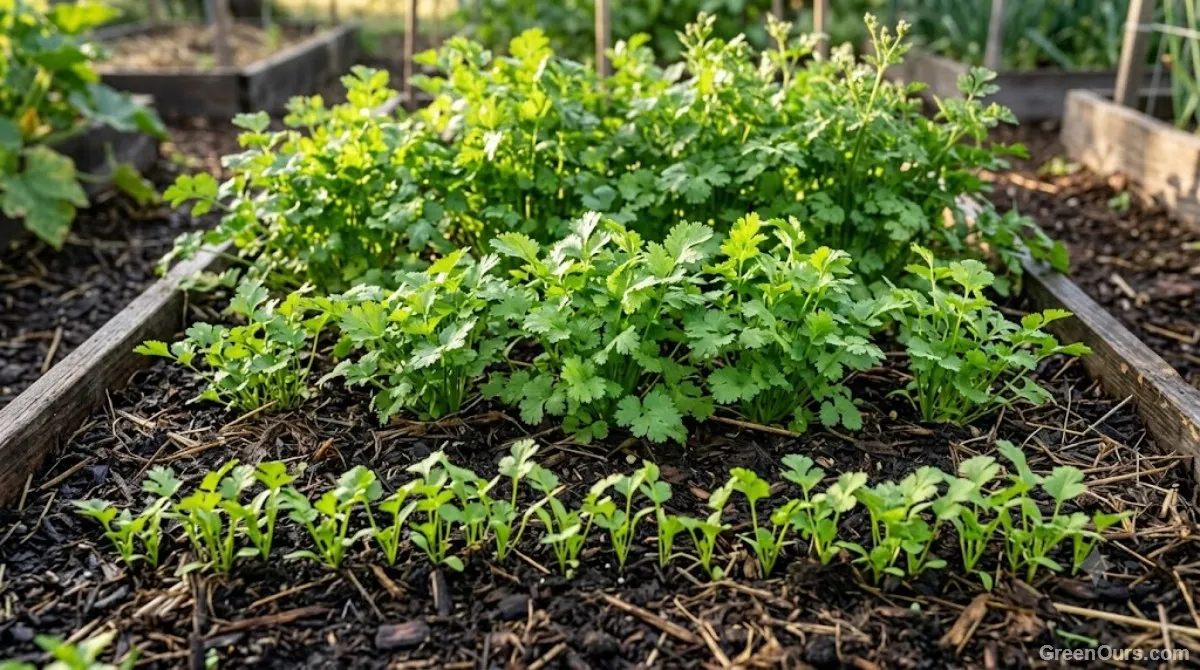
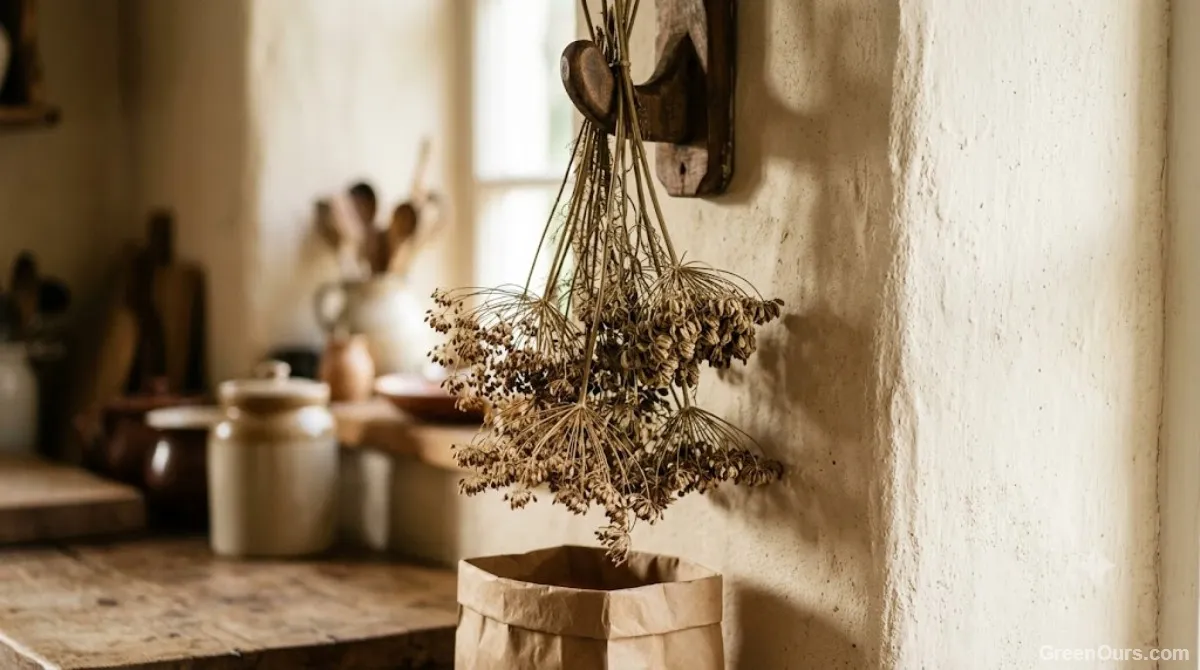
Knowing When Your Herbs Are Ready to Give Up Their Seeds
You'll notice the shift before you even think about seeds. The flowers fade, the plant stops putting energy into new growth, and everything above the soil starts turning brittle and pale. That's your cue. Herb seeds need to fully mature and dry out on the plant itself — pulling them too soon almost always means they won't sprout, no matter how carefully you store them afterward.
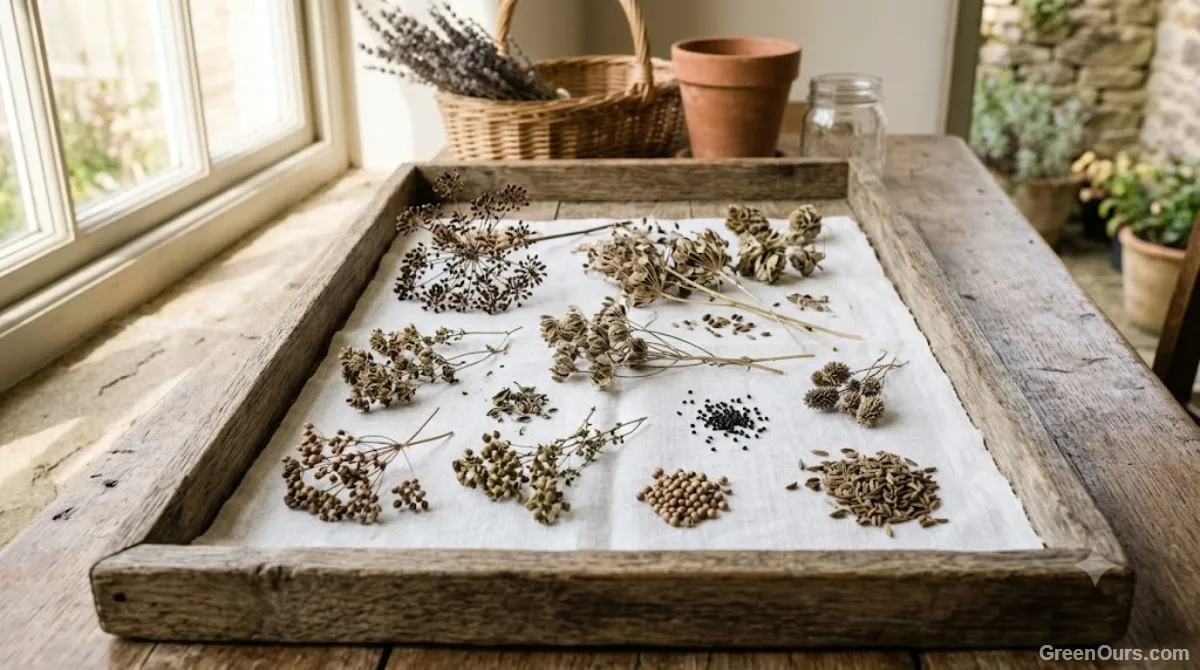
For basil, you're looking for the flower spikes to turn brown and papery, with tiny black seeds visible if you gently squeeze the base of the dried flower. Dill and fennel seeds go from green to a tan or light brown, and the flat little seed clusters will feel dry and slightly rough rather than soft. Coriander seeds start out green and fragrant, but the ones worth saving are the round, tan-colored seeds that rattle a bit when you shake the seed head.
Weather plays a role too. Seeds harvested right after a rain or during a stretch of humid days won't be truly dry, even if they look ready at first glance. Give the plants a few sunny, dry days before you head out with your basket — it makes the whole process faster and lowers the risk of mold showing up later in storage.
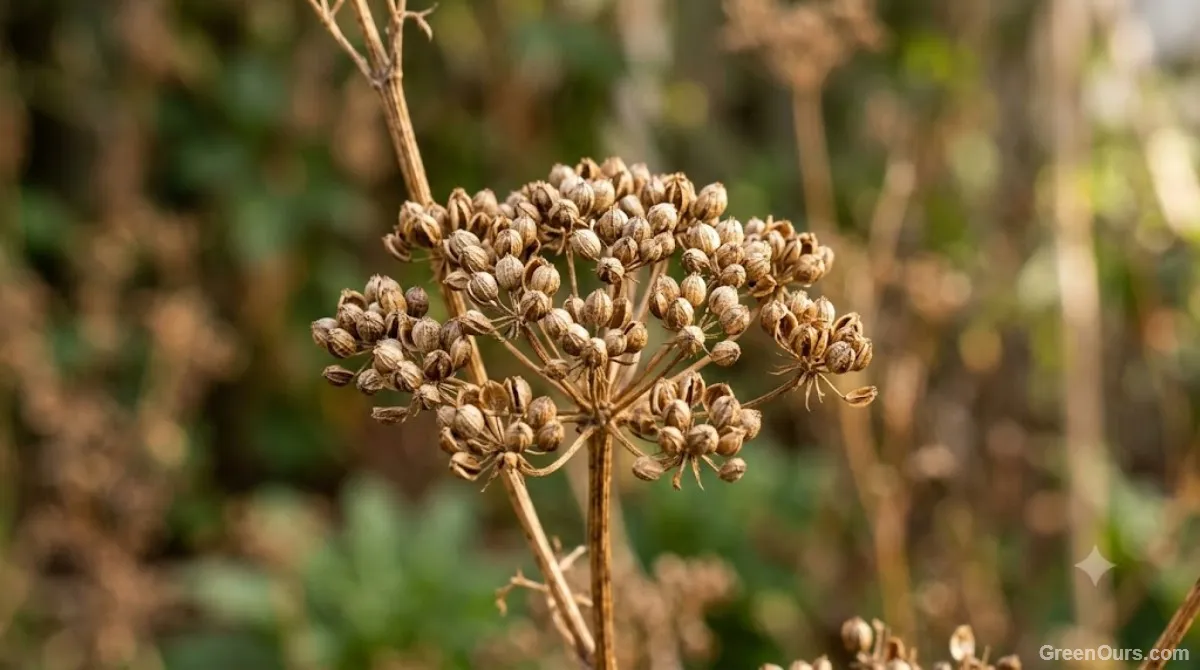
How to Collect Seeds Without Losing Half of Them to the Wind
Once a seed head is ready, timing matters more than technique. The easiest approach is to cut the whole stem in the morning, after the dew has dried but before the afternoon heat causes the seed pods to split open on their own. Carry a paper bag or a shallow basket with you — dropping loose seed heads straight into your hand means you'll lose more than you keep.
For herbs with tiny, loosely held seeds like basil or dill, slip a paper bag over the entire seed head before you cut the stem, then snip below the bag. Turn the whole bundle upside down and let gravity do the work for you as the stems dry. This one habit alone will save you from the frustration of watching a week's worth of seeds scatter across your patio in a single gust.
If you're growing more than one variety of the same herb — say, two kinds of basil — keep some distance between them while they're flowering, or expect some cross-pollination in next year's seedlings. That's not necessarily a problem if you don't mind a little variation, but it's good to know before you save seed from a patch where different varieties have been blooming side by side.
Drying Herb Seeds the Right Way
Even seeds that look dry on the plant usually carry more moisture than you'd expect. Skipping this step is the single most common reason home-saved seeds fail to germinate the following year.
Basil
Spread the seed heads on a paper towel or shallow tray in a spot with good airflow, out of direct sun. After a few days, rub the dried flower spikes between your palms to release the tiny black seeds, then separate them from the chaff by gently blowing across the tray.
Dill and Coriander
Leave the paper bags you used during harvest hanging in a dry, ventilated space for one to two weeks. The seed heads will finish drying and naturally drop most of their seeds into the bottom of the bag on their own.
Fennel
Fennel seeds behave much like dill. Once fully dry, roll the seed clusters gently between your fingers over a bowl to loosen the seeds, then pick out any remaining stem fragments by hand.
However you dry them, resist the urge to rush the process with heat from an oven or a dehydrator. High heat can damage a seed's ability to germinate even when everything looks fine on the outside. Patience and airflow do the job just as well — they just take longer, usually one to two weeks depending on the humidity in your home.
Storing and Labeling Seeds for Next Season
Fully dried seeds belong in a paper envelope or a small glass jar with a tight lid — never plastic bags, which trap the tiny bit of residual moisture that leads to mold. Write the herb variety and the harvest date on the outside before you forget, because six months from now, one small brown seed looks a lot like every other small brown seed.
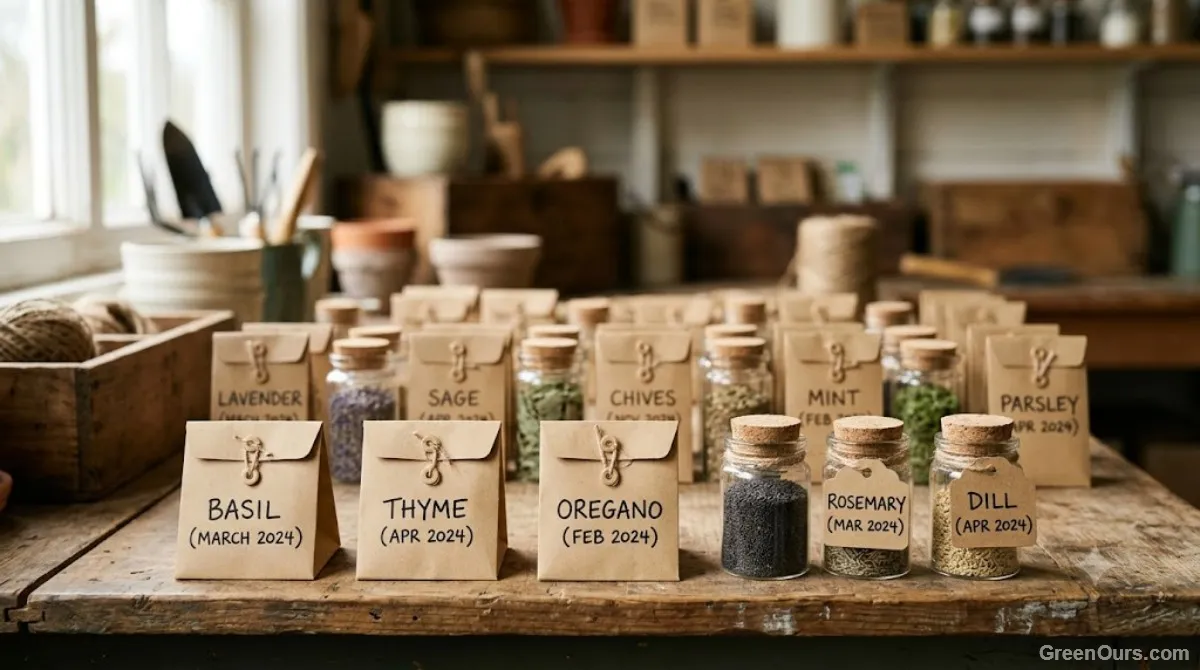
Store your labeled envelopes somewhere cool, dark, and dry — a kitchen drawer away from the stove works fine, though a closet shelf is even better. Most herb seeds stay viable for two to three years when stored this way, which means a good harvest year can carry you well beyond just next season.
A few grains of uncooked rice or a small silica packet tucked into the jar can help absorb any last bit of moisture, especially in a humid climate. It's a small extra step, but for seeds you're hoping to rely on next spring, it's cheap insurance.
Common Mistakes That Ruin Good Seed
Harvesting too early is the biggest one — green, unripe seed heads simply won't produce viable seed no matter how well you dry them afterward. Skipping the drying period is a close second; seeds that go straight from the garden into a sealed jar will sweat and mold within weeks. It's also easy to forget labeling in the moment, and to store seeds somewhere warm or humid, like a garage that heats up in summer. If you've saved a large batch of one variety, it's a good idea to test a small handful for germination in a damp paper towel before committing an entire envelope's worth to next year's garden plan — a few days is all it takes to know whether they're viable. None of these mistakes are hard to avoid once you know they're coming.
Explore more beginner herb garden guides
There's something quietly rewarding about opening a labeled envelope of your own basil or dill seeds the following spring, knowing exactly where they came from and what they've already survived. Once you've done it one season, it's hard to go back to buying packets off a shelf.