When Reusing Potting Soil Is Actually Safe
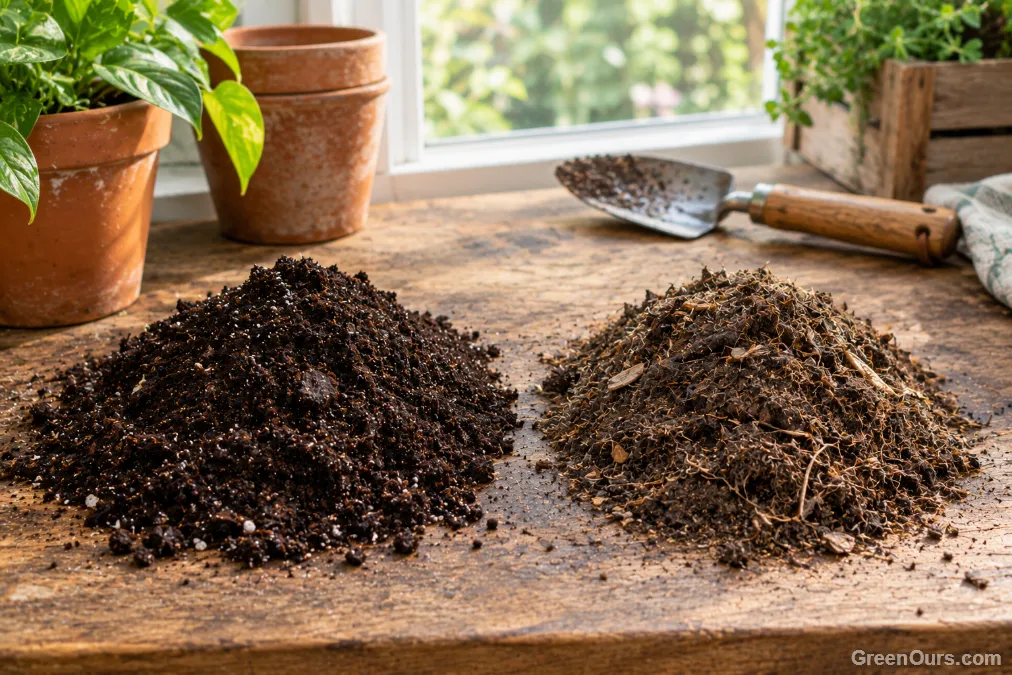
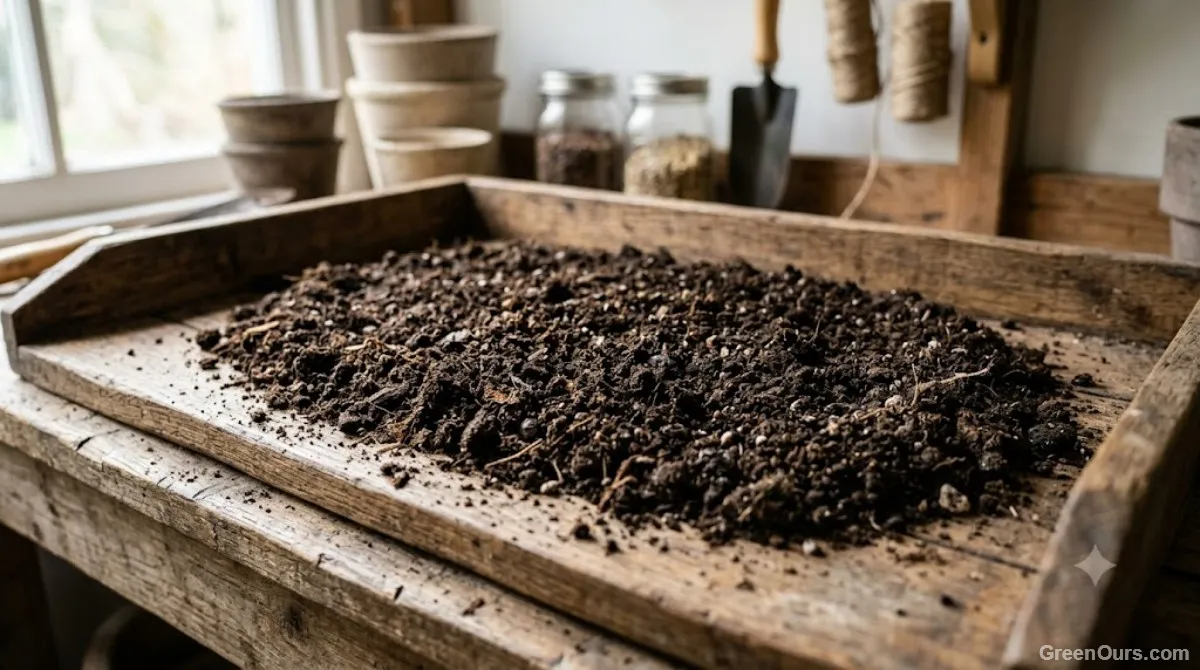
Not every used pot needs a soil overhaul. If the previous plant died from underwatering, a nutrient deficiency, or simple old age, and you saw no yellowing leaf spots, no white fuzzy growth, and no gnats hovering near the surface, the soil is probably fine to reuse after a quick refresh. Break up compacted clumps, remove old roots, and mix in 20 to 30 percent fresh compost or potting mix to replace lost nutrients and structure.
The math changes the moment disease enters the picture. Fungal spores and bacterial pathogens don't need a living host to survive — they persist in organic matter, waiting. Skipping sterilization in these cases doesn't save you time; it just delays the failure to the next growing season.
If you're not sure why the last plant died, treat the soil as contaminated. Guessing wrong costs you a second plant — sterilizing costs you 30 minutes.
Signs Your Soil Should Go Straight to the Trash
Some soil isn't worth saving, sterilized or not. Discard potting mix if you notice:
- A sour, ammonia-like smell, which signals anaerobic bacterial breakdown
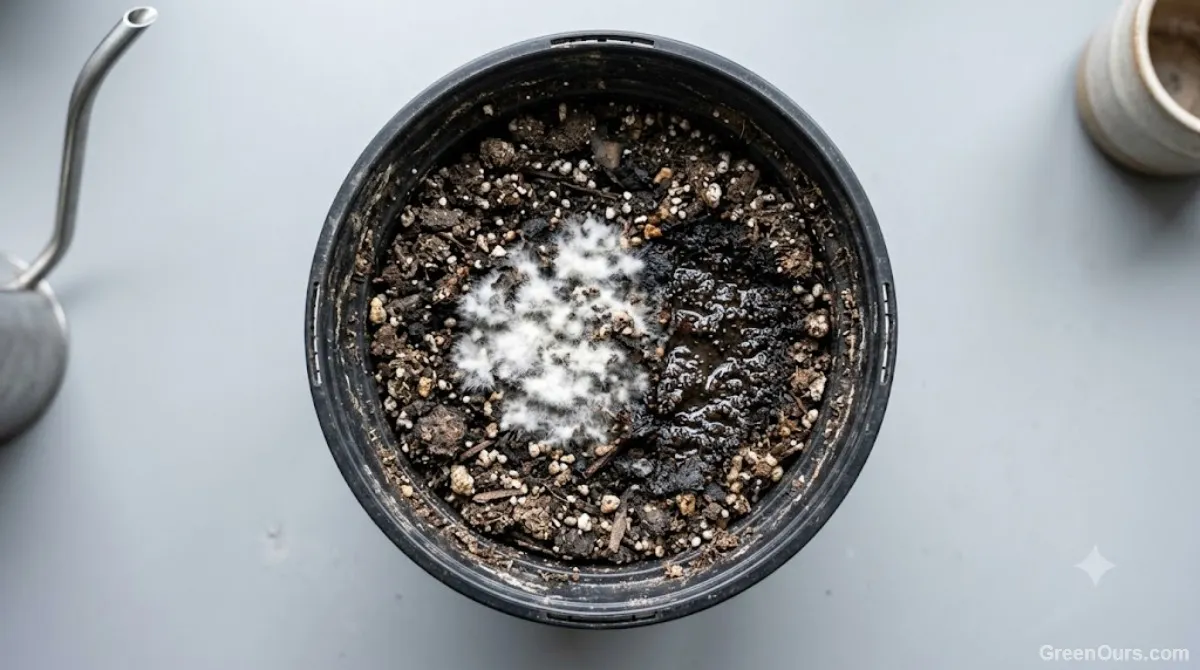
- Visible mold colonies covering more than a small patch of the surface
- Root-knot nematode damage — knobby, swollen galls on the previous plant's roots
- Soil that's collapsed into a dense, waterlogged paste with no visible texture
Nematode-infested soil in particular isn't reliably fixed by home sterilization methods. Commercial growers use soil fumigants and extended solarization cycles to clear nematodes — a home oven or a pot of boiling water won't reach the exposure time needed. When you see galled roots, bag the soil and start fresh.
Method 1: Oven Sterilization
Oven baking is the most precise home method because you control temperature directly.
What You'll Need
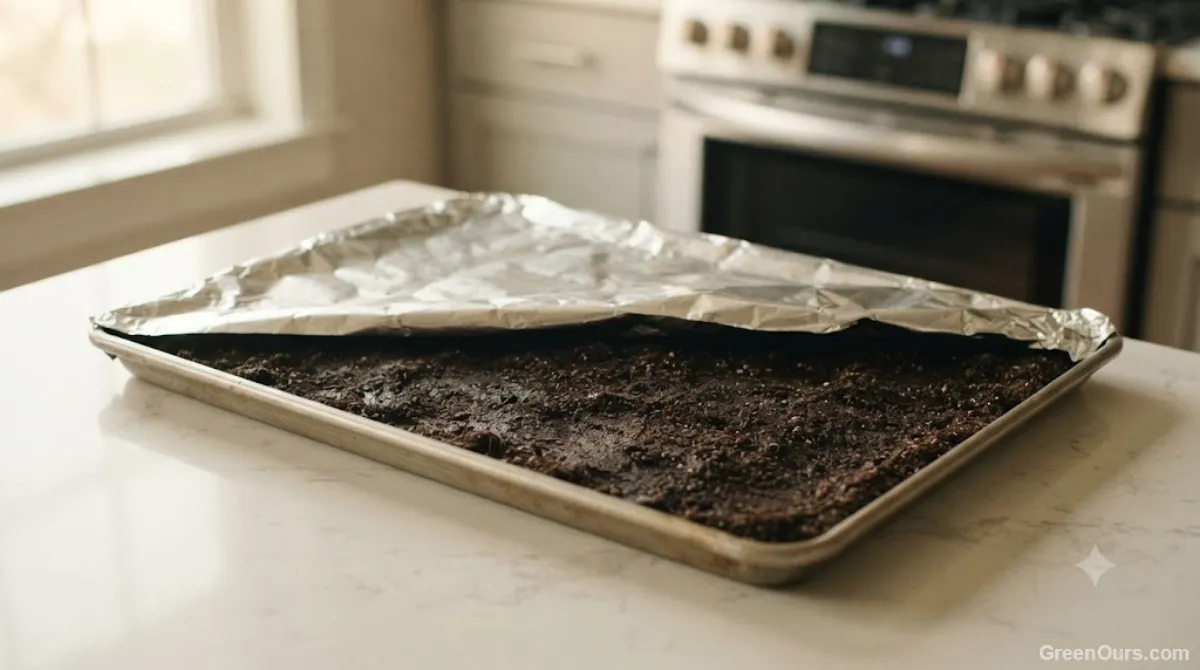
An oven-safe tray, aluminum foil, and a probe thermometer. Skip the thermometer and you're guessing — and guessing is how you either undercook the pathogens or overcook the soil's beneficial microbes.
The Process
- Spread moist soil no more than 4 inches deep across the tray
- Cover loosely with foil to trap heat without sealing in excess moisture
- Bake at 200°F (93°C) for 30 minutes, checking that the soil's internal temperature reaches at least 180°F (82°C)
- Let it cool completely, uncovered, before handling
That range kills most fungal pathogens, weed seeds, and insect eggs without destroying every beneficial organism in the mix. Push past 200°F and you risk breaking organic matter down into a form that releases ammonia and can burn new roots.
Method 2: Solarization
Solarization uses the sun instead of your oven, which makes it the better choice for larger batches — a full wheelbarrow's worth, for example, where oven space runs out fast.
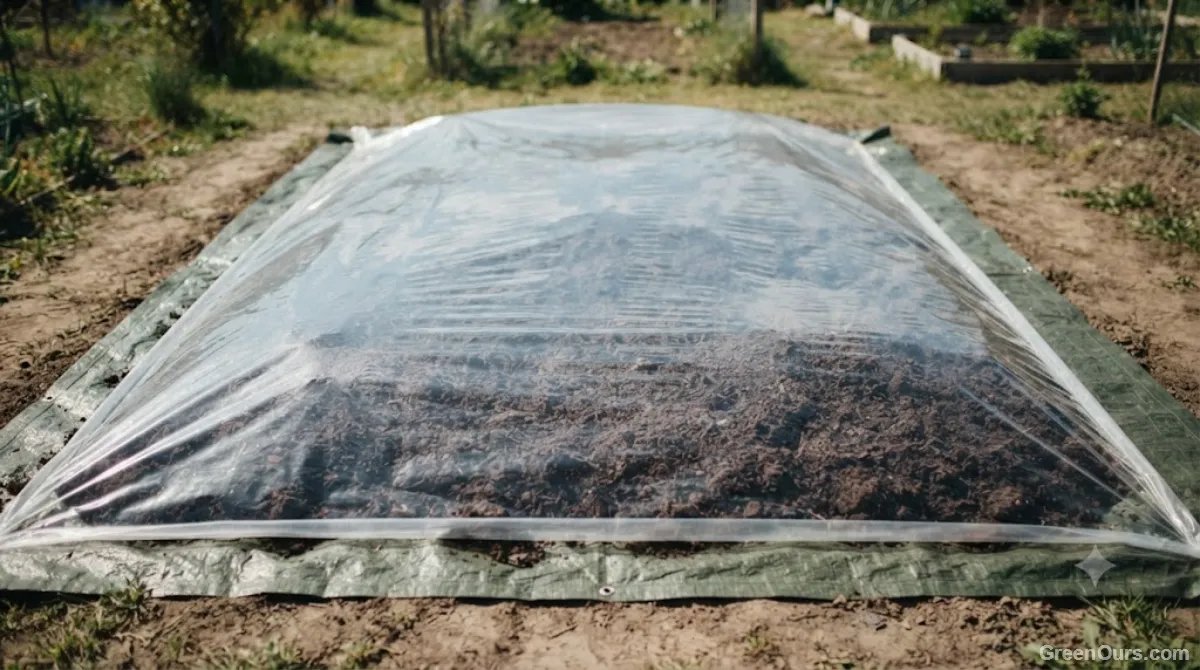
Spread moist soil in a layer 4 to 6 inches deep inside a clear plastic bag, or under a sheet of clear plastic on a tarp. Seal the edges, then leave it in direct, uninterrupted sun for four to six weeks during the hottest part of summer. Soil temperatures under clear plastic regularly climb to 140°F (60°C) or higher, which is enough to kill most fungal spores and nematode eggs given that extended exposure window.
The trade-off is time. Solarization only works reliably when daytime temperatures stay above 85°F (29°C) for the full stretch, so it's a warm-season method, not a year-round fix.
Method 3: Boiling Water Treatment
For small quantities, pouring boiling water through the soil is the fastest option, though it's also the least precise.
Spread soil in a heat-safe container with drainage, then slowly pour boiling water through it until it runs clear from the bottom. Let the soil drain and cool for at least 24 hours before use. This method reaches high temperatures quickly but doesn't hold that heat long enough to guarantee a full pathogen kill in soil deeper than 2 inches, so it's best reserved for small pots rather than bulk batches.
What Sterilization Doesn't Fix
Heat kills living organisms, but it doesn't rebuild what disease and time have already broken down. Sterilized soil is often depleted of nitrogen, compacted, and stripped of the beneficial microbial life that helps roots absorb nutrients in the first place.
After sterilizing, mix in fresh compost at roughly 25 percent of total volume, along with a balanced slow-release fertilizer. Skipping this step is the single biggest reason sterilized soil still produces weak growth — the pathogens are gone, but so is everything else that made the soil productive.
Rebuilding Structure
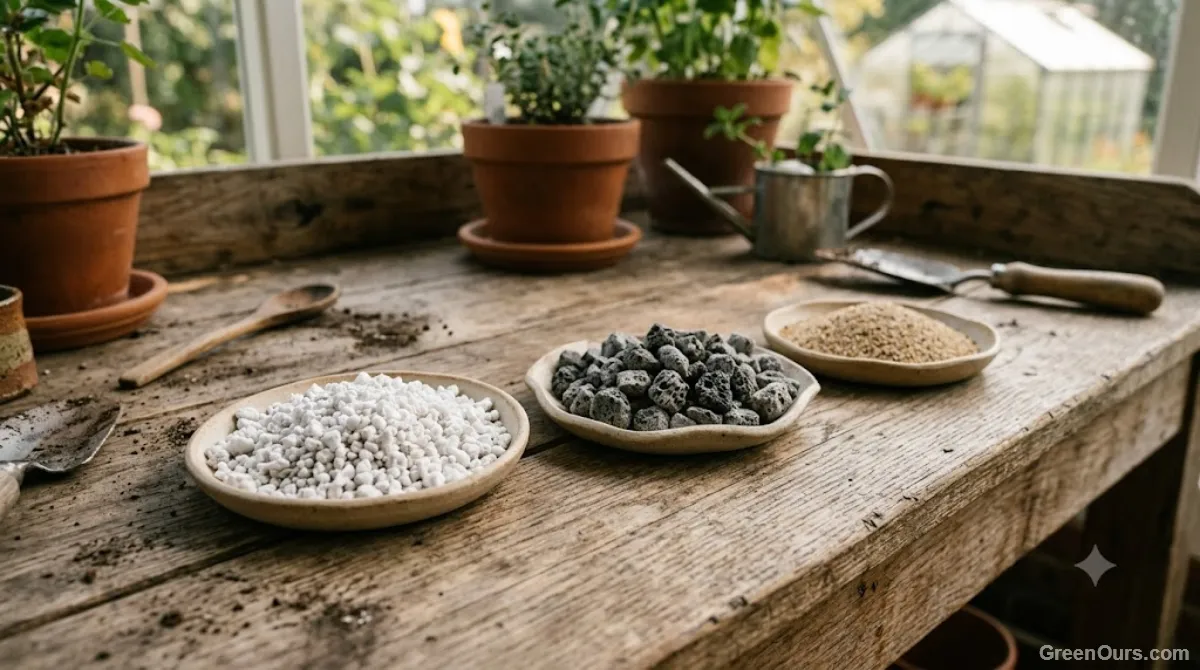
Perlite or coarse sand restores drainage that sterilization heat can compact out of finer soils. Add it back at the same ratio you'd use in a fresh potting mix — typically 10 to 20 percent of total volume.
Common Mistakes That Undo the Work
Sterilizing soil correctly still fails if you handle it carelessly afterward. Watch for these:
- Storing sterilized soil in a used container that was never cleaned — you've just reintroduced the pathogens you removed
- Using tools that touched infected soil without disinfecting them first
- Sterilizing soil that's bone dry, which lets heat pass through unevenly and leaves cold spots where pathogens survive
- Repotting immediately into sterilized soil that hasn't fully cooled, which can shock roots
What to Do Next
Sterilizing potting soil isn't a one-time insurance policy — it's a targeted fix for a specific problem. Reach for it when disease is confirmed or suspected, skip it when the soil's history is clean, and always rebuild what the heat strips away before you plant into it again.
Read our latest pest and disease diagnostics for more plant problems solved.