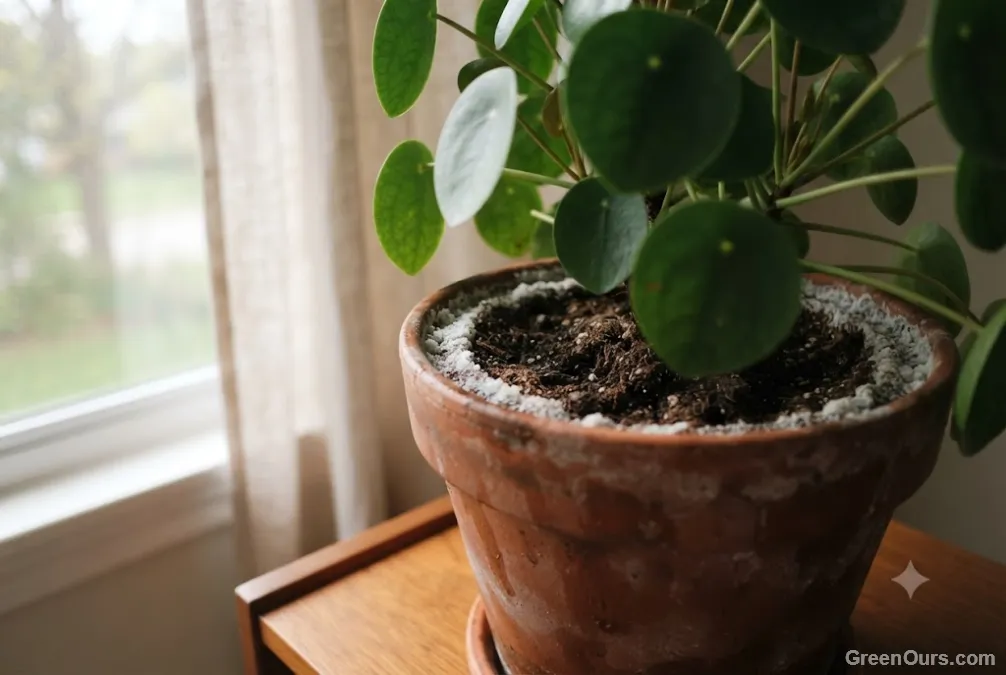
Recognizing Salt Buildup in Your Potting Soil
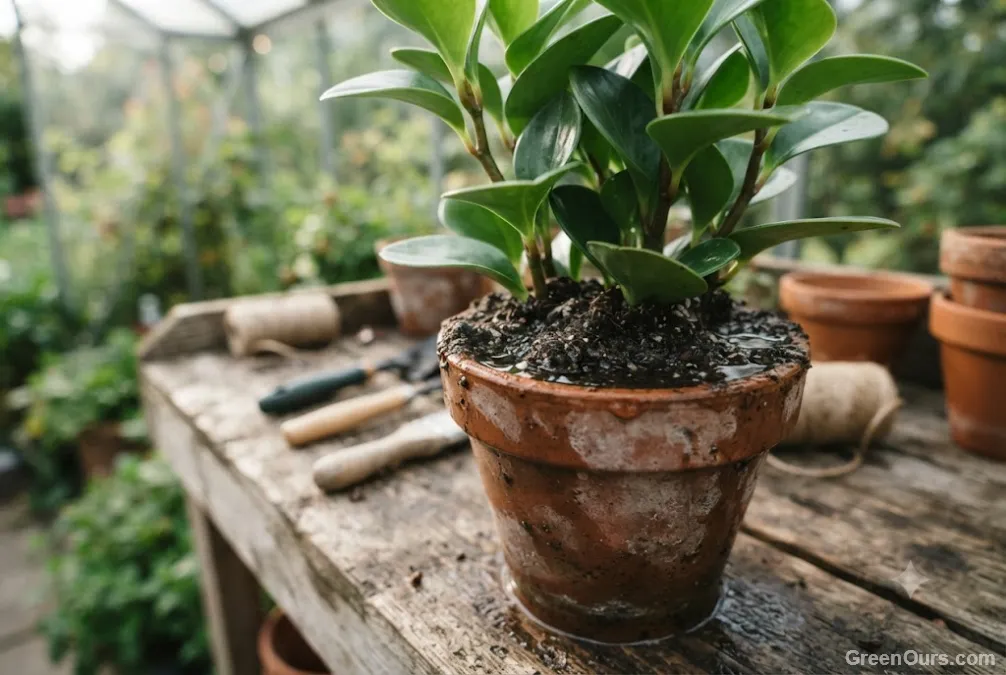
Salt buildup produces a specific set of signs. A white or yellowish crust forms on the soil surface, along pot rims, and around drainage holes. This crust is mineral residue left behind as water evaporates and salts stay put.
Leaf symptoms follow a pattern: brown, crispy tips and margins, starting on older leaves first. Unlike underwatering, the leaf interior often stays green while only the edges scorch. Growth slows even with consistent light and water. In severe cases, roots turn brown and mushy at the tips — a sign that salt concentration has damaged the root's ability to absorb water at all.
It's easy to mistake salt burn for a nutrient deficiency, since both show up as leaf discoloration. The distinguishing detail is location: nutrient deficiencies typically cause uniform yellowing across the leaf, while salt damage concentrates at the tips and margins, where water — and the dissolved salts in it — travels last before evaporating.
What Causes Salt to Accumulate
Three factors drive most cases. Rank them by how often they show up in home growing conditions. Identifying which one applies to your setup determines whether flushing alone solves the problem, or whether a habit needs to change too.
Fertilizer Residue
Fertilizer salts are the number one cause. Every feeding leaves behind mineral ions — nitrogen, potassium, and phosphorus compounds — that plants don't fully absorb. Over-fertilizing, or fertilizing without ever flushing the pot, lets these residues stack up over months.
Hard Water Minerals
Tap water with high mineral content adds calcium and magnesium salts every time you water. Homes with hard water see buildup two to three times faster than homes with soft water.
Lack of Drainage
Pots without adequate drainage holes, or saucers left full of standing water, prevent salts from ever leaving the root zone. Water evaporates, salts stay behind, and the cycle repeats with each watering.
If you fertilize on a regular schedule, flush the pot with plain water every fourth or fifth watering. This single habit prevents most salt buildup before it starts.
How to Flush Salt From Your Soil
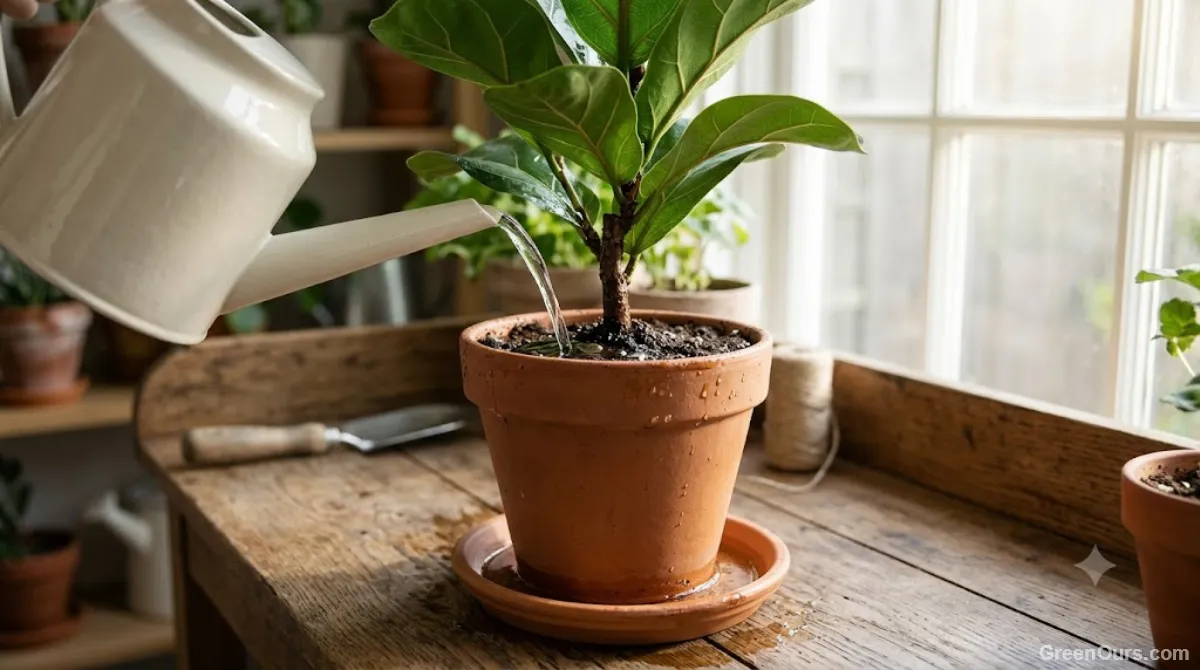
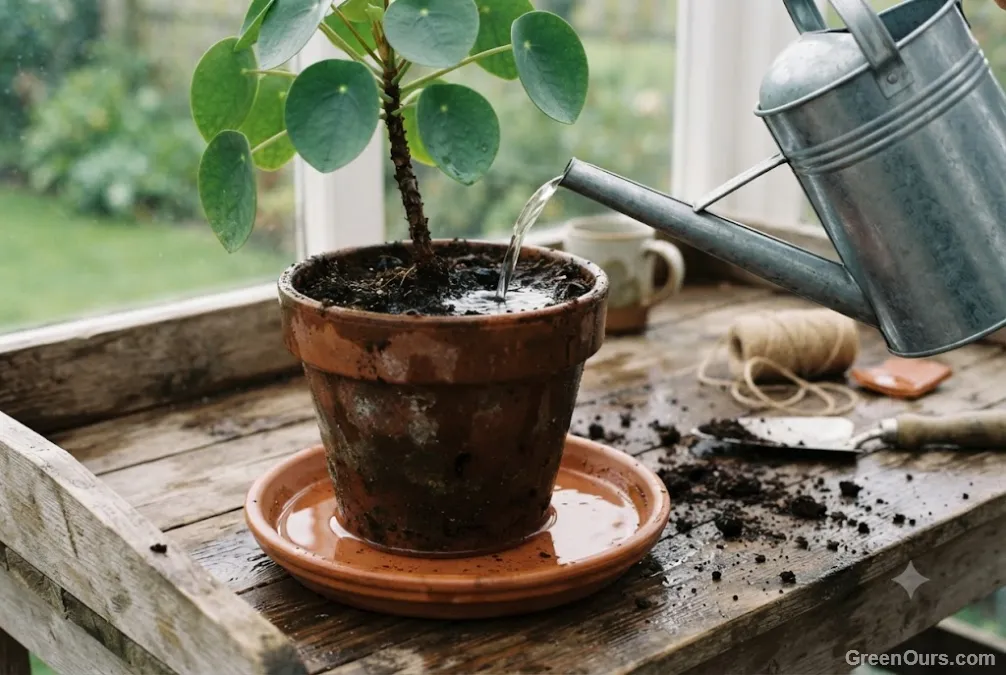
Flushing works by physically moving water — and the salts dissolved in it — completely through the pot and out the drainage holes.
- Move the plant to a sink or tub where runoff can drain freely.
- Water slowly with room-temperature water until it runs from the drainage holes.
- Let it drain fully, then repeat two to three times, using a volume of water equal to two to three times the pot's total soil volume.
- Allow the pot to drain completely for at least 20 minutes before returning it to its saucer or decorative pot.
For pots with heavy crusting, scrape off the top half-inch of soil before flushing. That surface layer holds the highest salt concentration and won't fully clear with water alone.
For plants fertilized weekly, build a monthly flush into your routine rather than waiting for visible crusting. By the time salt is visible on the surface, some root damage has usually already started.
How Much Water to Use and How Often
Use two to three times the pot's soil volume per flush. A 6-inch pot holds roughly 1.5 liters of soil, so plan for 3 to 4.5 liters of water across the full flush.
Flush established plants with visible crusting once. Recheck the surface after two weeks. If crust reappears quickly, the source — usually fertilizer frequency or water hardness — needs to change, not just the flushing schedule. Outdoor containers exposed to rain need this less often, since natural rainfall does some of the flushing work for you.
Preventing Salt Buildup Long-Term
Fertilizing Habits
Dilute fertilizer to half the label's recommended strength for houseplants watered indoors. Skip fertilizer entirely in low-light winter months, when plants aren't actively growing and can't use the nutrients anyway.
Water Choice
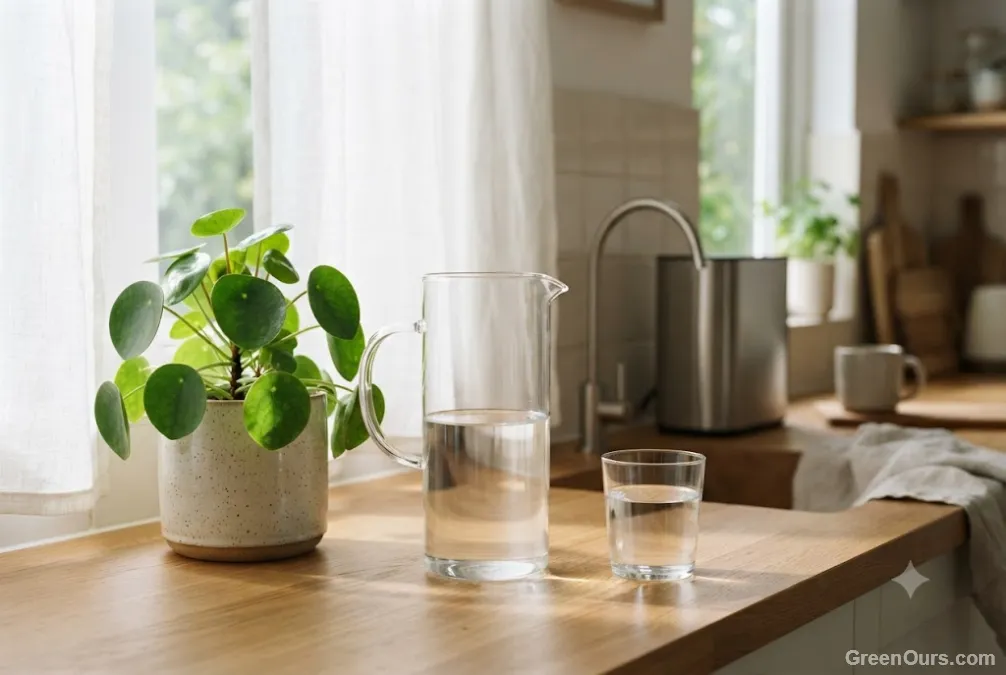
If your tap water is hard, switch to filtered or distilled water, or collect rainwater when possible. This alone can cut salt accumulation significantly in homes with high mineral content. Elevate pots on pot feet or a slotted saucer so excess water can pass through and drain away, rather than pooling and reabsorbing back into the soil.
When to Repot Instead of Flush
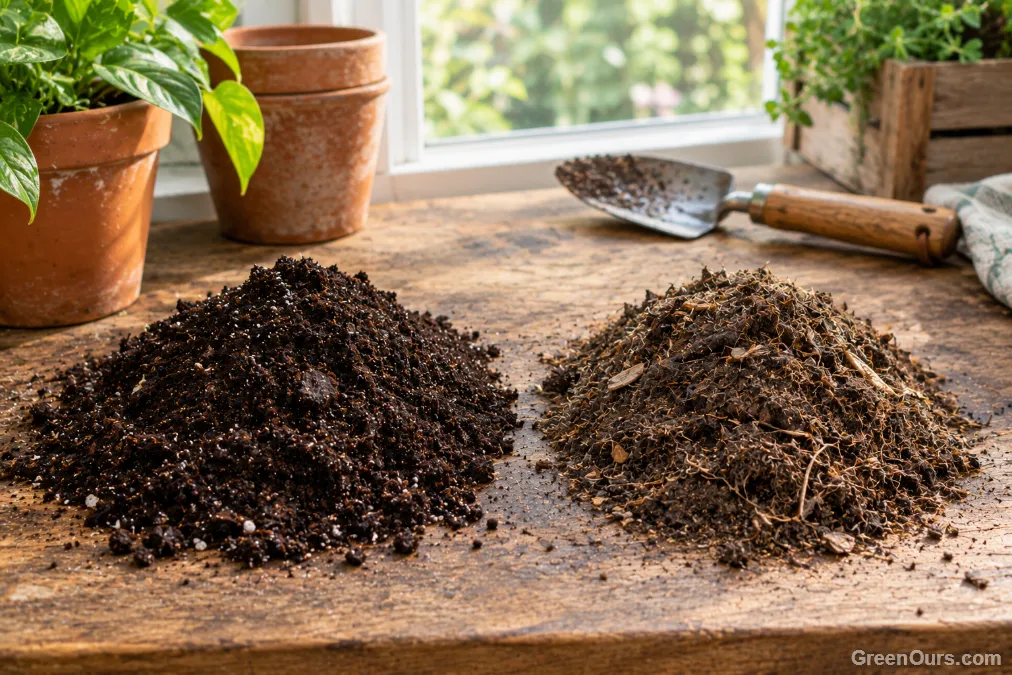
Flushing won't fix everything. If the potting mix has broken down and turned dense or compacted, salts get trapped in pockets flushing can't reach. Repot in fresh, well-draining mix if the plant has gone more than 18 months without a soil change, or if flushing twice in a row doesn't reduce the crust.
Root damage from prolonged salt exposure doesn't reverse on its own. Trim visibly brown, mushy root tips at repotting time, and give the plant fresh soil to regrow into.
What to Do Next
Salt buildup is fixable, and it's preventable. Check the soil surface and drainage holes now, flush if you see crusting, and adjust your fertilizing and water source going forward. Root recovery is faster than most gardeners expect once the salt load is gone.
Check your pot rims and drainage holes for crust this week.