Why Compacted Soil Suffocates Roots
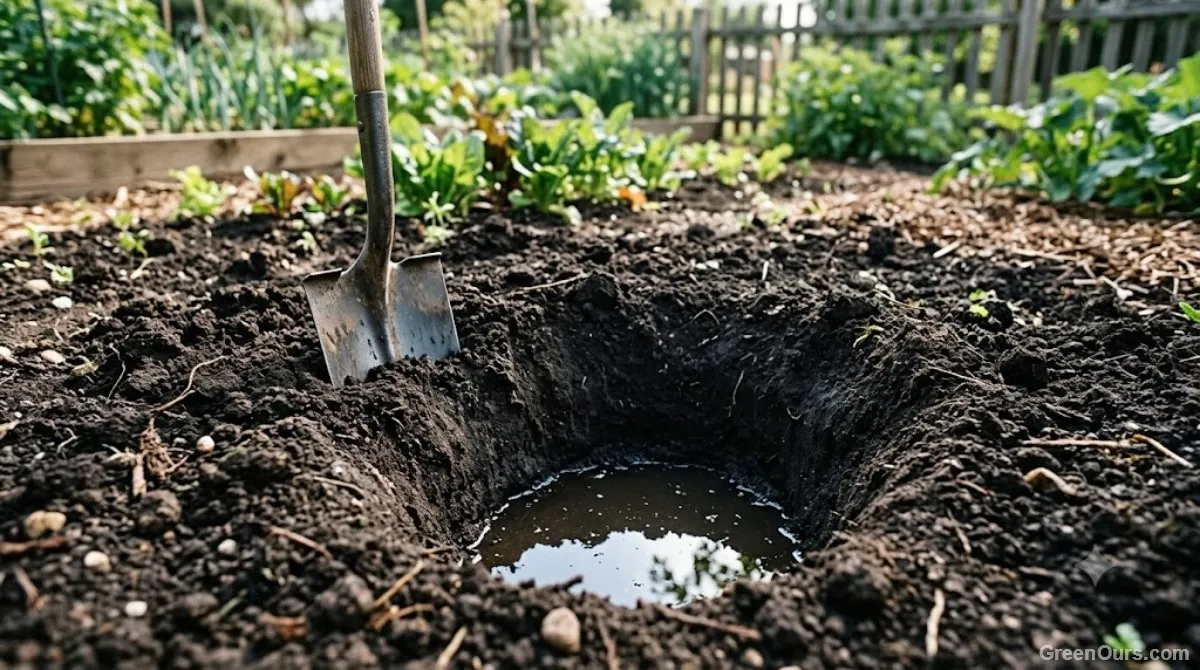
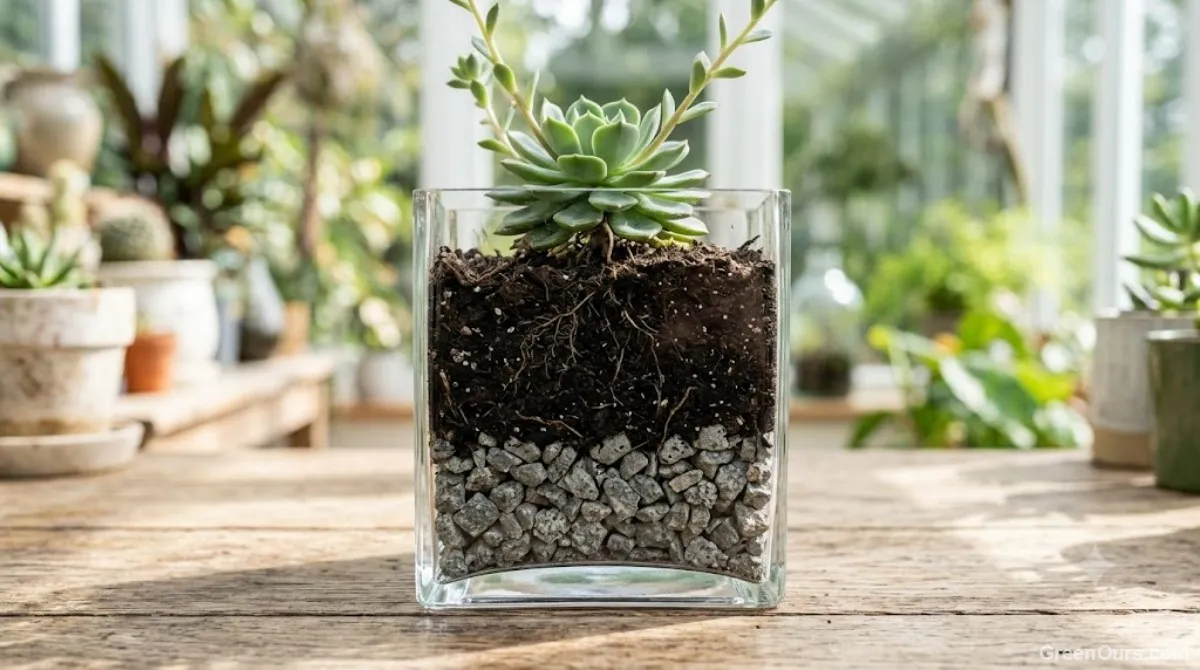
Roots don't just absorb water. They absorb oxygen through the same pore spaces water moves through. Compacted soil collapses those pores, so water fills the gaps and pushes air out instead of draining past it. Roots sitting in oxygen-poor, waterlogged soil stop functioning within days. Left long enough, the root tissue itself dies off.
A healthy potting mix holds roughly 20-30% air space. Compacted soil can drop below 10%. That gap is the difference between roots absorbing nutrients efficiently and roots slowly suffocating in their own drainage water — even when the watering schedule looks perfectly reasonable on paper.
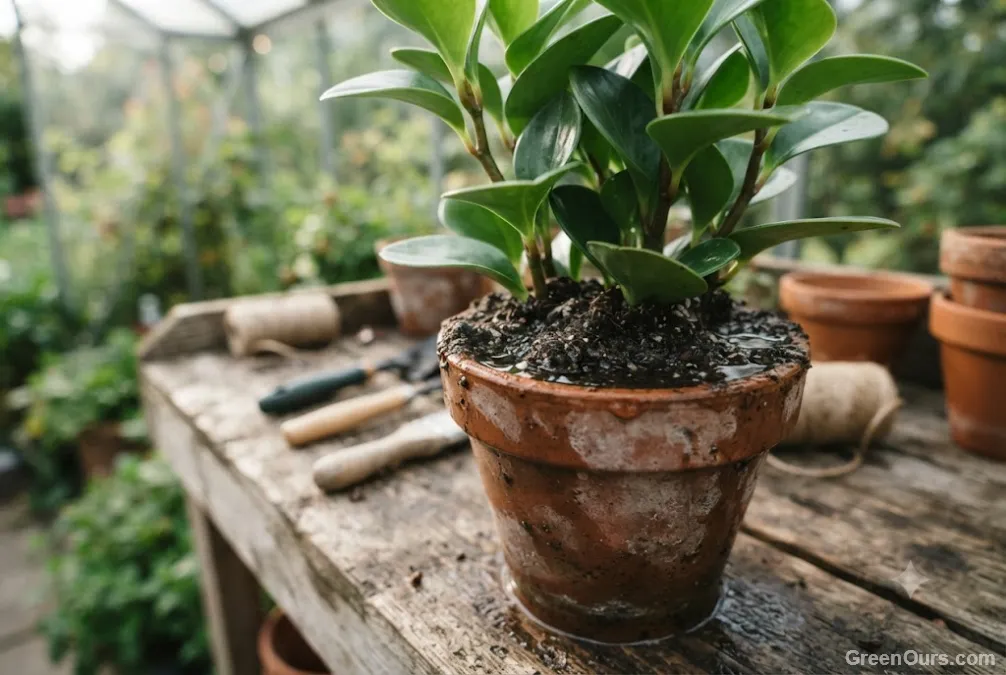
Compacted soil often looks fine on top. Push a finger straight down two inches. If it meets solid resistance instead of loose give, the soil below has compacted even though the surface looks normal.
Signs Your Potting Mix Has Compacted
Water runs straight through the pot without dampening the middle of the root ball, exiting the drainage holes within seconds. Or the opposite happens — water sits on top for longer than it should before it starts absorbing at all. Both point to the same collapsed pore structure, just at different stages of severity.
Growth slows despite consistent light and feeding. Lower leaves yellow and drop even though nothing in your care routine has shifted. The pot feels noticeably heavier than expected several days after watering, a sign that water is trapped in dense soil rather than moving through and draining out as it should.
How to Aerate Without Damaging Roots
Choose the Right Tool
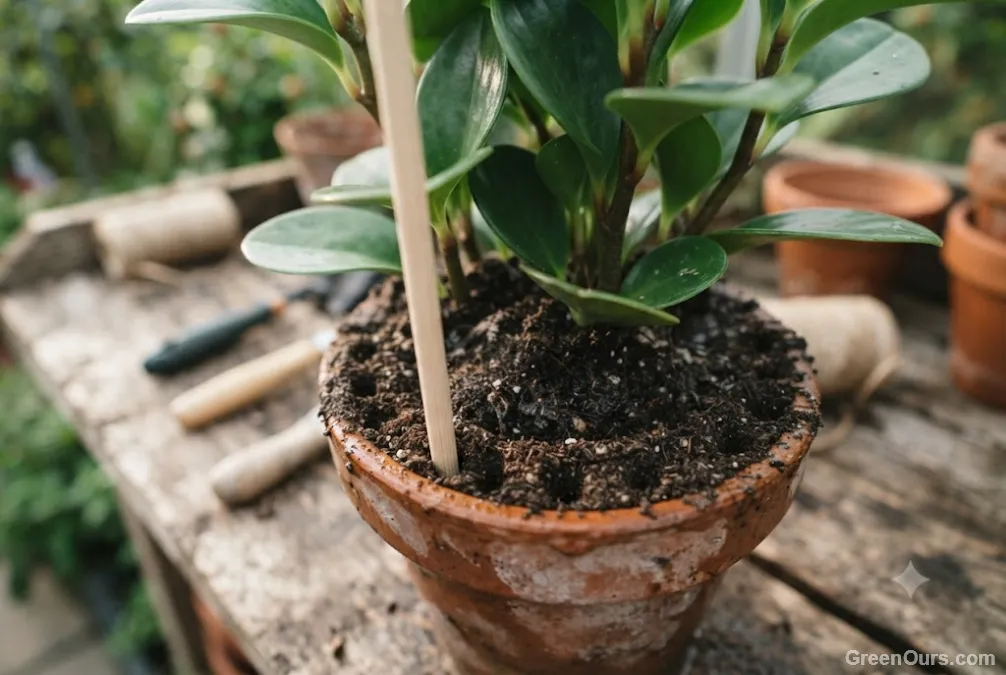
A wooden chopstick or a plain wooden dowel, ⅛ to ¼ inch thick, works better than a metal skewer. Wood has slightly more give, so it deflects around roots instead of slicing through them. Skip anything with a sharp point — a rounded or blunt tip pushes soil aside rather than cutting into root tissue.
Map the Safe Zones
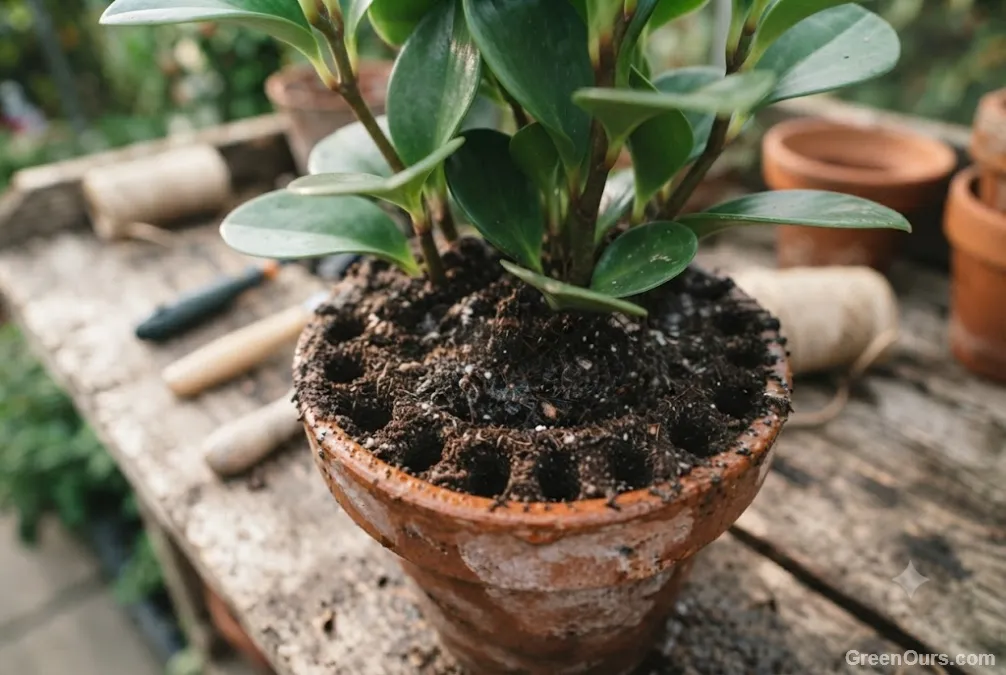
Roots concentrate near the center of the pot and radiate outward from the base of the stem. Aerate in a ring pattern about an inch in from the pot's edge, spacing holes roughly 1.5 inches apart. Staying near the perimeter significantly reduces the odds of hitting a major root.
Control the Depth
Insert the dowel to about two-thirds of the pot's depth, not all the way to the bottom. Going too shallow leaves the lower third of the root zone compacted. Going too deep in a small pot increases the chance of piercing the main root mass. For a 6-inch pot, that's roughly 4 inches down.
The Aeration Process, Step by Step
- Water the plant lightly 24 hours before aerating. Slightly moist soil resists tearing better than bone-dry mix, which crumbles unpredictably around the dowel.
- Insert the dowel straight down at your first marked point. Twist gently a quarter turn as you push — stop if you meet firm, consistent resistance, which usually signals a root.
- Withdraw slowly, then repeat around the ring pattern. Aim for 6-8 holes in a 6-inch pot, scaling up for larger containers.
- Once the ring is complete, water thoroughly until it runs from the drainage holes. This flushes loosened particles down through the new channels instead of leaving them to resettle on the surface.
- Skip fertilizer for one full watering cycle after aerating. Freshly disturbed root zones absorb nutrients unevenly, and a full-strength feed right after aeration can add stress to roots that are still recovering.
Preventing Compaction Going Forward
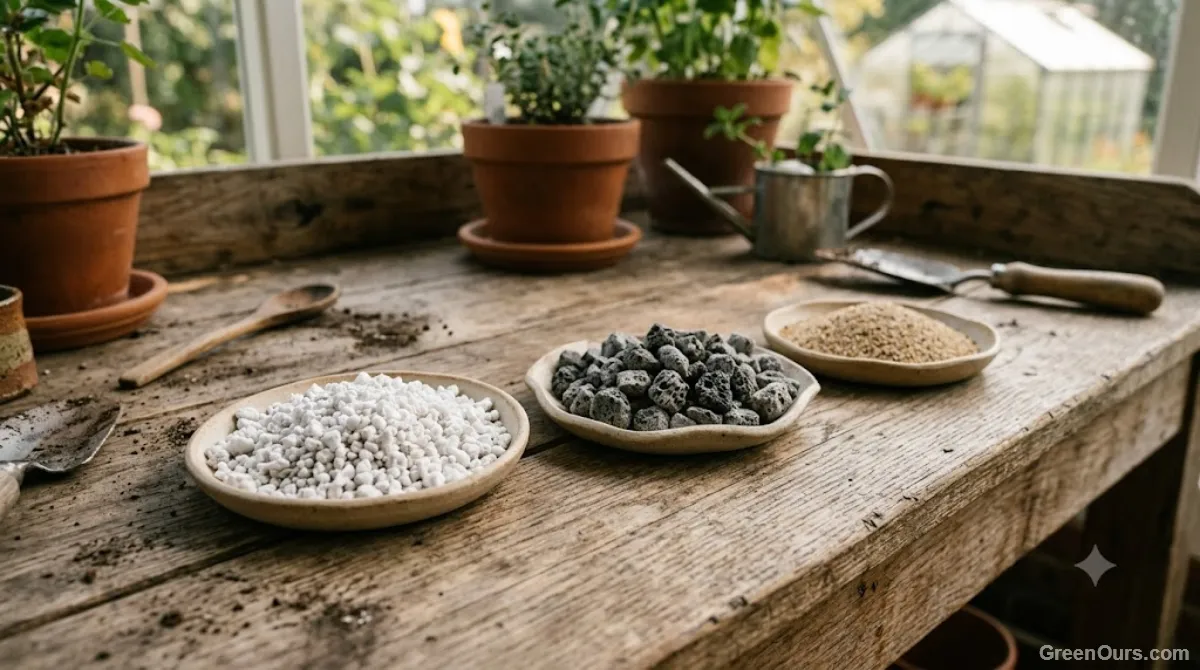
Straight potting soil compacts faster than an amended mix. Blend in perlite at roughly 20% of total volume to build permanent air channels into the soil structure — perlite doesn't break down or compress the way organic matter does over time. Coarse orchid bark, added at 10-15%, provides similar long-term structure while still releasing organic content slowly.
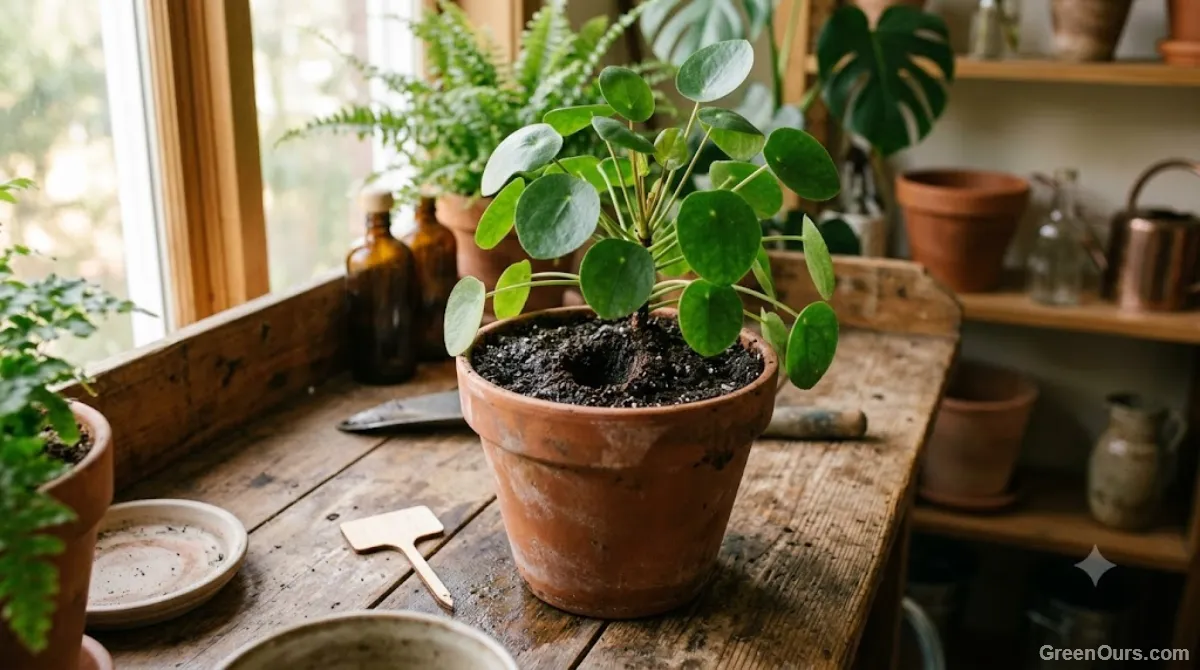
Avoid pressing soil down firmly during repotting. The instinct to pack soil tight around new roots for stability actually starts the compaction process on day one. Settle soil by watering it in instead — gravity and moisture distribute particles more evenly than manual pressure ever will.
Repeat aeration every 3-4 months for plants that go 12 months or longer between repots. Fast-draining mixes with high perlite content need it less often. Dense, peat-heavy mixes compact faster and benefit from aeration every 8-10 weeks instead.
What to Do Next
Aeration isn't a one-time fix. It belongs in the same maintenance category as pruning or repotting — less visible, but just as necessary. A few minutes with a chopstick every few months keeps oxygen moving to roots that would otherwise sit in increasingly dense, airless soil. It's a smaller task than most growers assume, and one that repotting alone can't always replace.
Check your densest pot with a finger test this week.