The Gravel Myth, Explained
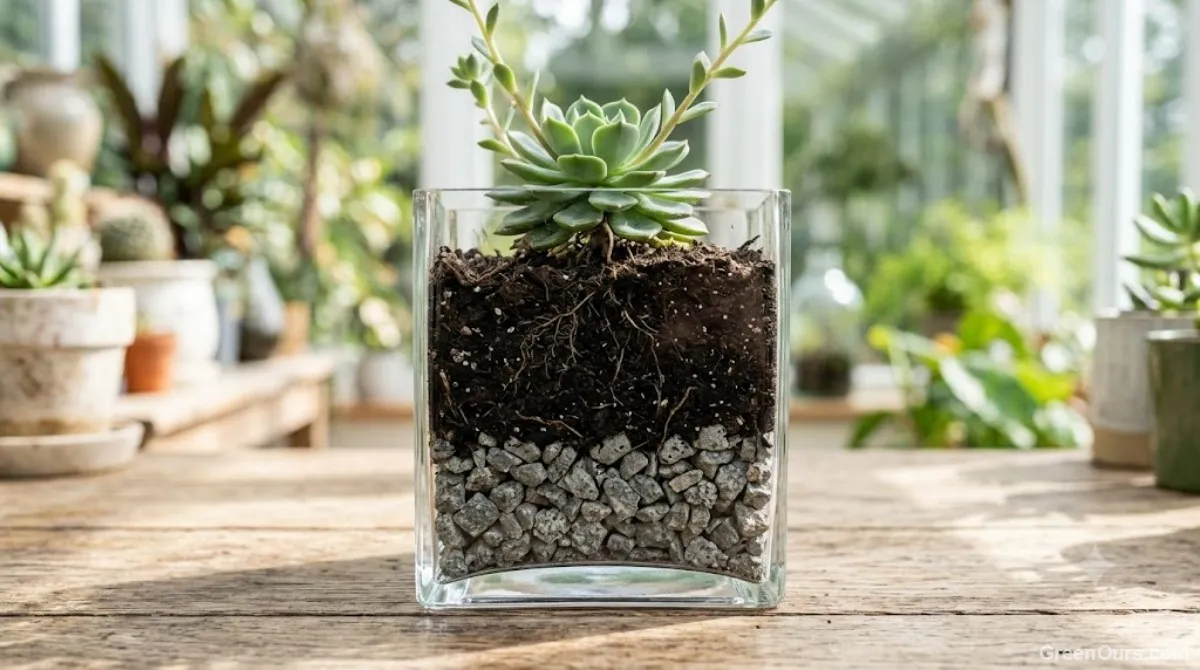
The gravel-layer method tells you to add an inch or two of pebbles, stones, or broken pottery shards to the bottom of a container before adding potting mix. The stated goal: create a reservoir below the soil so excess water has somewhere to go, keeping roots dry.
It's intuitive. It's also wrong, and the reason comes down to how water behaves at the boundary between two materials with different pore sizes.
What Actually Happens: The Perched Water Table
Water doesn't move freely between layers of different textures. It clings to soil particles through capillary action, and it resists crossing into a coarser material until the finer material above is fully saturated. This creates what's called a perched water table — a zone of saturated soil sitting directly above the coarse layer, unable to drain until gravity finally overcomes capillary tension.
Picture a kitchen sponge resting on a handful of marbles. Pour water onto the sponge. The water doesn't rush down into the gaps between the marbles. It saturates the sponge first, pooling at the bottom edge, because the sponge's fine pores hold onto water more strongly than the wide gaps between marbles can pull it away.
Soil physicists call this hydraulic discontinuity. Water held in fine pores won't cross into significantly larger pores until the fine material reaches field capacity — the point where it's holding all the water it can against gravity. The transition isn't gradual. It happens abruptly, and only after the zone above the gravel is already waterlogged.
Container soil works the same way. The finer the potting mix, the higher this saturated zone rises above the gravel line. In small pots, that saturated band can occupy a substantial share of the total soil depth — right where a plant's most active feeder roots live.
Depth changes the outcome directly. The saturated zone typically runs 2 to 4 inches deep regardless of pot height, once you're past the smallest containers. In a 4-inch nursery pot, that's the entire root zone. In a 14-inch floor planter, it's a fraction of it — which is why gravel-layer damage shows up fastest in small and medium pots, not large ones.
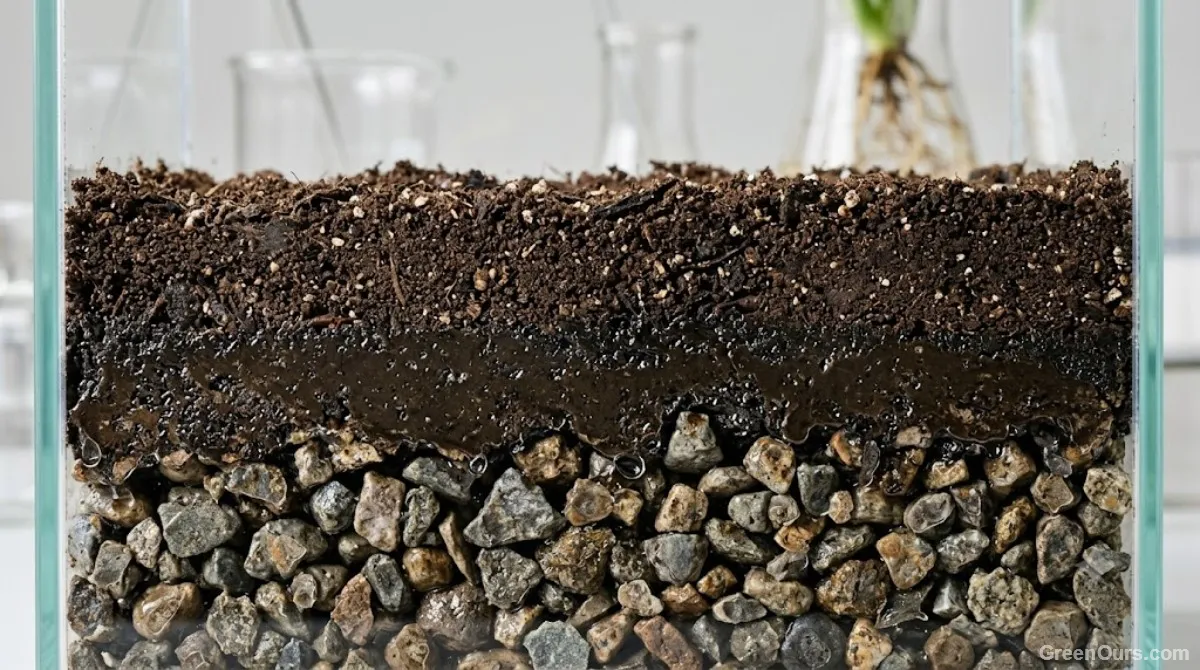
Quick test: if your pot drains within seconds of watering and the bottom inch of soil still feels wet a day later, you likely have a perched water table problem — whether or not you use gravel in bottom of pots.
Why Gravel Makes Drainage Worse, Not Better
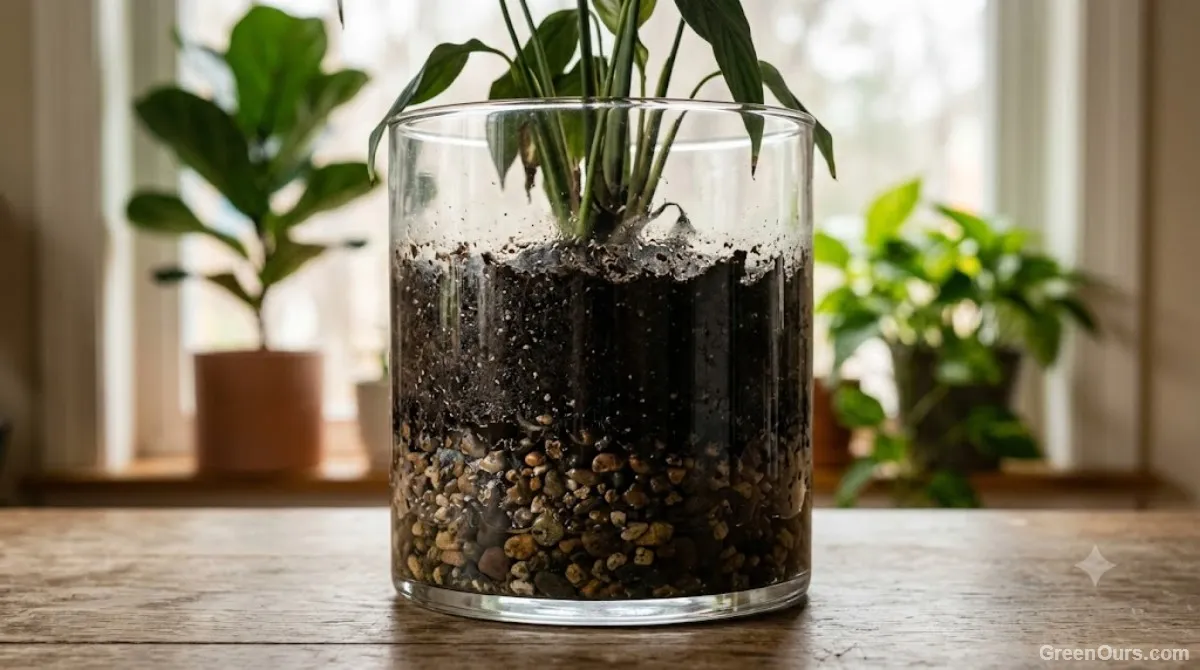
Adding gravel doesn't eliminate the perched water table. It shrinks the usable soil volume and pushes that saturated zone higher, closer to the plant's crown. You've effectively made the pot shallower while keeping the same wet zone thickness.
Run the numbers on a 10-inch pot. Without gravel, a 2-inch perched water table sits at the very bottom, well below most of the root mass. Add 2 inches of gravel, and that same 2-inch saturated zone now sits directly beneath the root ball, in the exact space where oxygen exchange needs to happen for healthy root function.
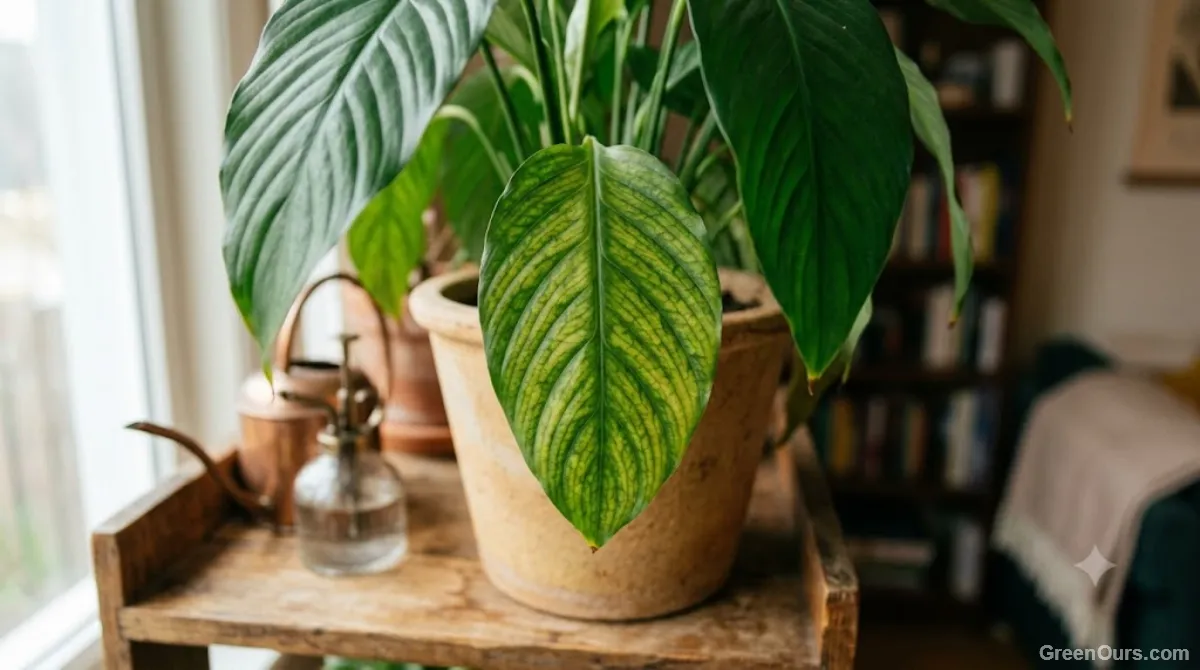
Roots sitting in oxygen-starved, waterlogged soil for extended periods are far more prone to root rot pathogens like Pythium and Phytophthora, which thrive in low-oxygen, high-moisture conditions. Warm, consistently saturated soil creates exactly the kind of environment these pathogens need to take hold — conditions the gravel layer creates by design, not by accident.
What Actually Improves Drainage in Containers
Soil Structure Over Layering
Drainage improves when you change the soil's particle size distribution, not when you stack different materials in bands. A mix amended throughout with perlite, pumice, or coarse sand creates consistent pore space from top to bottom, so water moves steadily downward instead of pooling at a texture boundary. Perlite works fastest since it doesn't break down over time, while pumice offers similar aeration with more weight to anchor top-heavy plants.
For most houseplants, a mix amended generously with coarse material drains well without drying out too fast between waterings. Succulents and cacti benefit from an even coarser ratio, since their roots tolerate almost no standing moisture.
Pot Choice and Drainage Holes
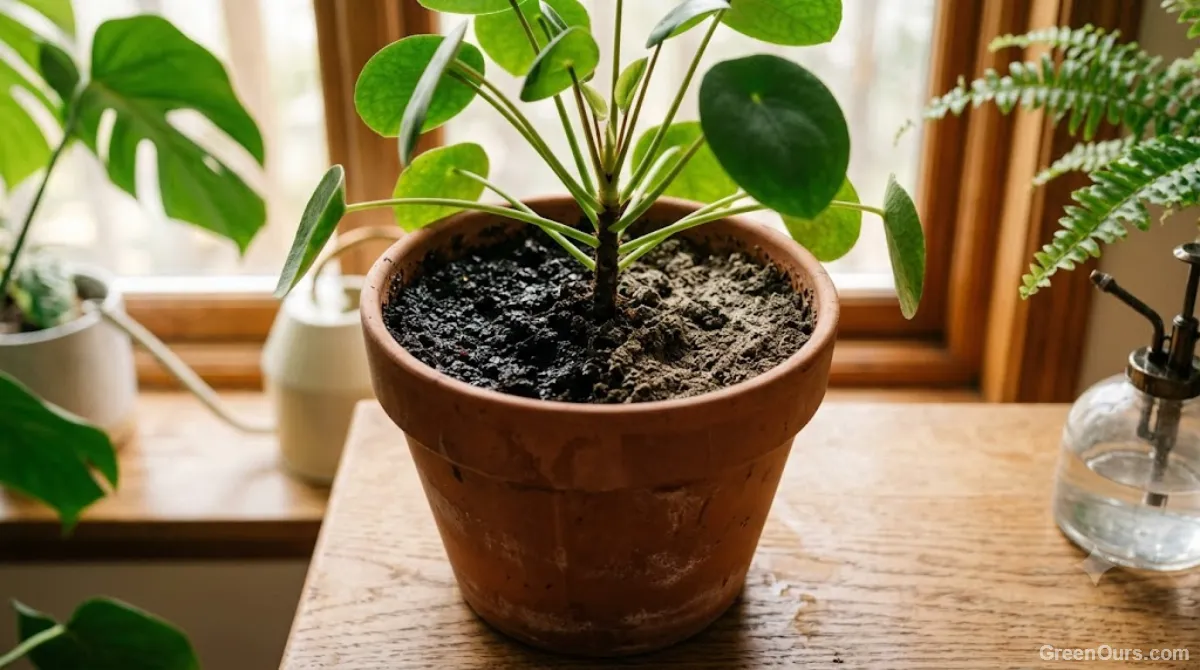
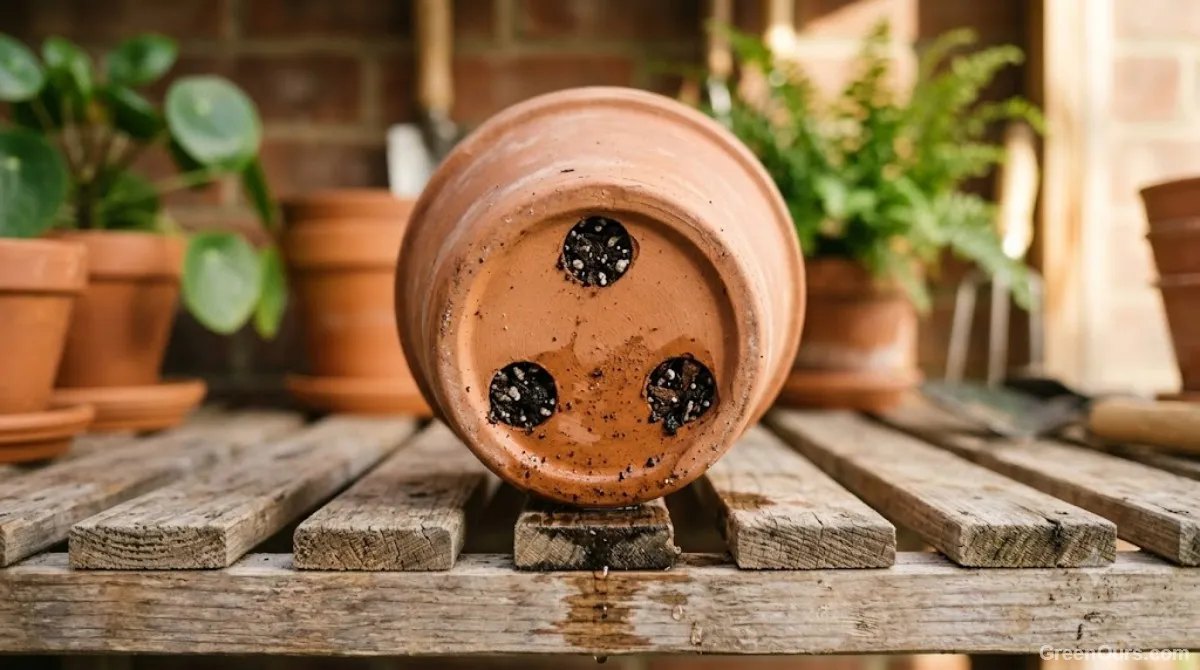
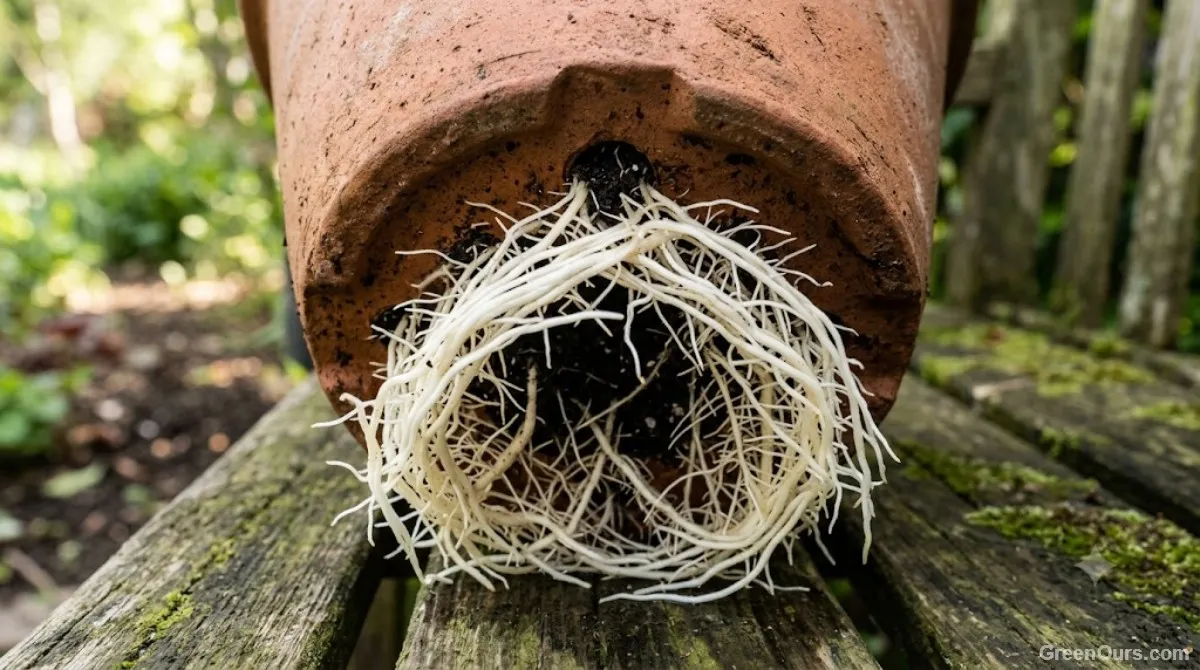
A single drainage hole isn't always enough for pots over 8 inches wide. Multiple holes, or a single hole sized generously relative to the pot's base diameter, let excess water exit before it has time to build a substantial saturated zone. Check the holes periodically, too — compacted soil or root growth can partially block them over time, quietly recreating the same saturated zone gravel causes.
Unglazed terracotta adds another advantage: the porous walls wick moisture outward and let it evaporate, pulling water away from the root zone through the sides of the pot, not just the bottom.
Watering Technique Matters Too
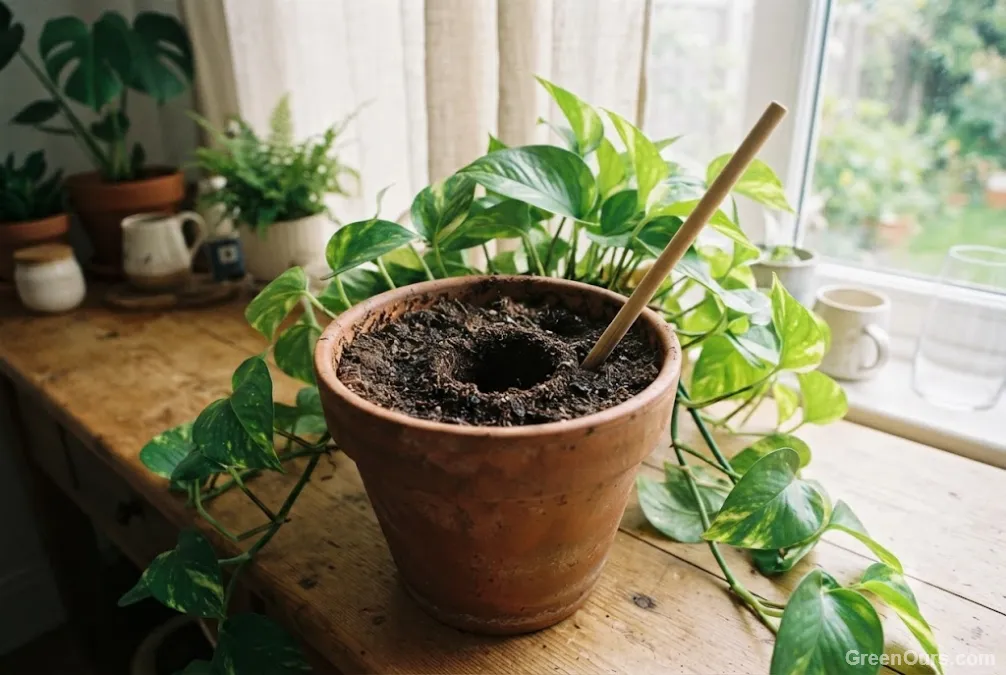
Soil structure only does half the job. Water until it runs freely from the drainage holes, then let the top inch or two dry out before watering again — for most amended mixes, that's every 5 to 10 days indoors, depending on light and pot size. Watering on a fixed schedule instead of checking the soil is one of the fastest ways to recreate a perched water table, even in a properly amended mix.
Check drainage speed directly: water a newly potted plant and time how long it takes to stop dripping from the holes. Under 60 seconds signals a well-draining mix in a standard nursery pot. Anything closer to five minutes points to compaction or a mix that's too fine — not a gravel problem.
Common Mistakes to Avoid
Skip the gravel layer entirely — it doesn't add drainage capacity, it removes usable root space. Don't compensate for poor drainage by watering less; that just delays the same waterlogging problem. Avoid pots with no drainage holes, decorative gravel included, since no amount of surface amendment fixes a sealed container. And resist packing soil down tightly after repotting — compaction closes the pore spaces that make drainage work in the first place. Repotting into a container more than 2 inches wider in diameter than the current one is another common error: the extra soil volume holds more water than the smaller root system can use, which extends the saturated period well beyond what the plant can tolerate.
What to Do Next
Test any drainage claim against the physics before you apply it. The gravel layer persists because it feels productive, not because it performs. Change the soil structure and the pot itself, and the water will do what you actually wanted it to do from the start.