Why Drainage Testing Matters Before You Plant
Roots need oxygen as much as they need water. Soil that holds water too long forces vital air out of the pore spaces between soil particles. When roots sit in an oxygen-deprived environment, cellular respiration halts and roots start to suffocate within 24 to 48 hours. The visible above-ground symptoms — wilting despite wet soil, leaf drop, yellowing lower foliage, and a sour smell near the root zone — often show up days or weeks later. By then, the plant has already lost major root mass that it cannot easily regrow.
Testing first removes the guesswork entirely. Evaluating soil percolation gives you a clear drain rate measured in inches per hour. Compare that number against established horticultural thresholds, and you will know with certainty whether to plant as-is, incorporate soil amendments, or switch to raised beds or containers instead. Understanding how to test soil drainage before planting saves valuable time, effort, and plant investment.
When soil retains excess moisture over extended periods, beneficial aerobic microbes die off rapidly while harmful anaerobic bacteria thrive. This biological shift compromises root protection long before physical decay is visible above ground. Healthy soil biology depends on continuous gas exchange, where atmospheric oxygen diffuses down into the root zone and plant-produced carbon dioxide vents out into the surrounding air. Waterlogged soil seals off these pore pathways completely, creating a toxic subterranean environment.
In well-structured soil, gravity pulls excess water downward through large pores (macropores), while capillary forces hold essential moisture in smaller pores (micropores). When ground becomes heavily compacted, macropores collapse, leaving only micropores that hold onto water tightly like a dense sponge. Consequently, surface water stalls, oxygen levels plunge, and roots deteriorate. Taking time to measure percolation illuminates this invisible physical dynamic before you buy or plant nursery stock.
Furthermore, poor drainage severely restricts plant nutrient absorption. Root uptake mechanisms for primary nutrients like nitrogen, phosphorus, and potassium require cellular energy generated through aerobic respiration. Without oxygen in the root zone, plants cannot absorb nutrients even if the soil is rich in fertilizer. Taproot species like carrots and parsnips split or rot rapidly in saturated subsoil, while shallow-rooted perennials suffer root dieback that leaves them highly vulnerable to soil-borne pathogens like Phytophthora and Pythium.
A single test spot is rarely enough for a bed larger than 100 square feet. Soil drainage can vary substantially across a single yard due to localized compaction, buried debris, or subsoil clay pockets. Test at least two distinct spots per planting zone.
The Percolation Test: Step by Step
The fundamental principle behind percolation testing is straight-forward: excavate a controlled hole, saturate the surrounding ground, fill it with water, and measure the speed of the drop. Taking time to execute this test precisely provides an accurate blueprint of your subterranean soil structure. Because surface topsoil can easily mask poor subsoil conditions, digging down 12 inches uncovers hardpan, heavy clay, or artificial compaction layers that dictate long-term root success.
In-Ground Garden Beds
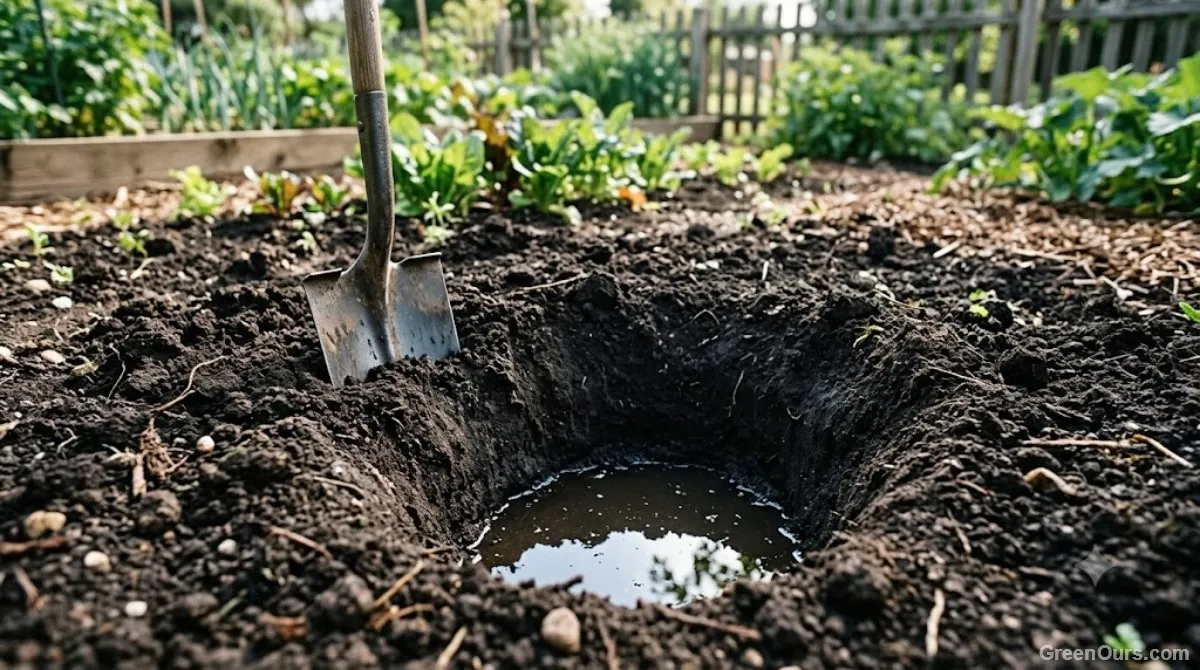
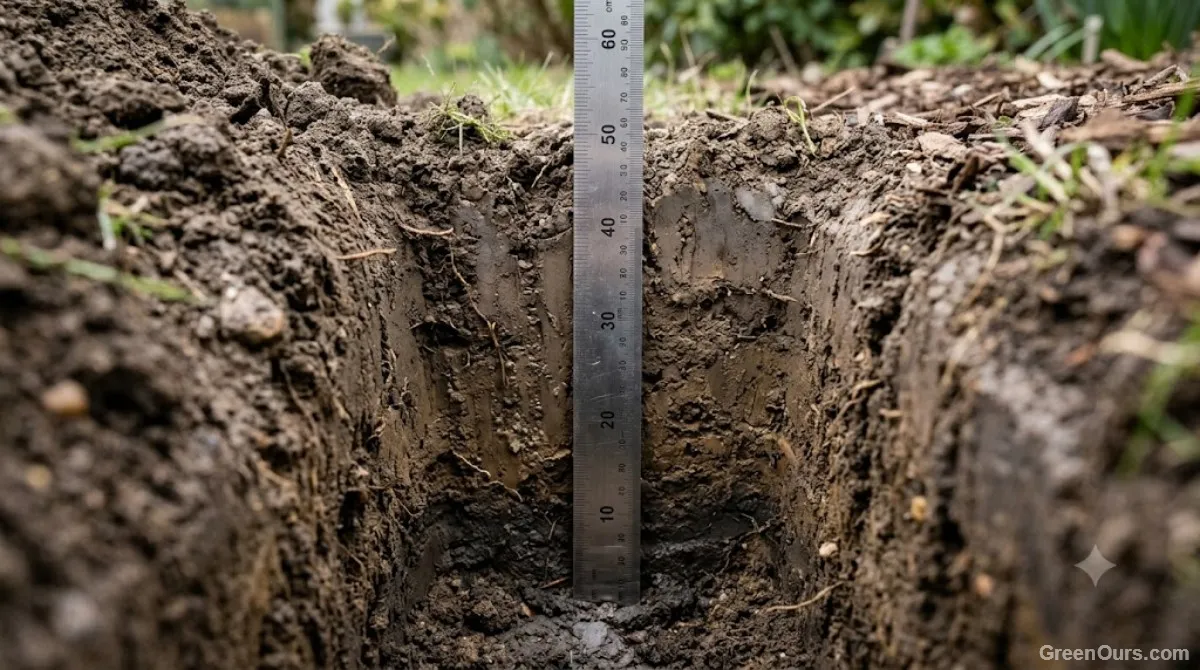
Dig a hole approximately 12 inches deep and 12 inches wide. Aim for straight vertical side walls so the interior volume remains consistent from top to bottom. Sloped or bowl-shaped holes skew the surface-area-to-volume ratio, leading to inaccurate drainage calculations. Clear out any loose soil or fallen debris from the bottom of the excavation.
Fill the hole completely to the top with water and allow it to drain away naturally. Pre-saturating the test site is a mandatory step. Dry soil pulls water in rapidly through initial capillary suction, producing a misleadingly fast initial result that does not reflect true field conditions. Pre-soaking ensures that the surrounding soil particles reach full saturation before formal timing begins.
Once the initial water has completely drained, refill the hole a second time to the top rim. Lay a straight wooden stake or metal bar horizontally across the top opening of the hole. Place a metal ruler or measuring tape vertically inside the hole, measuring from the baseline stake down to the surface of the water. Record the initial water height immediately.
Check and record the water level every 30 minutes over a continuous two-hour window. Note down your readings carefully on a pad. To calculate your final drainage rate in inches per hour, divide the total drop in water level (in inches) by the total elapsed time (in hours). For example, if the water level drops 1.5 inches over a 2-hour observation window, your soil's percolation rate is 0.75 inches per hour.
Raised Beds
If you are testing an existing raised garden bed, excavate a 12-inch test hole directly into the growing medium. Observe the bottom of the hole carefully during and after the pre-soak phase. If water collects at the base of the raised bed without exiting, the imported soil mix is failing to drain into the native ground underneath.
Raised beds built over uncultivated clay or lined with low-permeability geotextile fabrics frequently experience water pooling at the boundary layer. Ensuring smooth water transition between imported soil and native subsoil is vital for deep-rooting vegetable crops like tomatoes and winter squash.
Containers and Pots
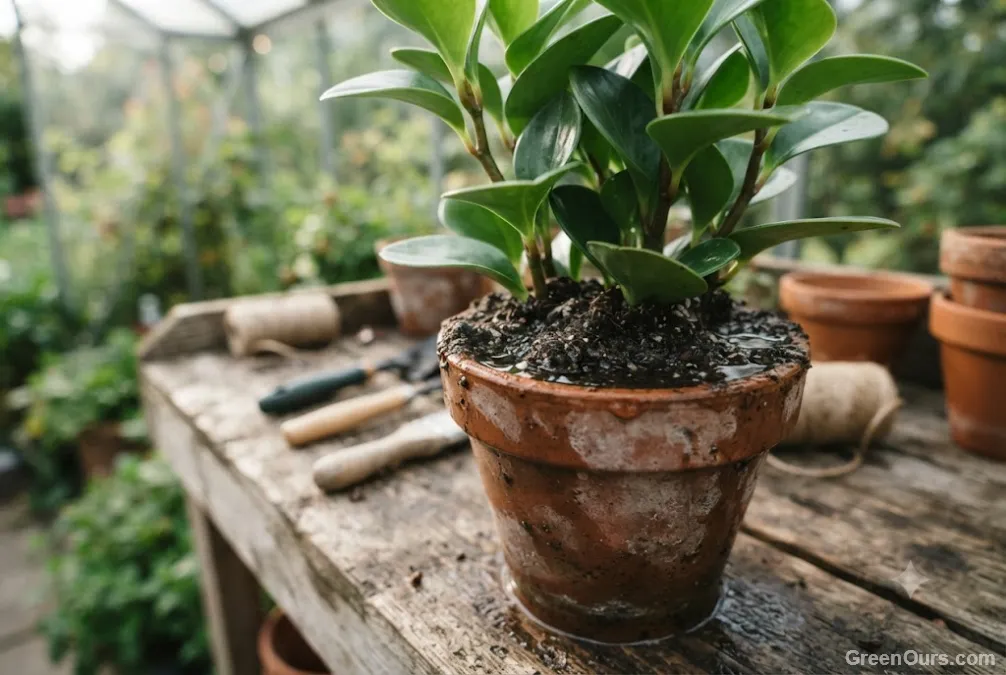
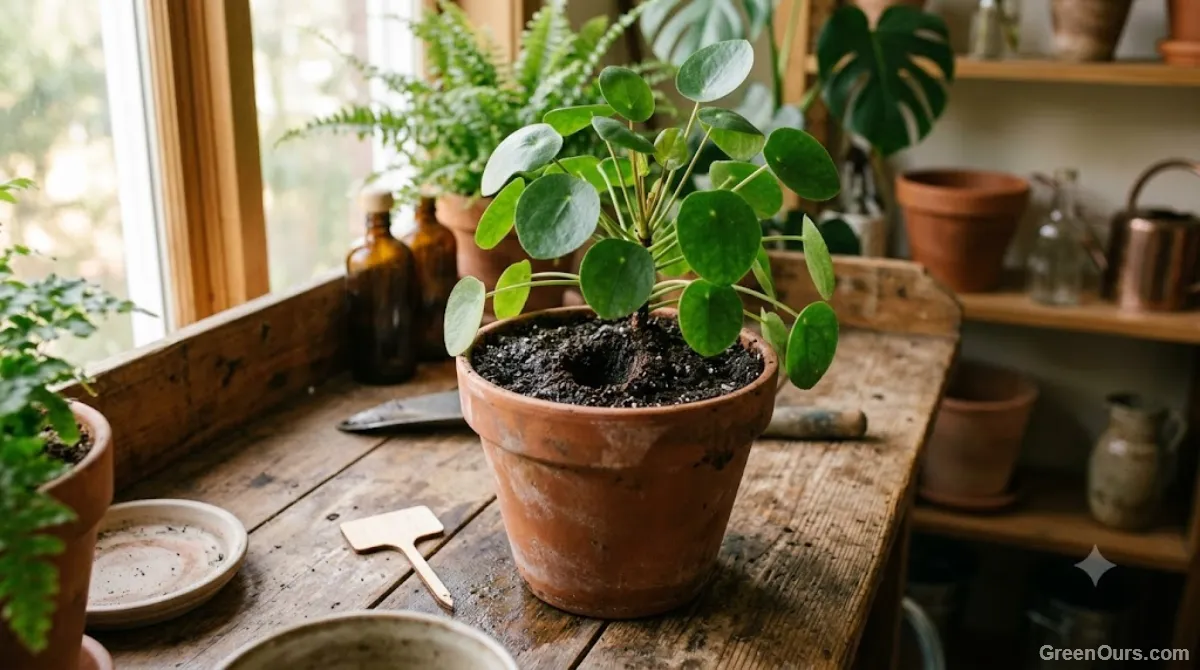
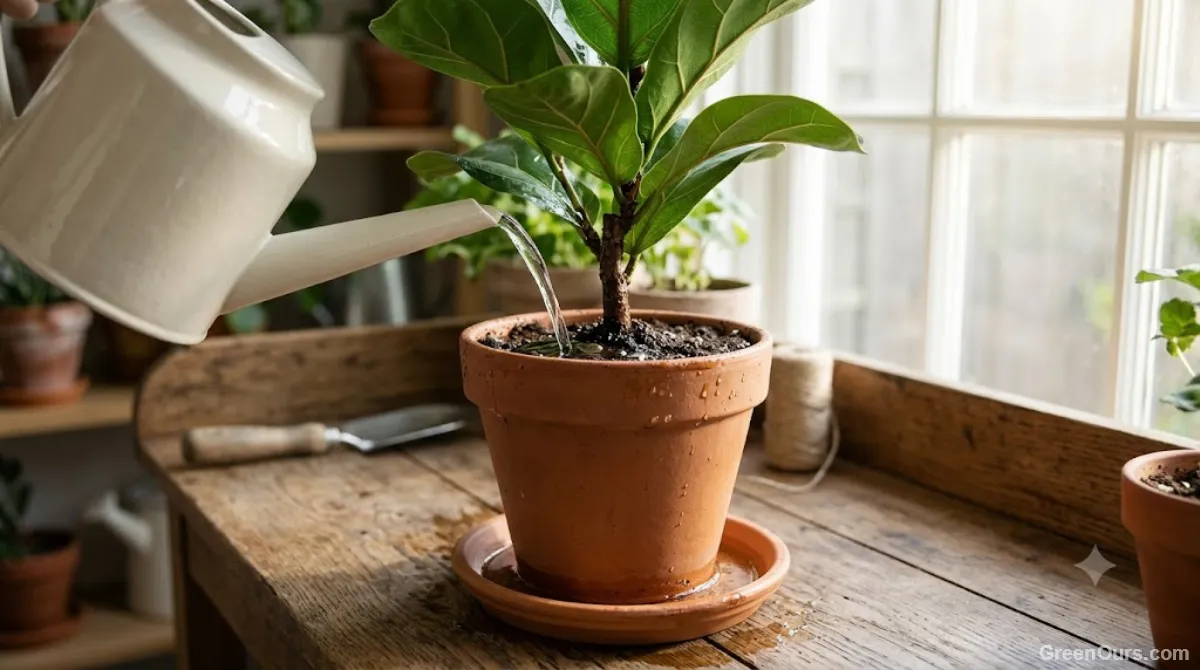
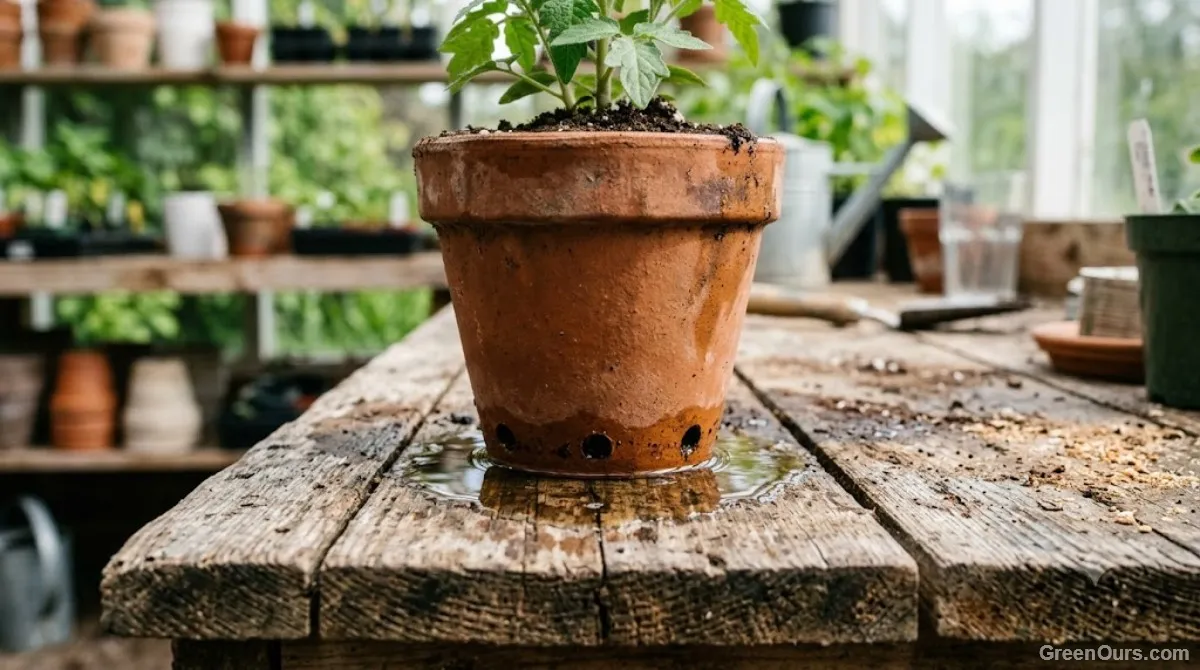
Container soil requires a tailored testing approach due to bounded pot geometry. Saturate the container thoroughly with water until liquid flows freely out of the bottom drainage holes. Let the pot sit undisturbed for 10 minutes so the growing media settles to its natural holding capacity.
Next, pour a measured cup of water evenly over the soil surface and observe the response. Water should begin discharging from the bottom drainage openings within 5 to 10 seconds. If water pools on the top surface for longer than 30 seconds before sinking, the potting mix has compacted, decomposed, or accumulated excess fine particles that obstruct drainage channels.
Reading Your Results: What the Numbers Mean
For in-ground sites and raised frames, evaluate your calculated hourly percolation rate against standard horticultural benchmarks to determine site suitability:
- 1 to 3 inches per hour (Ideal Drainage): This is the sweet spot for the vast majority of garden crops, perennials, fruit trees, and ornamental shrubs. Soil in this range maintains an optimum ratio of water retention to air-filled pore space. You can plant directly without structural modification.
- 3 to 6 inches per hour (Fast Drainage): Excellent for drought-tolerant species, Mediterranean herbs, lavender, and native prairie flora. However, standard garden vegetables and thirsty ornamentals in this soil will require frequent irrigation and thick organic mulch layers to prevent rapid moisture loss.
- Under 1 inch per hour (Slow/Poor Drainage): Indicates dense clay, severe surface compaction, or poor pore structure. Water stays in the root zone too long, placing plants at high risk of oxygen deprivation and fungal root rot. Extensive soil amendment or elevated bed construction is required.
- Standing water after 4 hours (Severe Impedance): Signals an impermeable hardpan layer, high water table, or extreme clay shelf. Deep mechanical loosening, subsurface drainage installation, or dedicated raised bed systems are mandatory before planting.
Evaluating these measurements helps you match specific plant selections to existing site conditions. While deep-rooted perennials require dependable subsoil drainage down to 24 inches, shallow annual flowers can thrive if the top 8 to 12 inches of soil are well-aerated and rich in organic humus.
Always account for seasonal weather patterns when interpreting test data. A percolation test conducted during dry mid-summer weather may yield artifically high drain rates due to deep shrinkage cracks in native clay. Conversely, running the test during wet early spring conditions reflects peak subsoil saturation and provides a realistic worst-case benchmark.
Fixing Slow-Draining Soil
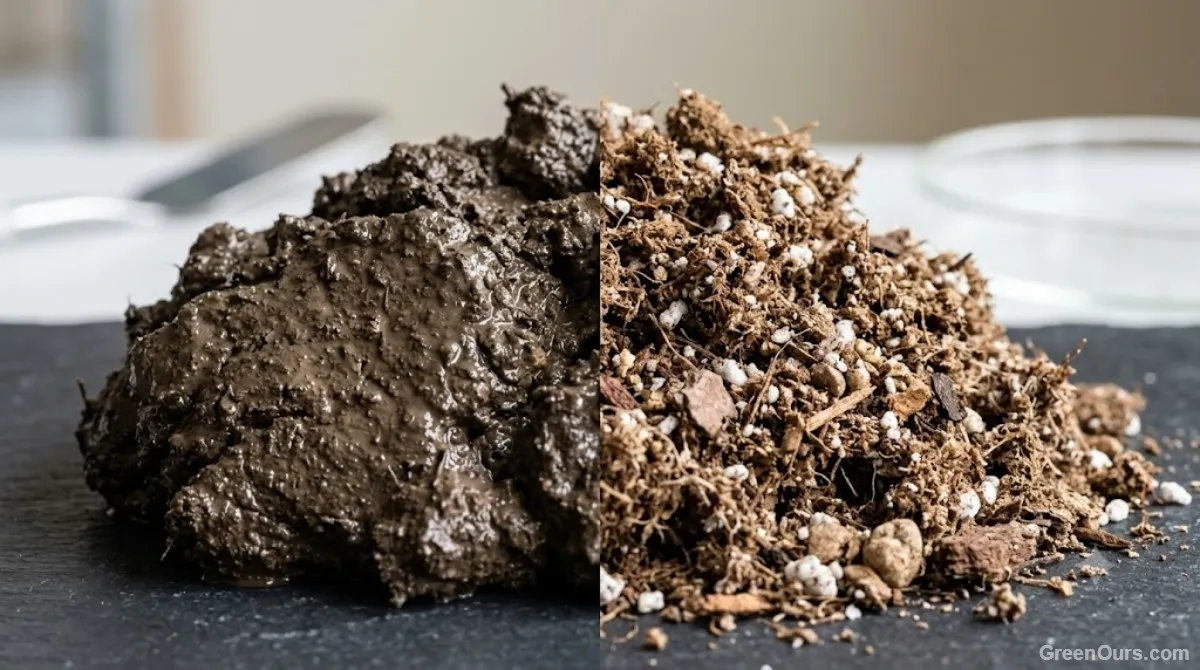
If your percolation test reveals slow drainage, targeted soil remediation is necessary before planting. A widespread gardening myth suggests adding building sand to heavy clay soil to improve drainage. In reality, adding sand to clay without adding massive volumes of coarse organic matter creates a dense, concrete-like mixture that worsens compaction. Effective soil improvement relies on mechanical fracturing and organic aggregation.
Break Up Compaction First
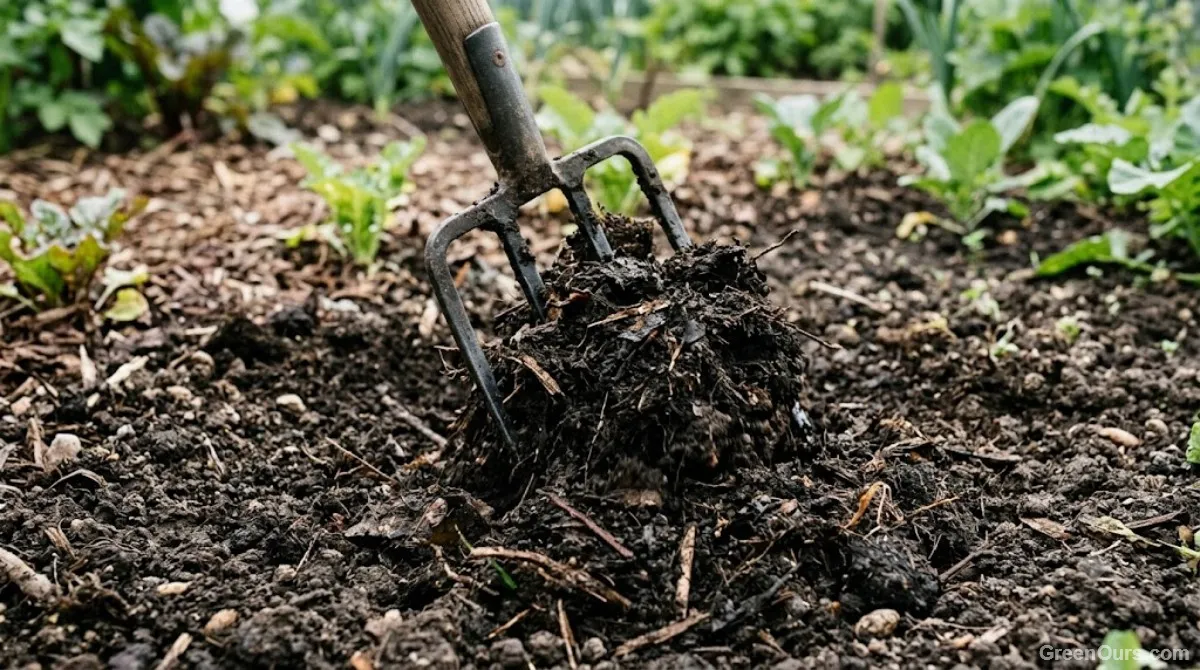
Insert a sturdy garden fork or broadfork 10 to 12 inches deep into the soil across the planting area. Gently leverage the handle back to crack and fracture the dense subsoil without completely turning it over. This method opens vertical fissures for air and water penetration while preserving delicate native soil microbes and fungal networks.
Preventing recurrent compaction is equally important. Avoid walking on garden beds when the ground is wet, as foot pressure collapses soil macropores instantly. Establishing permanent access pathways keeps heavy footwear off growing areas, preserving open soil channels permanently.
Add Coarse Organic Matter
Spread a 2 to 3-inch layer of high-quality organic compost, aged leaf mold, or fine pine bark across the bed, and blend it into the top 8 to 10 inches of soil. Coarse organic matter provides food for earthworms and soil organisms. As these organisms consume and move organic matter, they excrete glues that bind mineral particles into stable, crumbly aggregates, creating lasting pore spaces.
For severe clay soils, incorporating expanded shale or expanded clay granules at a rate of 10% by volume adds permanent physical pore structure that never breaks down or compresses over time.
Rebuild Rather Than Patch Containers
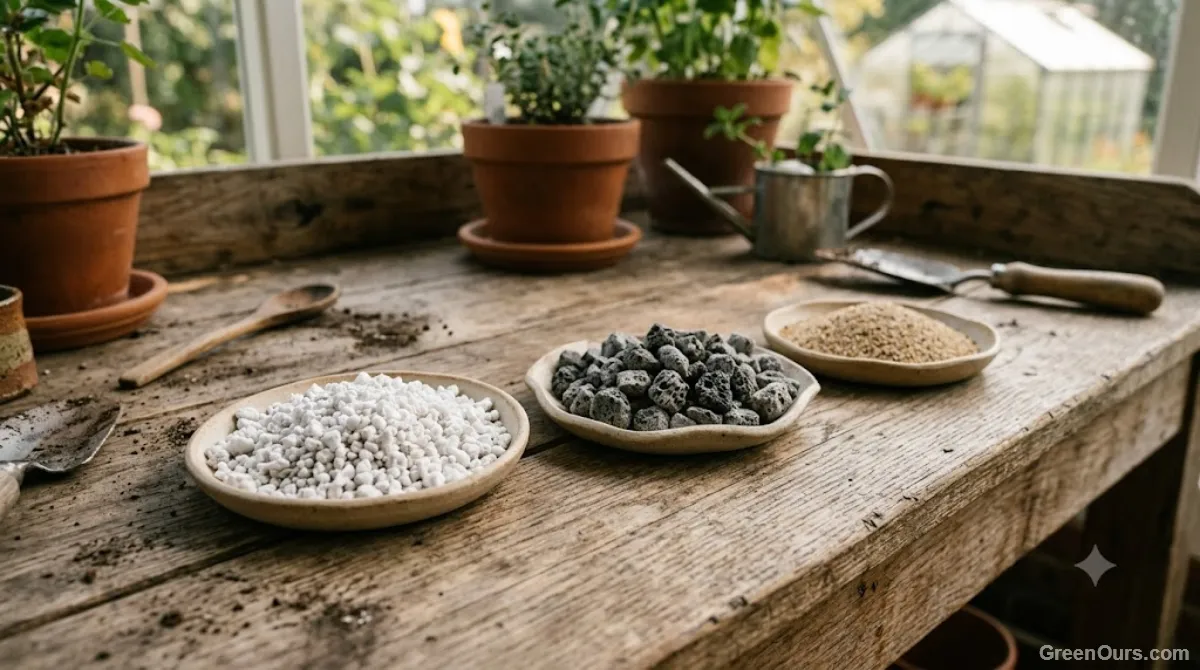
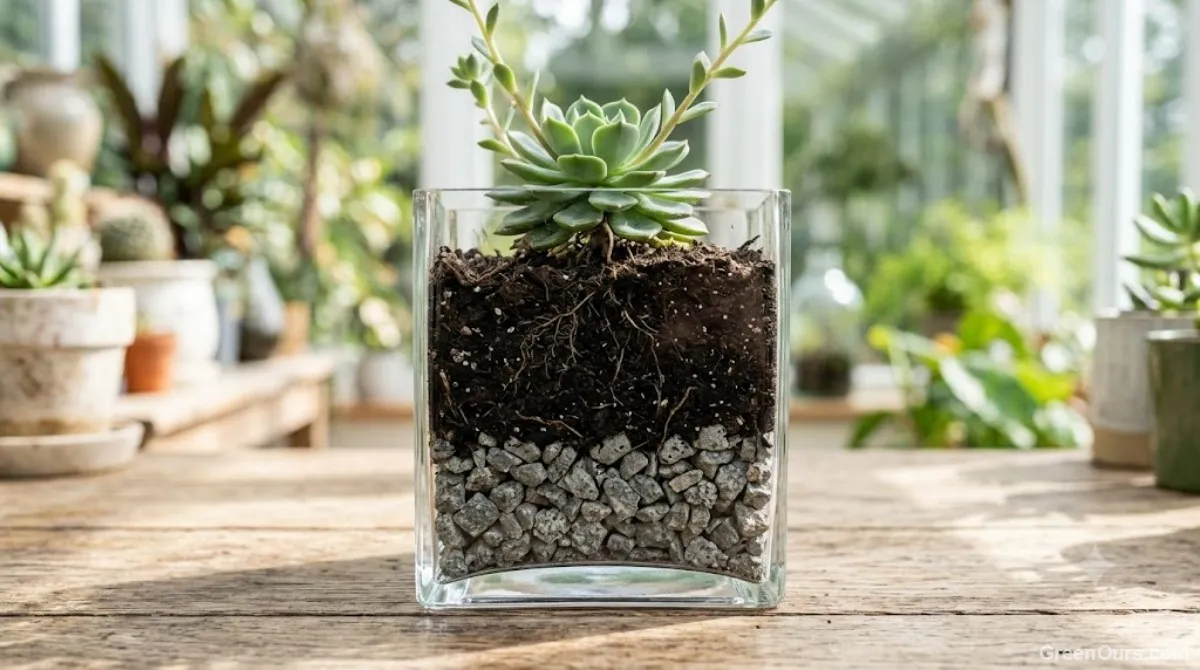
When container media fails a drainage check, replace the degraded potting mix entirely. Choose a high-porosity potting substrate formulated with coarse perlite, horticultural pumice, or aged bark chips to guarantee continuous drainage and optimal root aeration.
When Drainage Problems Point to a Bigger Issue
When test holes retain standing water past the 4-hour mark, subsoil hardpan or a shallow water table is present. Standard surface tilling will not solve deep subsoil bottlenecks because excess rainwater simply collects on top of the underground clay barrier, forming a hidden subterranean pond right where deep roots grow.
In these challenging site scenarios, constructing raised planter boxes 12 to 18 inches high and filling them with a custom, free-draining soil mix completely circumvents subterranean drainage issues. Alternatively, installing sub-surface French drains or swales diverts excess surface runoff safely away from primary planting zones toward rain gardens or drainage outlets.
Testing site percolation before inserting a single plant removes guesswork and protects your garden investment. By assessing your soil's physical capability early and making targeted improvements, you ensure vigorous root development, resilient plant growth, and higher yields season after season.