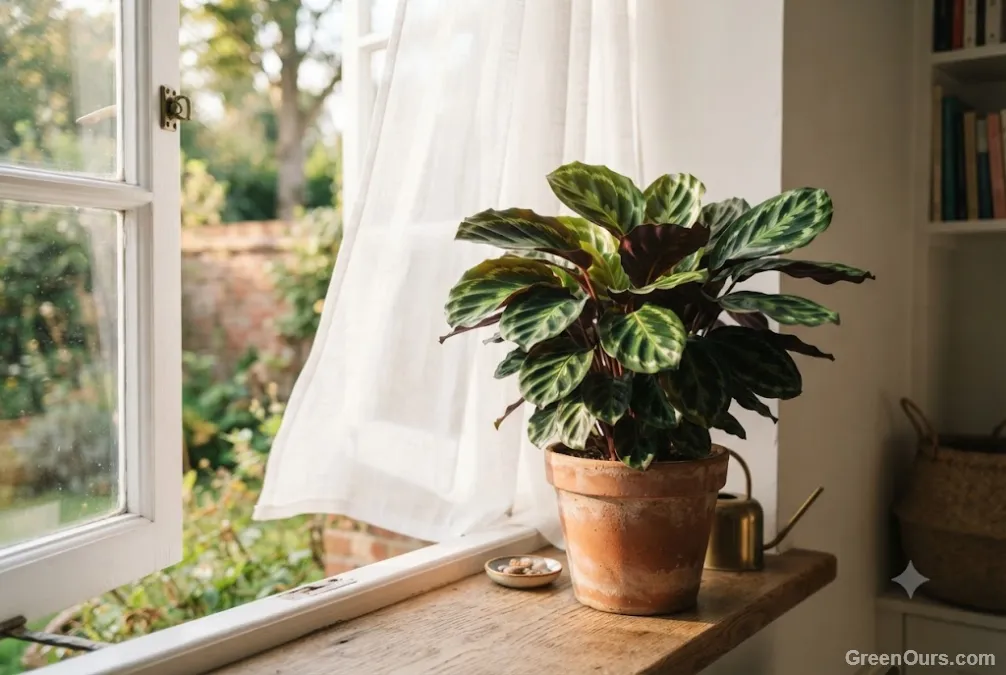
Catching Spider Mites Before You See Webbing
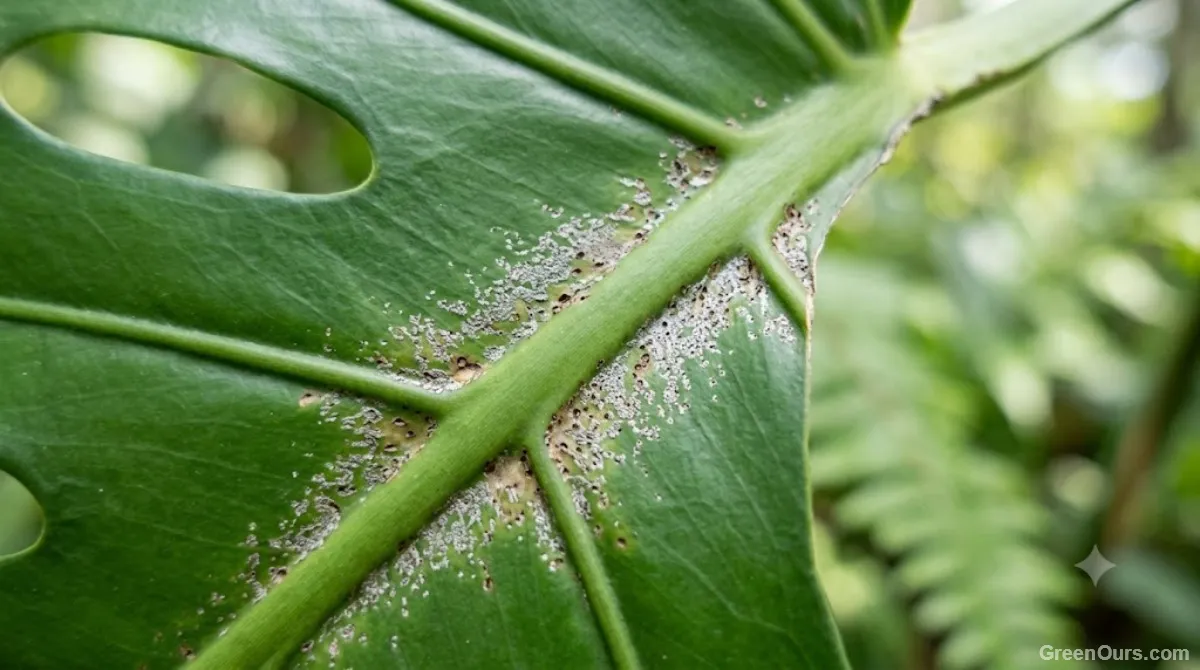
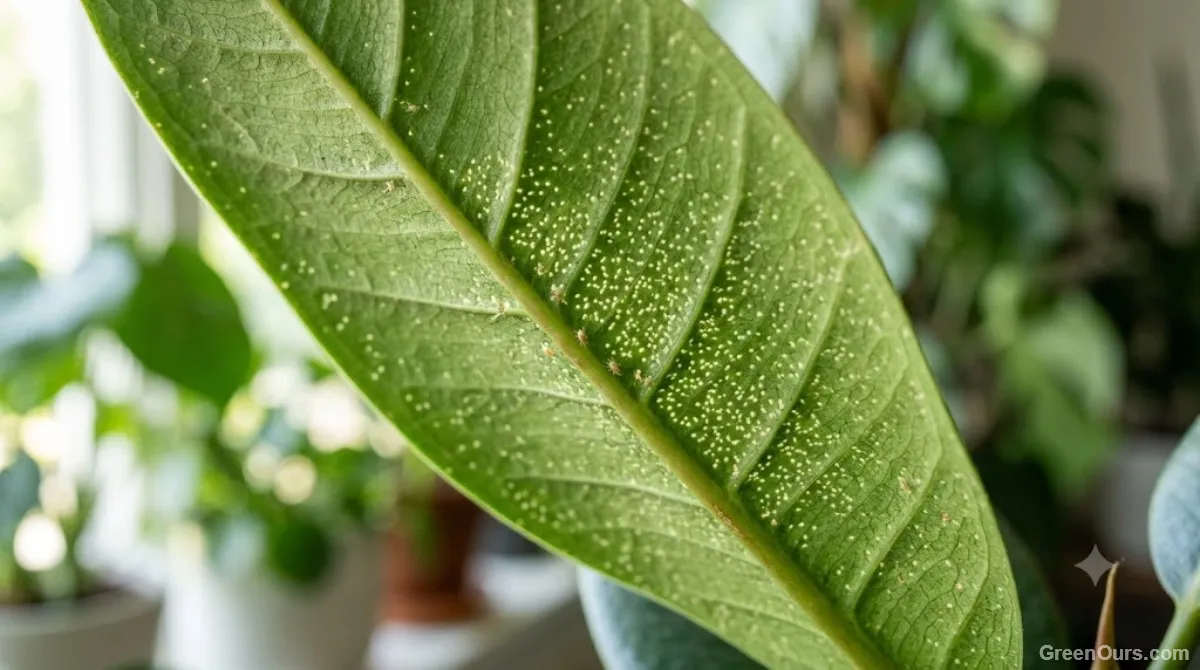
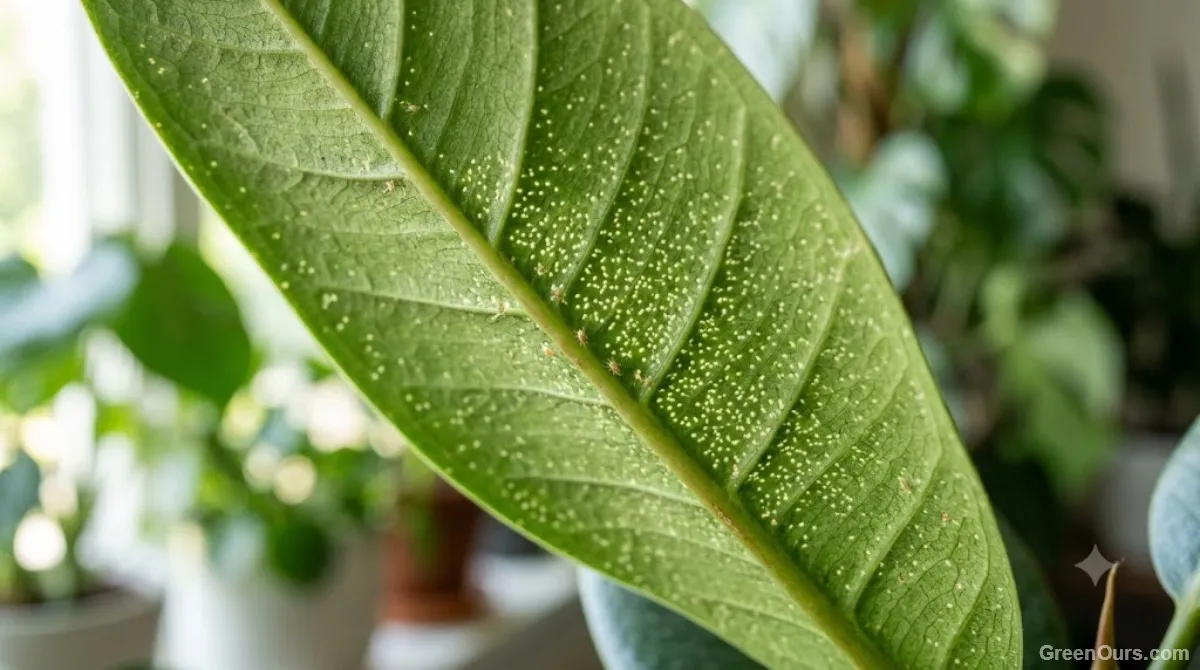
Webbing is a late-stage sign. Look earlier, and look at the underside of the leaf, not the top. Spider mites feed by puncturing individual plant cells and drawing out the contents, which leaves behind tiny pale or yellowish specks — a pattern called stippling.
At first, stippling can look like dust or a minor watering issue. The difference is texture and pattern: mite damage feels slightly rough under a fingertip and clusters along the leaf veins rather than spreading evenly. Check susceptible plants — anything with thin, tender leaves — once a week, holding each leaf up to the light.
Confirm It's Mites, Not Something Else
Stippling alone isn't proof. Nutrient deficiencies, thrips, and even hard water can produce similar-looking spotting. Before treating, confirm the cause.
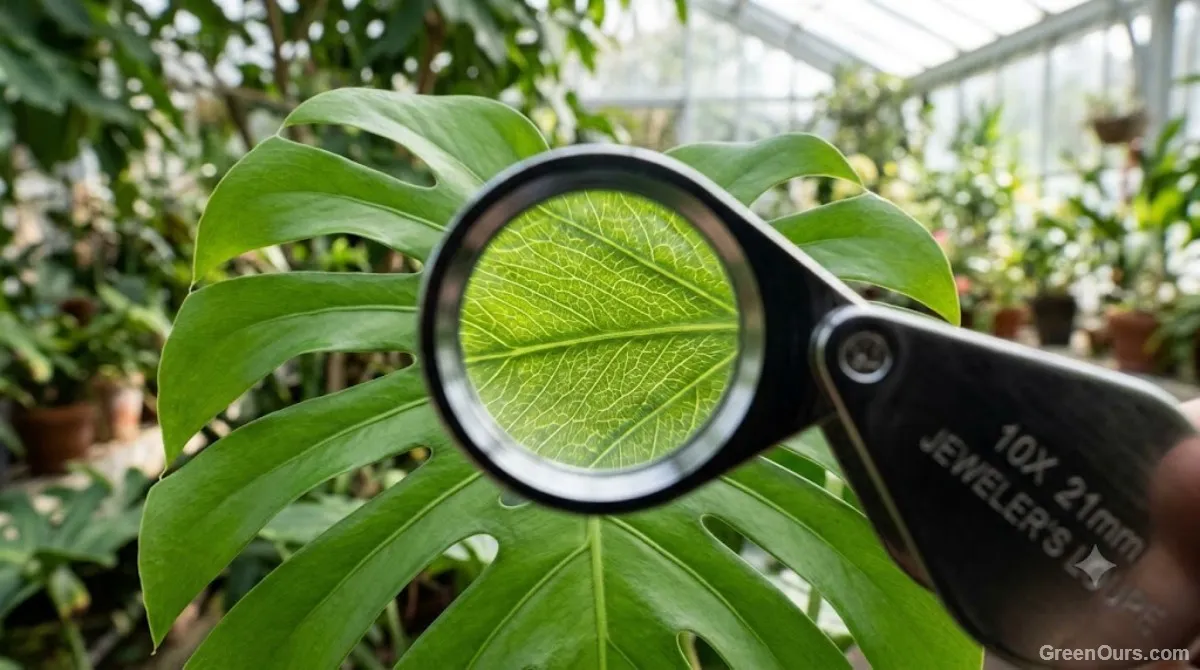
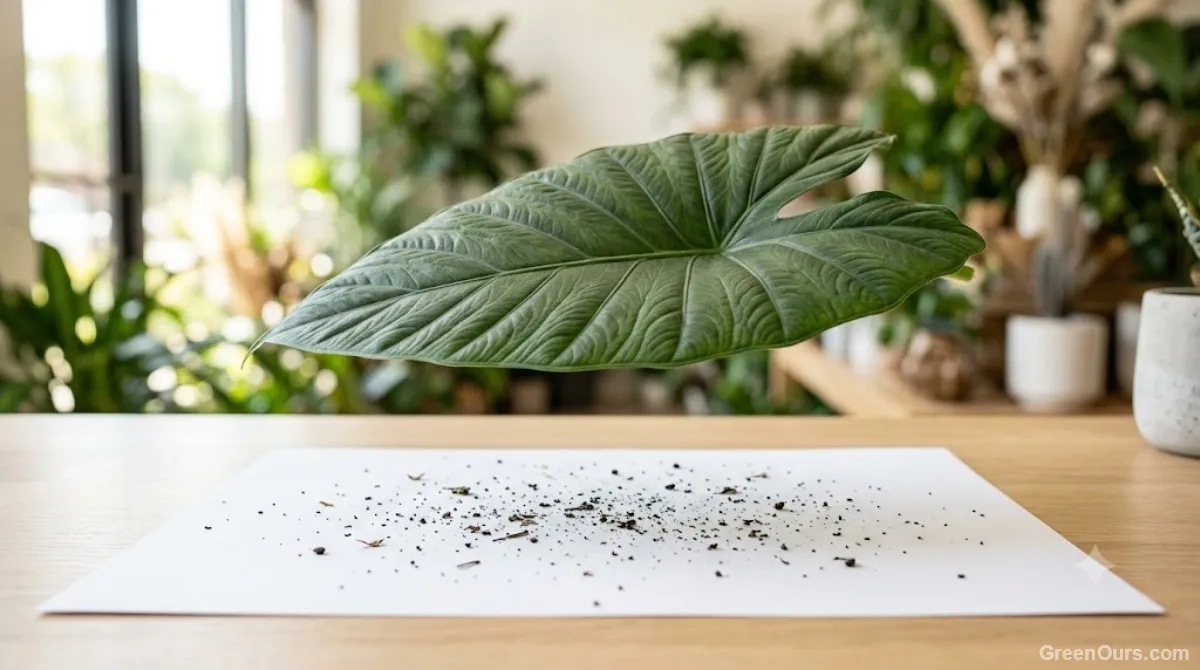
Hold a plain sheet of white paper under a suspect leaf and tap the leaf firmly a few times. Spider mites are barely visible to the naked eye, but on white paper, they show up as tiny moving dots — a magnifying glass makes this easier. If the specks stay still, you're likely looking at dust or debris, not mites.
Thrips leave silvery, papery patches with dark droppings. Spider mites leave fine, uniform stippling with no droppings visible. If you see webbing at leaf joints, that confirms mites on its own — no test needed.
Why Indoor Conditions Favor Rapid Spread
Spider mites reproduce faster as temperatures rise. In warm rooms, a full life cycle — egg to egg-laying adult — can complete in as little as five days. In cooler conditions, it can stretch to three weeks. Most heated or air-conditioned homes sit well within the range that favors fast reproduction.
Humidity matters just as much. Spider mites struggle to reproduce above roughly 60% relative humidity, but most indoor air, especially during winter heating season, falls well below 50%. That combination — warm, dry, still air — is close to ideal for them and difficult for most owners to notice until the damage is visible.
Treatment: Step by Step
- Isolate the affected plant immediately. Spider mites travel between plants that touch or sit close together, so distance is the first line of defense.
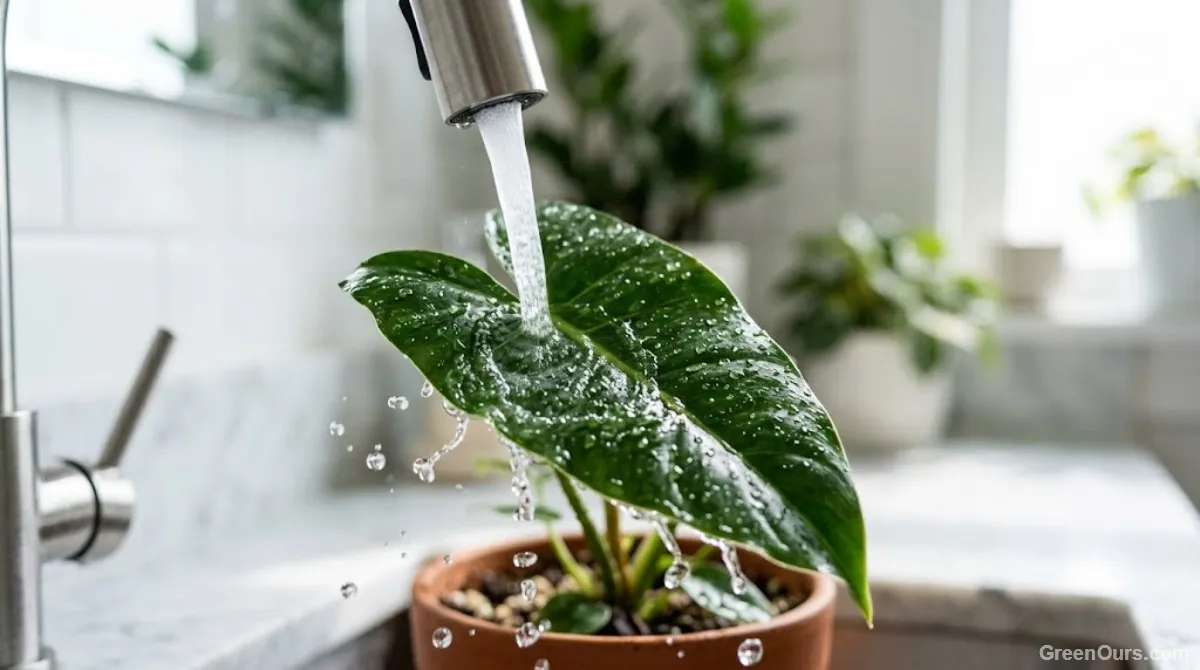
- Rinse all leaves, top and underside, under a sink sprayer or shower head. This physically removes a large share of the mite population and their eggs before any product is applied.
- Apply neem oil or insecticidal soap, coating both sides of every leaf. Treat every five to seven days for two to three weeks — mite eggs aren't killed by a single application, so repeat treatments are non-negotiable.
- Wipe down nearby surfaces, including windowsills and plant trays, since mites can survive briefly off the plant.
Raising Humidity to Break the Cycle
Humidity Targets
Aim to keep relative humidity above 50% around vulnerable plants — a small humidifier, a pebble tray, or grouping plants together all raise local humidity without major cost. This alone won't eliminate an active infestation, but it slows reproduction significantly while treatment takes effect.
Airflow Adjustments
Still air lets mites settle undisturbed. A small fan set to low, run for a few hours a day near treated plants, disrupts that stillness and makes the environment less hospitable without stressing the plant.
Monitoring After Treatment
Check treated plants weekly for at least three weeks after the last application. Look specifically at new growth first — it's softer and more attractive to any mites that survived. A clean check at the three-week mark is a reasonable sign the population is under control, not necessarily eliminated for good.
When to Escalate
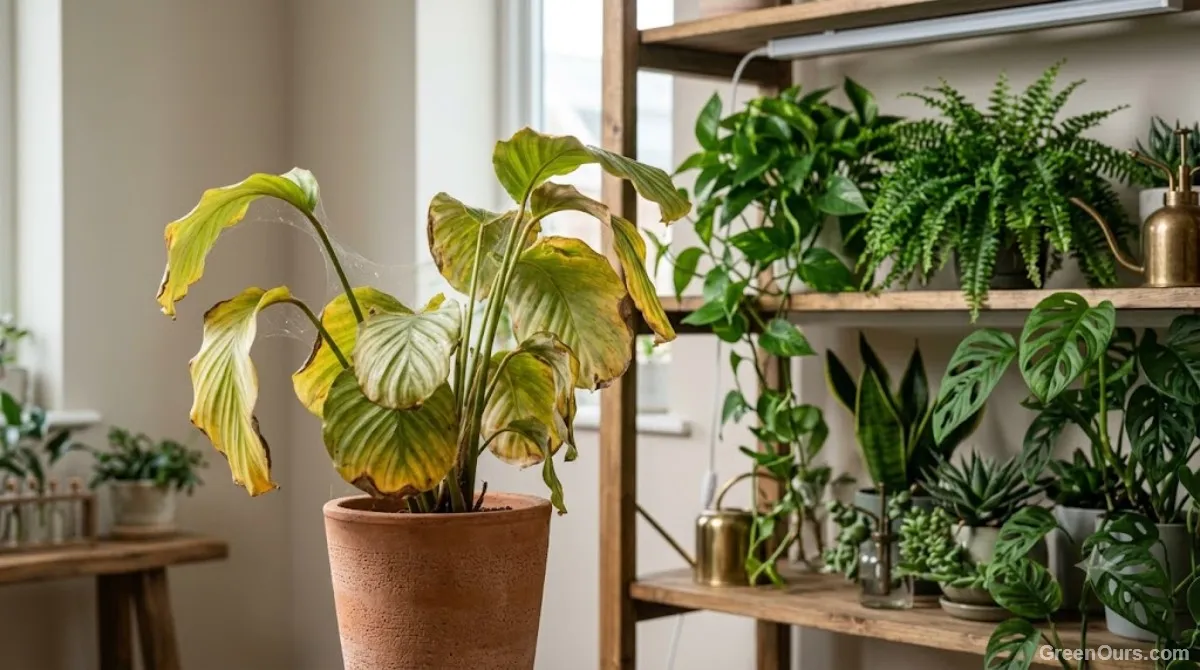
If stippling or webbing returns after two full treatment cycles, the infestation has likely spread to a spot you haven't treated, such as a neighboring plant or a windowsill crevice. At that point, consider predatory mites as a biological control, or isolate and treat every plant in the room simultaneously rather than one at a time. A plant that's lost most of its leaf tissue to mite damage, despite repeated treatment, is usually better replaced than nursed back.
Read more on diagnosing and treating common houseplant pests.
Spider mites aren't difficult to beat, but they are unforgiving of inconsistency. Treat on schedule, keep humidity up, and check leaves before the damage does the talking for you.