The Telltale Signs of Thrips Damage
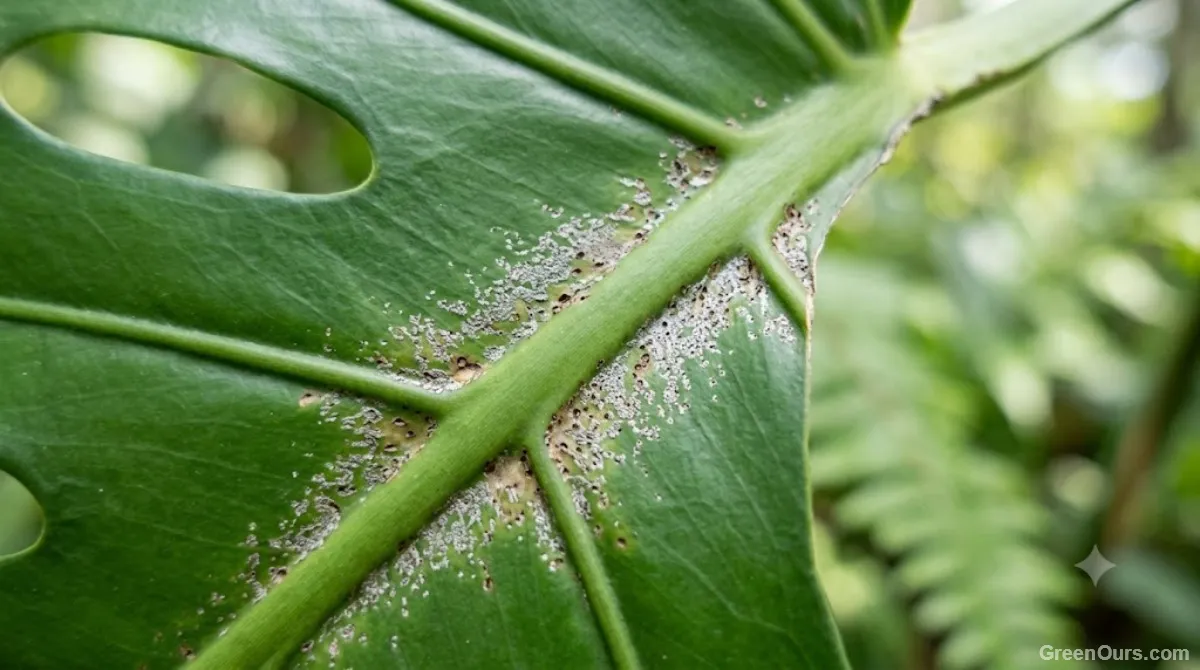
Thrips feed with a mouthpart that works like a straw crossed with a rasp. They puncture the surface of a leaf, scrape the cells open, then suck up the contents that leak out. The result isn't a hole — it's a pale, silvery scar where the leaf tissue has collapsed and dried out.
On most houseplants, that damage shows up first along the midrib or near the leaf base, where thrips tend to cluster while feeding. Look for patches that catch the light differently than the surrounding leaf tissue — almost like a smear of dried glue that's gone matte and papery. Plants with thin or tender leaves, including pothos, philodendron, and anything actively pushing new growth, tend to show symptoms fastest.
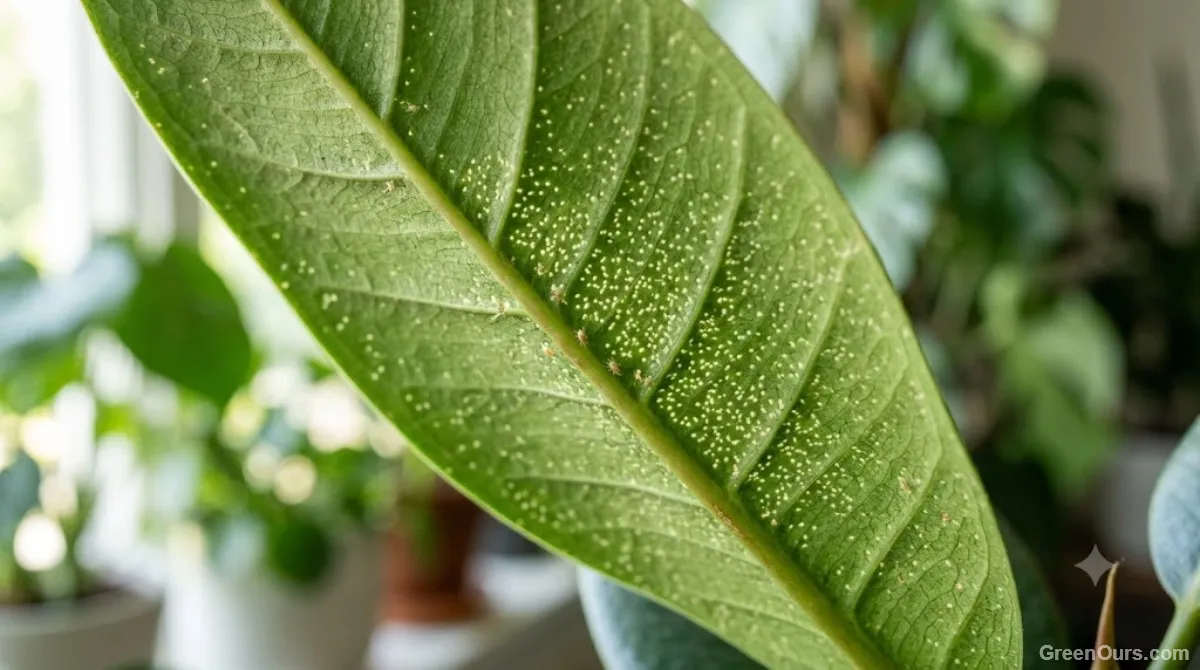
Silver Streaking and Stippling
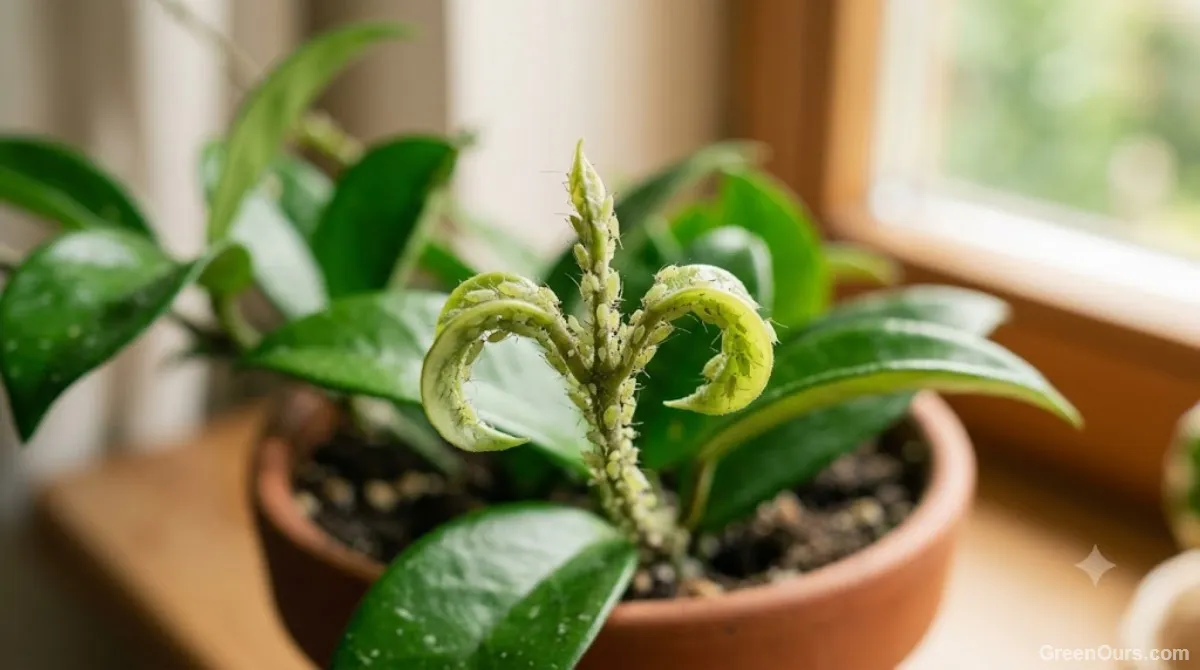
Early damage looks like fine stippling — dozens of tiny pale dots clustered together. As feeding continues, those dots merge into streaks and larger silvered patches. New growth is often distorted, puckered, or curled if thrips fed on the leaf while it was still unfurling inside the bud.
Black Specks: Frass, Not Dirt
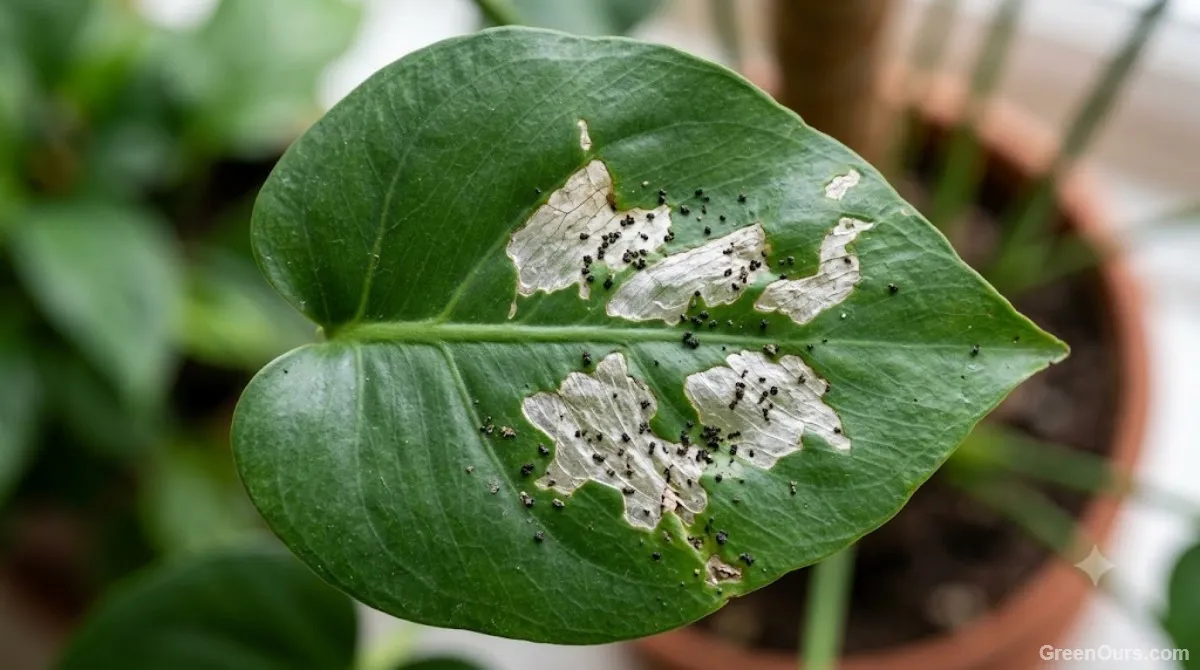
Check the damaged areas closely for small black or dark brown dots, roughly the size of a pinpoint. That's frass — thrips excrement — and it's one of the most reliable confirmation signs available to you without a magnifying glass. Dust or soil splatter wipes away easily; frass is sticky and stays put even under a damp cloth.
Confirming an Infestation Before You Treat It
Silvering alone isn't enough to confirm thrips. Sun scorch, spider mite feeding, and even hard water spotting can look similar from arm's length. Confirm what you're actually dealing with before you spend time and product on the wrong treatment.
The White Paper Tap Test
Hold a sheet of white paper or a paper towel under a damaged leaf and tap the leaf firmly two or three times. Thrips are fast but clumsy fliers, and a firm tap knocks them loose. Look for tiny, elongated insects — roughly 1 to 2mm long, pale yellow to dark brown depending on the species — moving across the paper. A hand lens makes this easier but isn't strictly necessary.
Checking Under Leaves and in Blooms
Thrips favor tight, protected spaces: the undersides of leaves, unopened buds, and the folds where new leaves haven't fully separated yet. If your plant is flowering, check inside the blooms themselves — thrips will often concentrate there over open leaf surfaces, since the enclosed space offers better protection.
Spider mites leave fine webbing and stippling that's evenly scattered across a leaf. Thrips damage clusters near the midrib and leaf base, and it comes paired with visible frass. If you see webbing, you're dealing with mites, not thrips — the treatment approach is different.
Treatment: Step by Step
- Isolate the plant immediately. Thrips move easily between plants that are touching or placed close together, and isolation is the single most effective step for containing the spread.
- Rinse the plant under lukewarm running water, working leaves gently between your fingers to dislodge adults and nymphs. Do this over a sink, not near other plants.
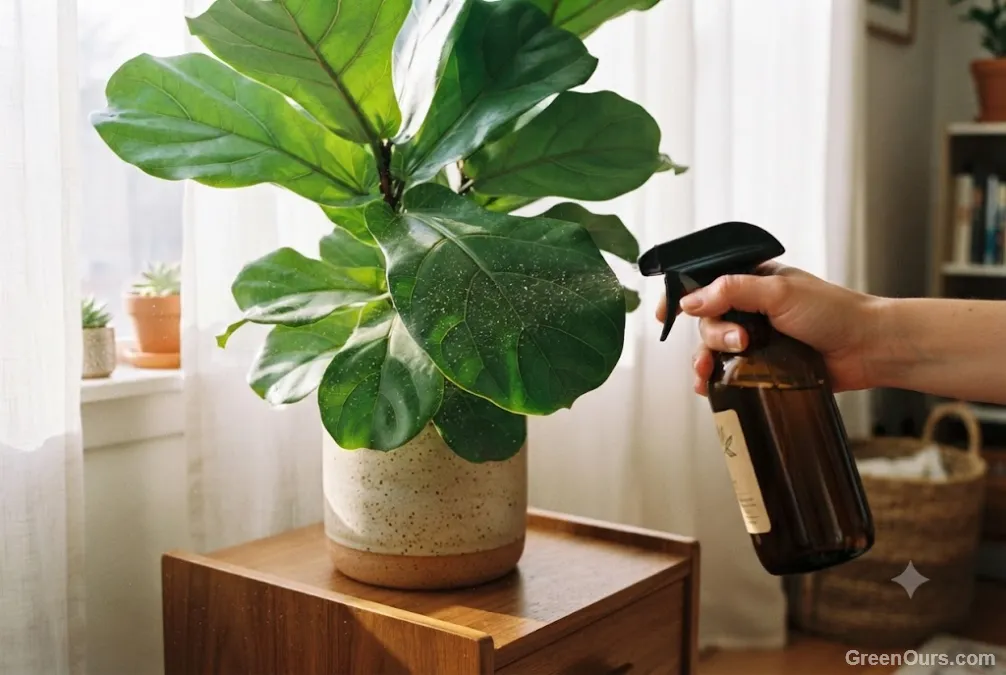
- Apply insecticidal soap or neem oil to all leaf surfaces, top and bottom, plus stems and buds. Coverage matters more than concentration — thrips hiding in unsprayed spots will simply repopulate within days.
- Repeat the treatment every 5 to 7 days for at least three cycles. This interval targets newly hatched nymphs before they mature into egg-laying adults.
- Replace the top inch of soil if pupae are suspected in the growing medium, since some thrips species pupate in soil rather than on the plant itself.
Breaking the Life Cycle: Realistic Timelines
A single treatment rarely finishes the job, and that's not a sign it failed — it's a sign of how thrips actually develop.
Egg, Larva, Pupa, Adult
Thrips eggs are laid inside plant tissue, where sprays can't reach them. Depending on temperature, eggs hatch in 3 to 8 days. The larval stage feeds actively for about a week before dropping to the soil to pupate, a stage that can last another 5 to 10 days before a new adult emerges ready to feed and lay eggs of its own.
That full cycle can complete in as little as two weeks in warm indoor conditions, and warmer rooms speed it up further. It's why a single spray only ever removes the adults and larvae present on that day — expect to treat for four to six weeks before you're confident the population is actually gone, not just reduced.
Preventing Thrips From Coming Back
Thrips are usually introduced from outside the home, either on a new plant or on cut flowers brought in from a grocery store or garden center, so prevention starts before an infestation ever begins.
Quarantine New Plants
Keep new plants separated from your existing collection for two to three weeks. That's long enough for a hidden thrips population to reveal itself through visible damage or captured insects, without risking exposure to plants you've already treated and cleared.
Sticky Traps as Early Warning
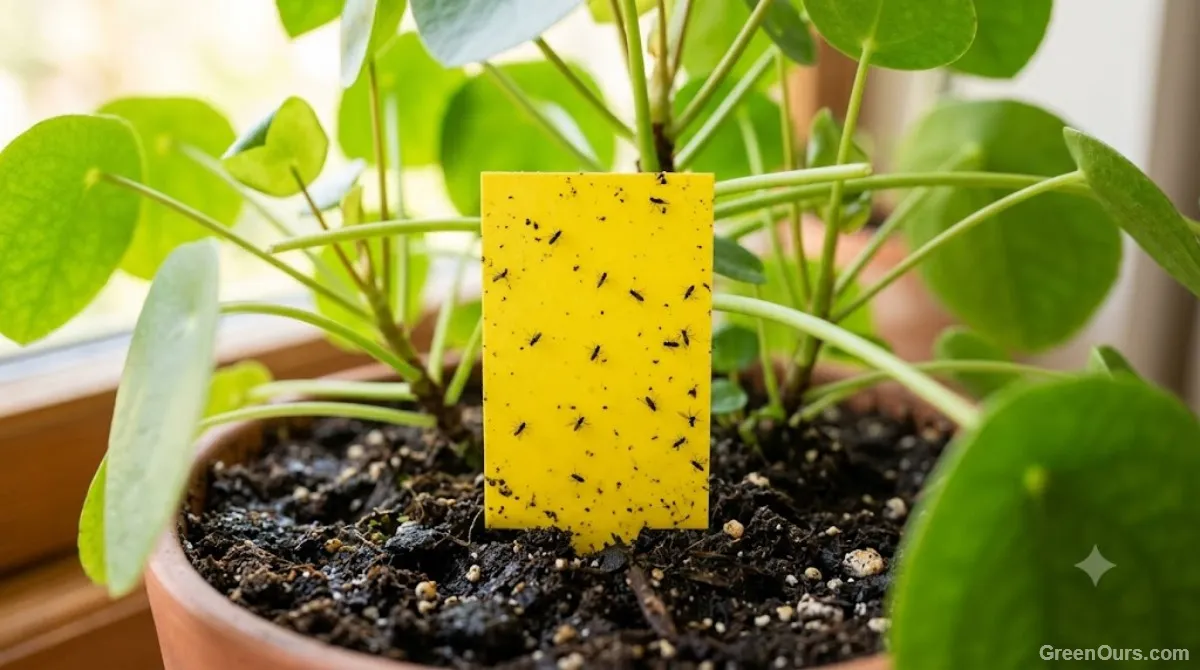
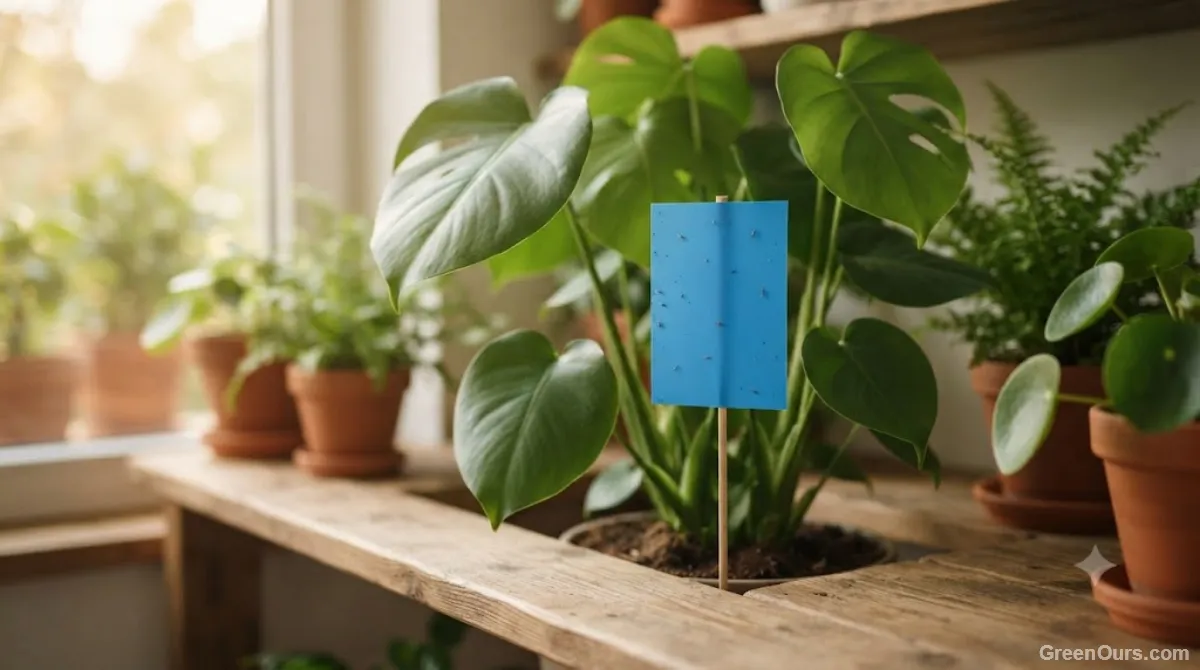
Blue sticky traps are more effective than yellow for catching adult thrips specifically, and placing a few near vulnerable plants gives you an early warning system. Checking them weekly lets you catch a new infestation before it does visible, lasting damage.
When to Seek Further Help
If a plant shows no improvement after two full treatment cycles, or if thrips have spread to several plants despite isolation, it may be time to bring in a professional. This is especially true for plants also showing virus-like symptoms — thrips are known to spread tospoviruses, and a plant infected that way won't recover regardless of how well the pest itself is controlled.
What to Do Next
Thrips are stubborn, but they're not invincible. Stay consistent with the treatment interval, watch for the early silvering rather than waiting to spot the insects themselves, and most infestations clear within a month and a half of steady attention.
Read our latest pest and disease diagnostics for more plant problems solved.