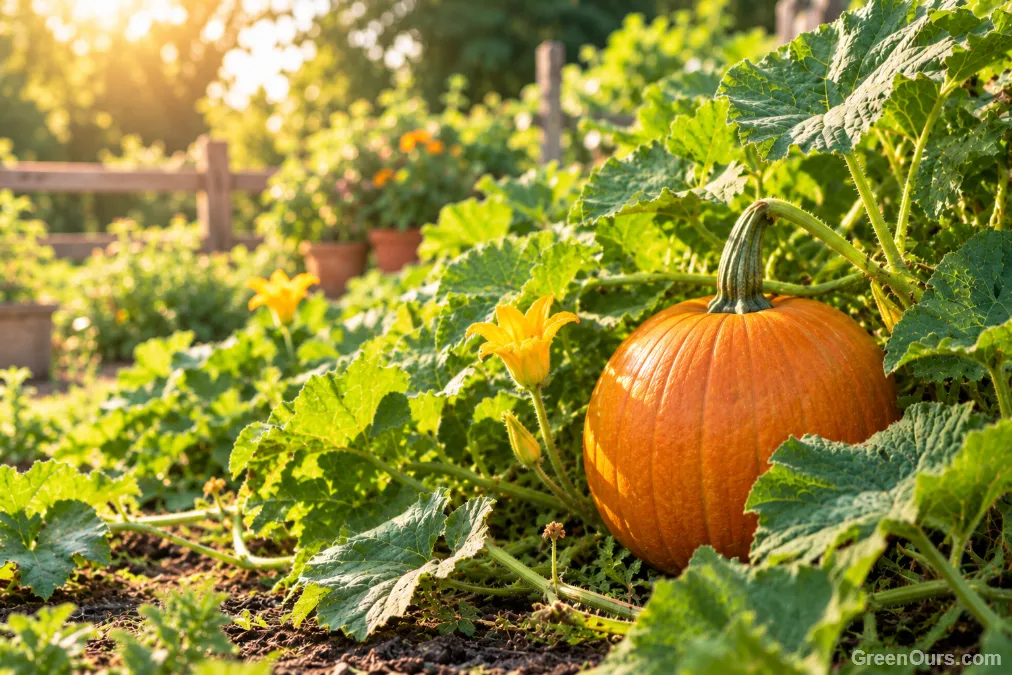

- WarmthSoil at 16–18°C (60–65°F), no frost
- Full sun6–8 hours of direct light
- Rich soilFertile and well draining
- Steady waterEven moisture all season
What Pumpkins Need to Be Happy
Think of pumpkins as summer lovers. They’re warm-season plants, and frost is their enemy: a single cold night can finish off a young vine. That’s why timing matters more with pumpkins than with many other crops.
Beyond warmth, they want a spot with at least six to eight hours of direct sun, fertile soil that drains well, and consistent moisture. Give them those four things and you’ve done most of the work.
Plan the season first Many varieties take roughly 90 to 120 days to mature, though some run shorter or longer, so a pumpkin sown in midsummer may not be ready for a late-October porch. Plan the growing season first, and the decorating comes after.
Choosing a Variety That Fits Your Space
Beginners often get tripped up here. Some pumpkins are polite and some are, well, enthusiastic. A big carving variety can send vines several meters across the garden, which is wonderful if you have the space and a little overwhelming if you don’t.
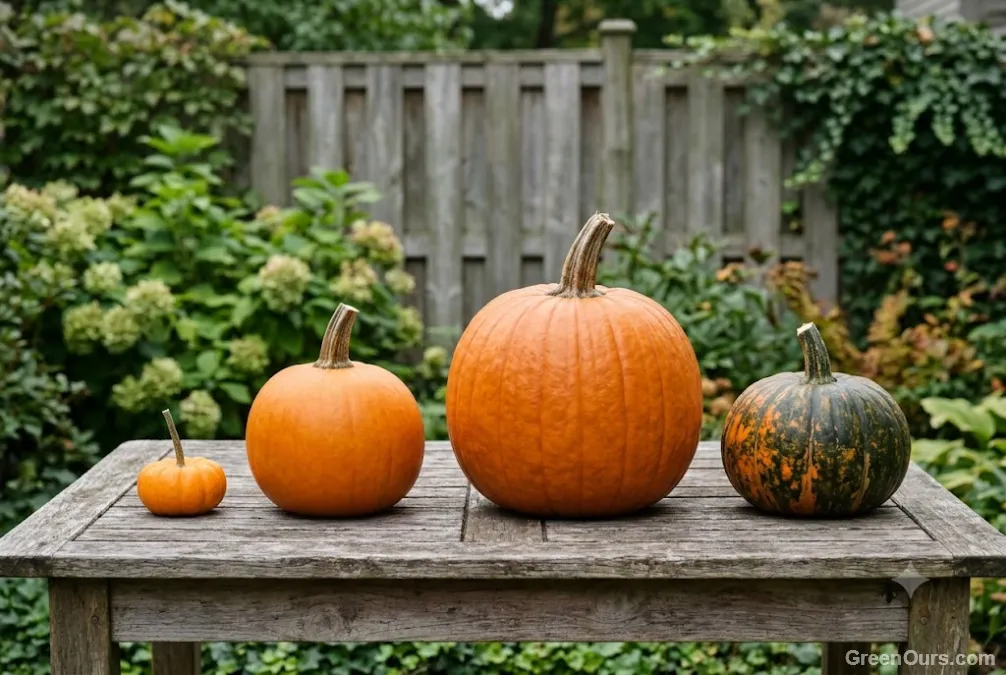
Mini / ornamental
Palm-sized
Compact to moderate vines
Decorating, kids, large containers
Pie / sugar
2–3.5 kg (4–8 lb)
Medium-length vines
Baking and soups
Carving
5–14 kg (10–30 lb)
Long, sprawling vines
Jack-o’-lanterns
Bush / compact
Varies
Shorter vines
Small gardens, containers
Spacing varies a lot with the variety and with whether you plant in hills or rows, so follow your seed packet first. For a rough idea, home-garden guides put hills of vining pumpkins anywhere from about 1.2 to 3 m (4 to 10 ft) apart, with giant types needing even more. Bush types can sit much closer.
The packet will also list days to maturity. Check that number against the length of your warm season before you buy, and note whether the supplier counts from sowing or from transplanting.
Growing Pumpkins in Containers
Growing on a balcony? A compact habit doesn’t mean a small root system, so even bush pumpkins want a big pot. A common rule of thumb from container-growing guides, not a fixed requirement, is at least 40 liters (10 gallons), and bigger is better. Bush types such as ‘Baby Bear’ and ‘Bushkin’ suit containers best.
Mini vines can be trained up a securely anchored wire fence or sturdy tomato cage, though training is optional, and heavier fruit on any support may need a sling made from an old t-shirt or tights.
Trellis the right type Trellising suits mini and small-fruited types, not big carving pumpkins.
We list an example of compact pumpkin seeds and a large grow bag in the recommended products at the end of this article, and we may earn a commission on purchases made through those links.
When to Plant Pumpkins
Wait until the last frost has passed and the soil has warmed to at least 16–18°C (60–65°F). A cheap soil thermometer takes the guesswork out, and some guides prefer closer to 21°C (70°F). Cold, damp soil makes seeds rot instead of sprout, so it’s tempting to rush, but a week’s delay usually costs you nothing.
Count backward from frost Take your average first autumn frost and count backward by the days to maturity on your packet. That gives you the latest sensible sowing date, and sowing earlier leaves a little breathing room. This works in any climate.
If your growing season is short, you can start seeds indoors in biodegradable pots about three weeks before planting out. Pumpkins dislike having their roots disturbed, so a pot that goes straight into the ground helps. Harden the seedlings off for a few days first.
Not sure when your last frost falls? Your local extension service will have a reliable date. Here is how the season unfolds from there:
- Sow
After last frost
Sow into warm soil, or plant out hardened-off seedlings.
- Grow
All season
Water steadily, mulch, and check for pests.
- Flower
Male, then female
Hand-pollinate in the morning if fruit isn’t setting.
- Harvest
Before a hard freeze
Hard rind, dry stem, deep even color.
- Cure
1–2 weeks warm
Then store cool and dry at 10–15°C (50–60°F).
Preparing the Soil
Pumpkins are hungry plants, and a little effort before planting pays off all season. Loosen the soil to a spade’s depth and mix in plenty of well-rotted compost or aged manure. You’re aiming for soil that feels rich and crumbly, holds some moisture, but never sits waterlogged.
Many gardeners plant on low mounds, sometimes called hills, raised a few inches above the surrounding soil. They warm up faster and drain more easily, which suits young plants nicely.
Sowing and Planting
Sow seeds directly, or set out transplants if you started them indoors. Either way, work through these steps in order.
- Sow or transplant.
Sow seeds about 2.5 cm (1 in.) deep, two or three per mound. If you’re setting out transplants instead, plant them at the same depth they were growing in their pots and water them in well.
- Thin the seedlings.
Once they’ve sprouted and grown a few true leaves, thin to the strongest seedling. It feels ruthless, but crowded seedlings both end up weaker. Snip the extras at soil level rather than pulling them, so you don’t disturb the roots of the one you’re keeping.
- Mulch.
A light mulch of straw or shredded leaves helps keep the soil warm, steady, and weed-free.
Watering and Feeding
Extension guidance suggests a baseline of about 2.5–5 cm (1–2 in.) of water a week, rain included, but treat it as a starting point rather than a rule. Hot weather, sandy soil, big plants, and containers all raise the need. Push a finger into the soil: if it’s dry a few centimeters down, it’s time for a deep drink. Pumpkins are especially thirsty around seedling emergence and early flowering, and a shortage at bloom can mean poor fruit set.
Water at the base
Keep leaves dry to discourage powdery mildew.
Morning is best
Wet leaves linger damp overnight, so water early if you can.
Add mulch
A layer of mulch evens out moisture beautifully.
Stay consistent
Consistency matters more than quantity.
Feeding
Feeding depends on your soil, and many gardens need less than you’d think. A soil test tells you what your bed actually needs, and well-composted ground may need very little.
If your soil is poor, or you’re growing in a container, a balanced fertilizer at planting is a sensible start, following the product label. Some guides suggest a second feed as the vines begin to run, but it isn’t necessary for every garden. Heavy nitrogen tends to favor leaves over fruit, so go gently. Container plants need feeding more often.
Pollination: Helping Flowers Become Fruit
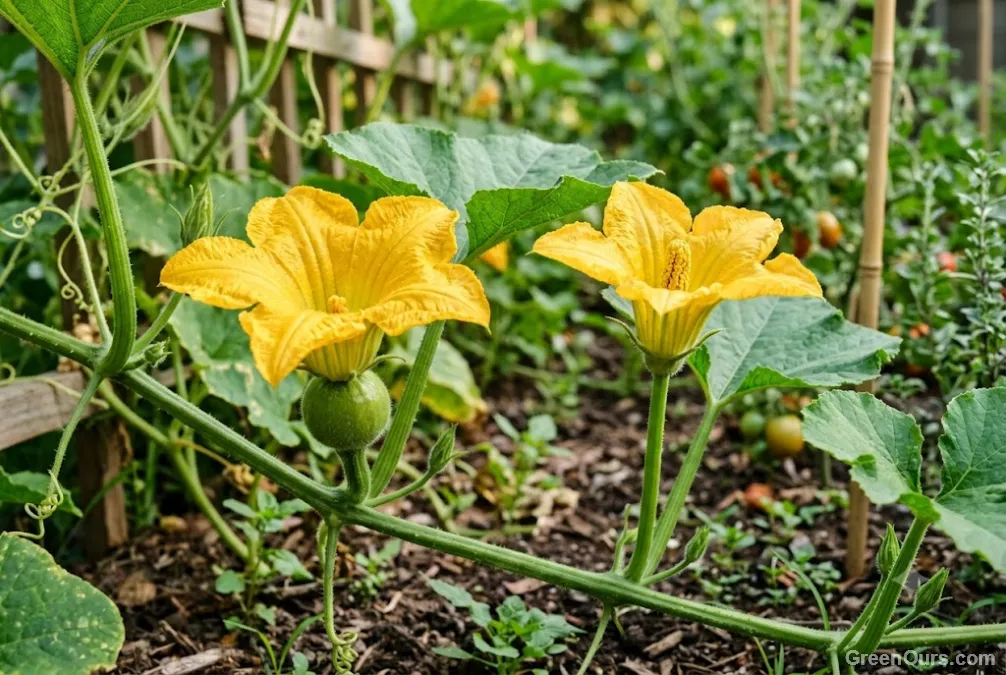
Here’s a part many of us don’t expect. Pumpkin plants produce separate male and female flowers, and you can tell them apart at a glance.
Male flower
Usually shows up first, on a slim, straight stem.
Female flower
Comes a little later. Look for the tiny pumpkin swelling just behind the bloom.
Bees normally do the transfer for you. If your flowers open but the little fruits shrivel and fall off, pollination may not be happening, which is common on balconies, in cold, wet, or windy weather, or when pollinators are scarce. You can step in by hand:
- Go early.
Work in the morning when flowers are freshly open, since female flowers tend to close by early afternoon.
- Pick a male flower.
Peel back the petals to expose the pollen-covered center. A small soft paintbrush works too.
- Dab the pollen.
Touch it gently to the center of a female flower. One male flower can often serve a few females, and it takes a minute.
Common Problems and Simple Fixes
Even healthy vines run into trouble sometimes. Here are the usual suspects:
White, dusty coating on leaves
Powdery mildew.
Improve airflow, water at the base, and remove badly affected leaves.
Insects or eggs under the leaves
Squash bugs and cucumber beetles.
Check leaf undersides regularly and remove eggs and insects by hand early on.
Soft patch turning dark, sunken and leathery at the flower end
Blossom end rot. Calcium isn’t reaching the developing fruit, often because of water stress or big swings in soil moisture rather than a shortage of calcium in the soil. Heavy nitrogen feeding and low soil pH can also play a part.
Water steadily and mulch to lower the odds, and take a soil test if it keeps returning. Affected fruit won’t recover, so it’s usually best to remove it.
Flowers but no fruit
Usually a pollination issue.
Hand pollinate, as described above.
Identify the culprit before you treat anything, since different problems need different answers, and your local extension service can help if you’re unsure. A quick walk around your plants a few times a week catches most problems while they’re still small.
Knowing When to Harvest
A pumpkin tells you when it’s ready, if you know what to look for.
- The skin turns a deep, even color for its variety.
- The rind goes hard. Press a fingernail against it: if it resists a dent, that’s a good sign.
- The stem beside the fruit starts to dry and turn brown.
- The side resting on the soil may stay a paler shade.
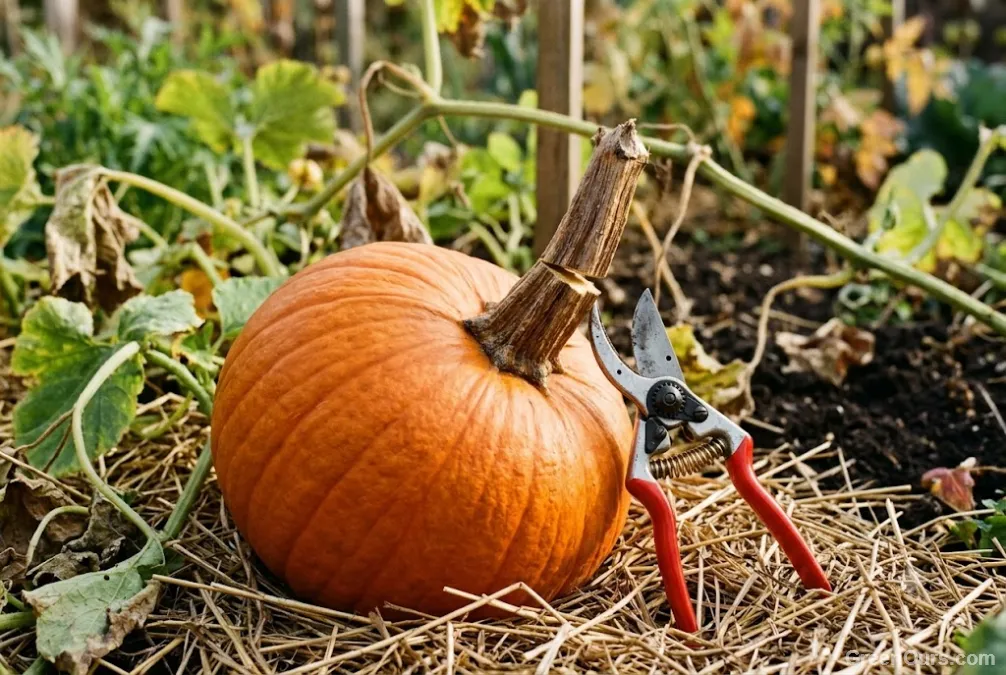
Cut the stem with sharp pruners or a knife, leaving a handle about 5–10 cm (2–4 in.) long. Guides differ a little on the exact length.
Never carry it by the stem A snapped stem makes an entry point for rot. Lift the pumpkin from underneath and handle it gently.
A light frost may spare the fruit even when it kills the vines, but a hard freeze is another matter, so get your pumpkins in before one arrives.
Curing and Storing Your Pumpkins
Curing toughens the skin so pumpkins keep longer, and it matters most for any you plan to store.
Curing
- About one to two weeks.
- Warm and sheltered, ideally around 27–29°C (80–85°F).
- Out of the rain and off wet soil.
Storing
- Cool and dry, with good airflow, around 10–15°C (50–60°F).
- Check now and then for soft spots.
- Whole, cured pumpkins keep from a month or two up to a few months, depending on the variety.
Sources differ a little, and decorative pumpkins you’ll display within weeks need less fuss, so treat these numbers as a guide.
Once a pumpkin is cut open, it spoils quickly, so use carved ones for decoration only, and keep your baking pumpkins whole until you’re ready to cook them.
Sources
- University of Maryland Extension: Growing pumpkins in the home garden: starting seeds, planting, mulching, harvest timing
- New Mexico State University Cooperative Extension Service (Guide H-231, commercial production): Soil temperature, watering stages, pollination timing, harvest, curing and storage
- University of Nebraska–Lincoln Extension (Backyard Farmer): Pumpkins: planting, hill spacing, watering, feeding, hand pollination, harvest, curing and storage
- University of Kentucky Cooperative Extension (CCD FS-11): Blossom end rot: calcium transport, water stress, soil pH and nitrogen
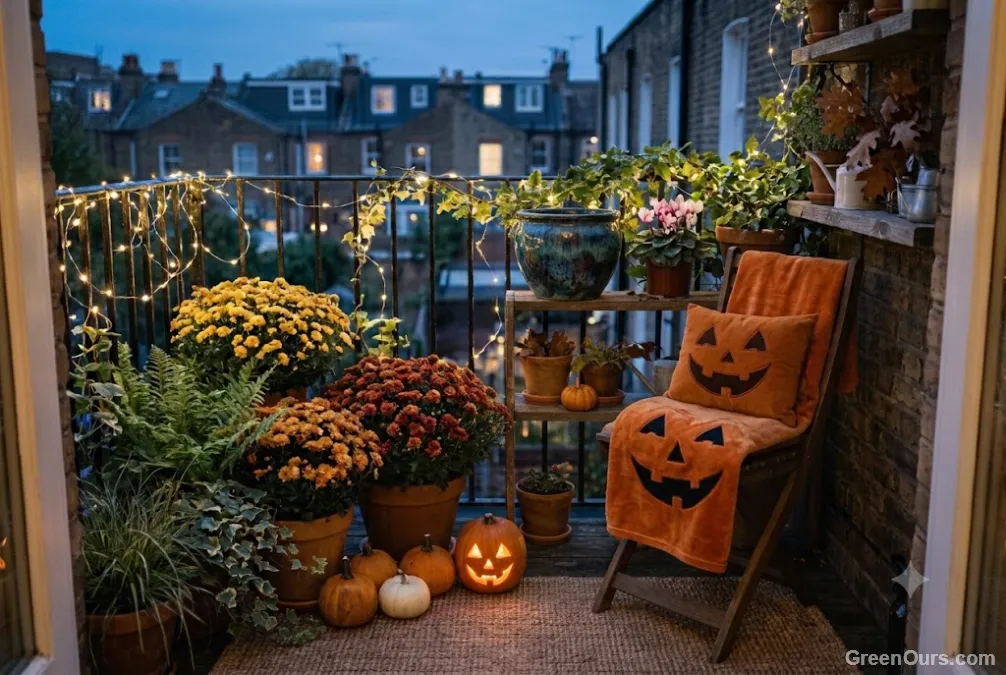
Reading this in autumn with the season winding down? Keep this guide handy for next spring, and let store-bought pumpkins dress your balcony in the meantime.