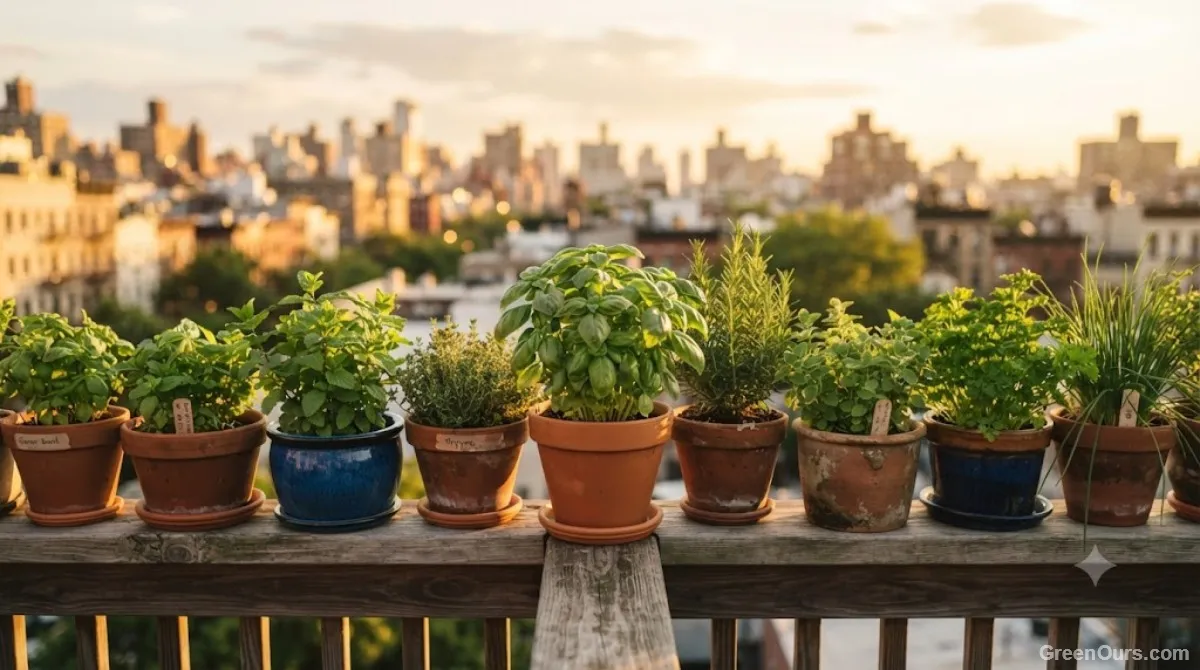
Why Turmeric Deserves a Spot in Your Container Garden
Turmeric is one of those plants people assume needs a tropical backyard, but it adapts well to pot life. You'll notice the leaves alone are worth growing it for. They arch upward in wide, glossy blades that look more like something from a botanical garden than a kitchen herb. And because the plant stays fairly compact in a container, it can work even on a modest balcony.
The real reward, of course, is what's happening underground. Over a single growing season, one small rhizome multiplies into a cluster you can harvest, dry, or use fresh. It's a slower payoff than most herbs offer, but it's also one you won't find sitting in the produce aisle looking anywhere near as vibrant.
Warmth matters more than almost anything else for turmeric. If your nights regularly dip below 50°F (10°C), plan to bring the container indoors or start it well after the last frost, since cold soil is a common reason rhizomes fail to sprout.
Choosing and Preparing Healthy Rhizomes
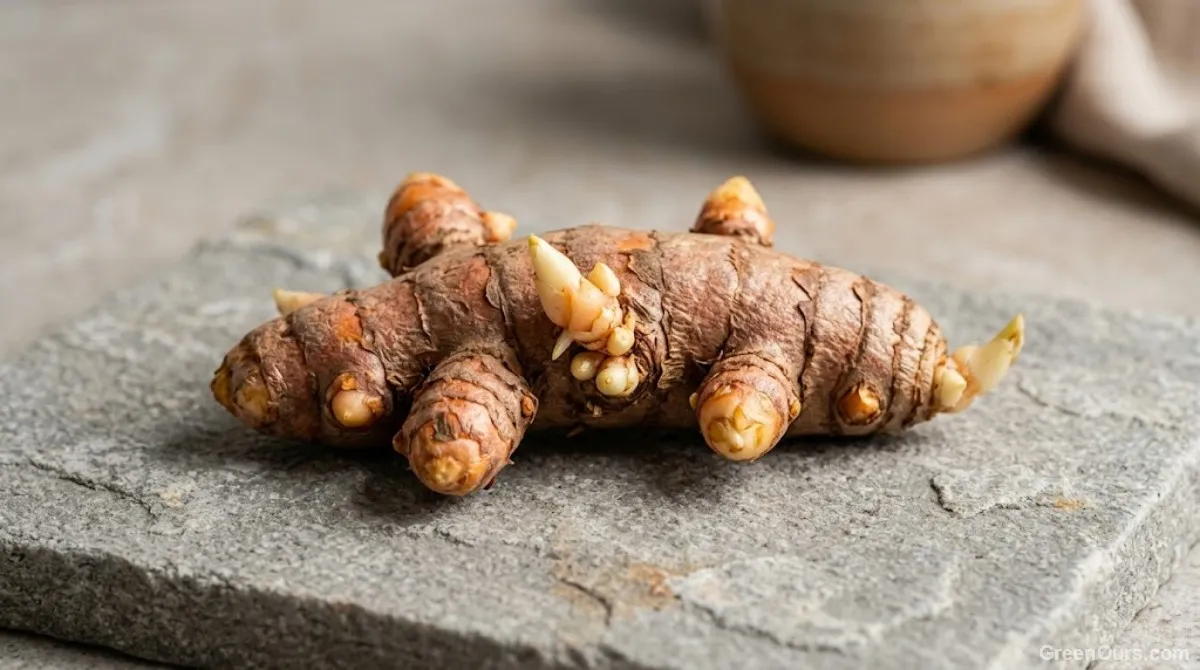
Start with rhizomes that feel firm and heavy for their size, never soft, wrinkled, or dry at the ends. A good rhizome should have a few visible growth buds, those small pointed nubs that look a bit like the eyes on a ginger root. More buds generally means more potential shoots.
You can find turmeric rhizomes at specialty nurseries, some grocery stores, or online growers who sell them specifically for planting rather than cooking. Before planting, let them sit at room temperature for a day or two if they've been refrigerated. Cold rhizomes go into the soil sluggishly, and you want them waking up, not shocked.
Some growers like to pre-sprout rhizomes in a shallow tray of damp potting mix for a few weeks before moving them to their final container. It's not required, but it gives you a visible head start and takes some of the guesswork out of those early quiet weeks.
Picking the Right Container and Soil Mix
Turmeric's roots are relatively shallow and its rhizomes spread outward, so a wide container with generous drainage holes suits it better than a deep one. For a simple home setup, a pot of about 5 gallons (19 L) or larger gives a single rhizome plenty of room to develop. A grow bag works beautifully too, since the fabric keeps roots from sitting in soggy soil.
For soil, aim for something loose and rich rather than dense. A mix of quality potting soil, compost, and a bit of coarse sand or perlite drains well while still holding enough moisture for turmeric's tropical preferences. Plant rhizome pieces about 2 inches (5 cm) deep, buds facing upward. If you're fitting more than one into a larger container, spread them out rather than crowding them, and check the seed packet or supplier's advice for spacing.
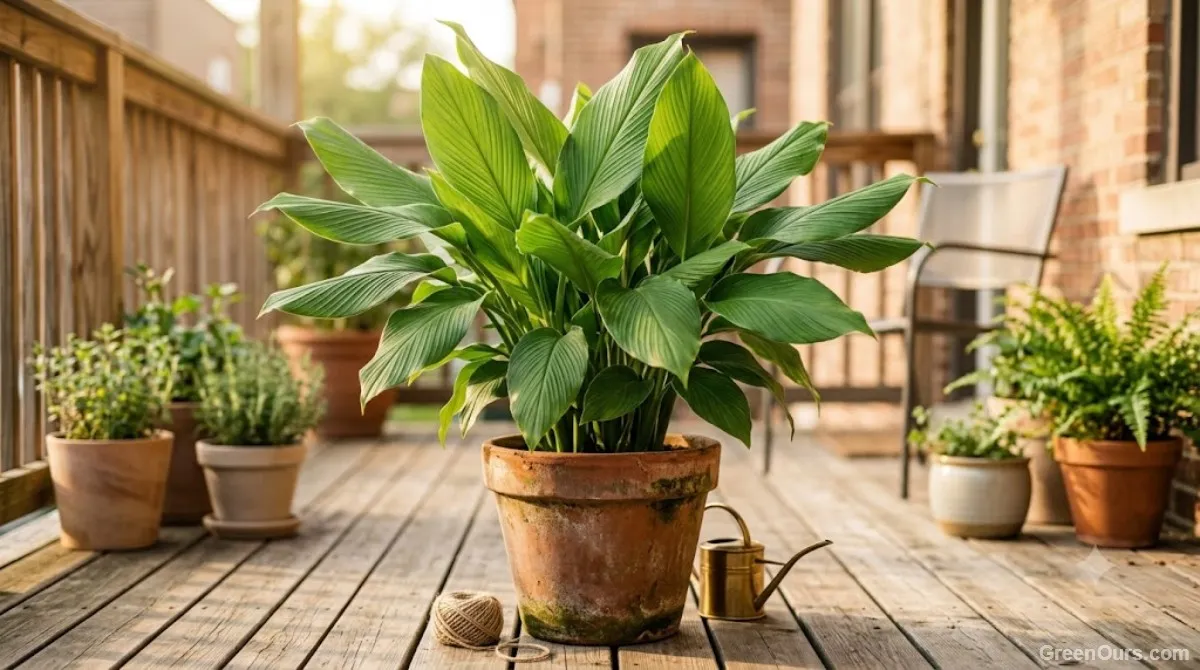
Planting Turmeric: What to Expect From Rhizome to Sprout
The Waiting Game
This is the part that catches most beginners off guard. Turmeric may take several weeks, sometimes a month or two, to send up its first shoot, especially if the rhizome or soil is cool. Resist the urge to dig around and check on it. Keep the soil consistently moist, not wet, and let it do its quiet work underground.
Watering and Light Through the Growing Season
Once shoots appear, give turmeric bright light. Morning sun or partial shade works well, especially in hot climates, and it doesn't need harsh, all-day sun. Very deep shade can slow rhizome production, though, so aim for bright but gentle.
Water whenever the top inch (2.5 cm) of soil feels dry, and don't let the container sit in standing water. Through the height of summer, you'll notice the plant putting out new leaves regularly, a good sign that the rhizome cluster below is expanding too.
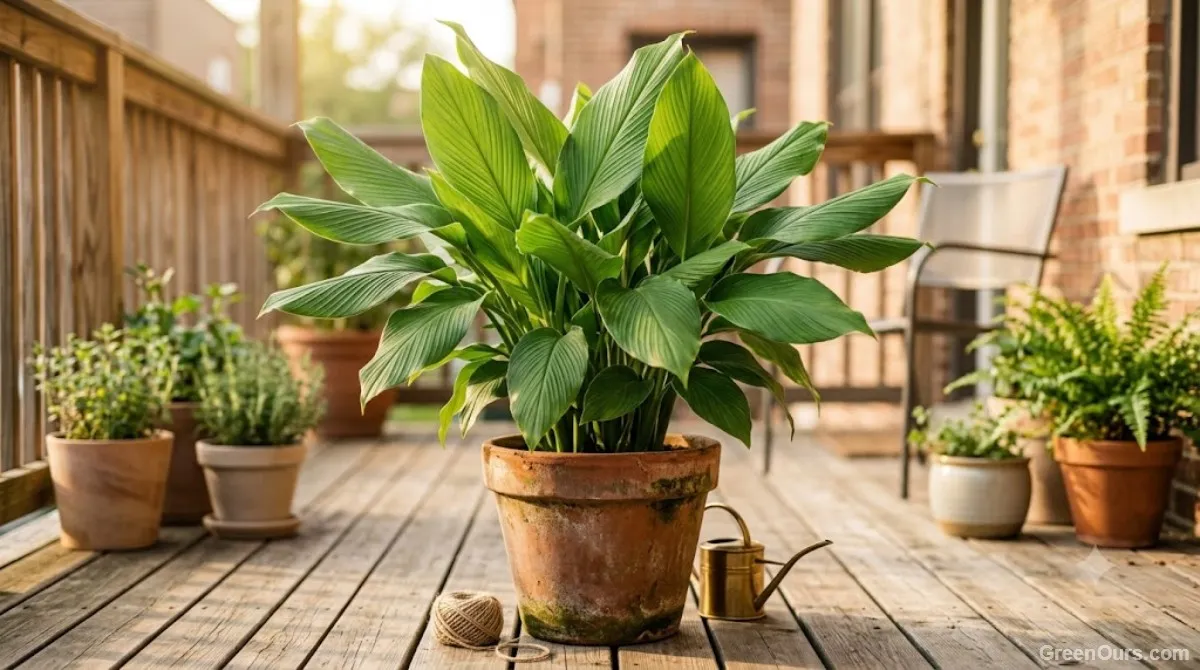
Harvest Time: Reading the Signs
Turmeric needs a long season before it's ready to dig up, usually around eight to eleven months depending on temperature, variety, and growing conditions. The clearest signal is the foliage itself: once the leaves and stems begin to yellow and die back, the rhizomes below have typically matured and stopped actively growing.
When you see that die-back, it's time to harvest. Tip the container onto a tarp or into a wheelbarrow rather than digging blindly, since this makes it much easier to separate the rhizome cluster from the soil without damaging it. Set aside a few of the healthiest pieces to replant next season, and you may never need to buy starter rhizomes again.
Storing and Using Your First Harvest
Fresh turmeric keeps in the refrigerator for a few weeks if wrapped loosely in a paper towel. For longer storage, you have options: slice and freeze pieces flat on a tray before bagging them, or dry thin slices in a low oven or dehydrator and grind them into powder once fully brittle.
However you use it, that first harvest tends to feel disproportionately satisfying given how little you actually had to do most months. Turmeric rewards attention at the start and the end, with a long, easy stretch of simply leaving it alone in between.
Where to Start
If there's one thing worth remembering about turmeric, it's that the slowness isn't a flaw, it's just how this plant works. Start by finding a few firm rhizomes with visible buds, and give them warmth, room to spread, and a little faith during those quiet early weeks. By the time autumn rolls around, you'll have a harvest that makes the whole wait feel worth it.
Ready to keep building your container herb garden? Explore more beginner herb growing guides.