Start With a Rhizome That's Ready to Grow
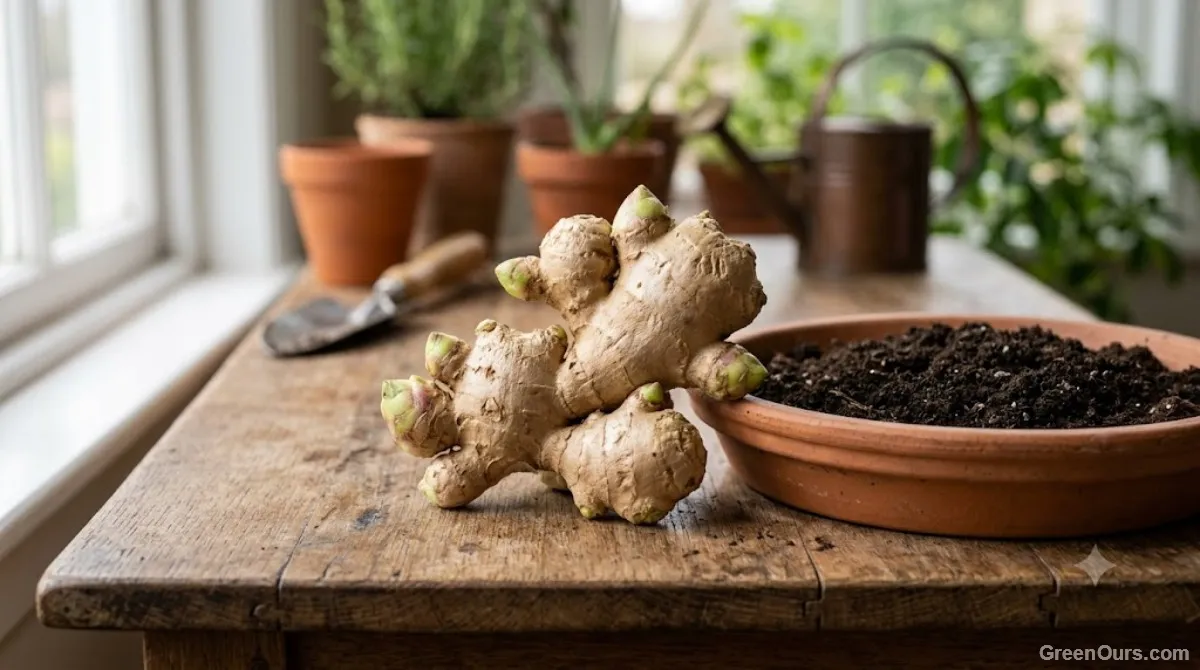
You don't need anything special here — a plump piece of ginger from the produce aisle will do the job. What you're looking for are little bumps along the surface called "eyes," the same growth points you'd look for on a potato. If a few of them already have small green or pinkish nubs starting to form, even better; that piece is already telling you it wants to grow.
Avoid rhizomes that feel soft, shriveled, or have any moldy patches. You want firm, plump flesh with taut skin. Some grocery ginger is treated with a growth retardant to keep it from sprouting on the shelf, so if your piece has been sitting in the drawer for weeks without a single sign of life, it might be worth trying a different piece from an organic or farmers market source instead. It's not a strict requirement, just a helpful workaround if your first attempt stalls.
Look for a piece with at least two or three healthy eyes. Multiple growth points give the rhizome several places to produce new shoots as it gets established.
Choosing the Right Pot
Here's the thing that trips up a lot of new ginger growers: this plant doesn't grow deep, it grows wide. Ginger rhizomes spread horizontally just under the soil surface, so a tall, narrow pot is the wrong shape entirely. What you want is something shallow and broad — think 12 to 16 inches across but only 8 to 10 inches deep.
Drainage matters just as much as shape. Ginger likes consistently moist soil, but it will rot quickly if water pools around the rhizome. Choose a pot with several drainage holes, and if you're repurposing a container that doesn't have any, drill some in before you plant.
Getting the Rhizome Ready to Plant
If your piece is large, you can cut it into smaller sections, just make sure each piece has at least one or two healthy eyes on it. Let any cut surfaces air-dry for a day before planting — this gives the wound time to callus over, which helps prevent rot once it's in the soil.
Soil That Drains but Still Holds Moisture
A loose, rich potting mix works best. Combine a standard potting soil with a generous handful of compost and some perlite or coarse sand for drainage. Ginger doesn't want to sit in a dense, compacted mix, and it doesn't want bone-dry soil either — the goal is something that feels like a well-wrung-out sponge.
Planting Depth and Spacing
Lay the rhizome pieces horizontally, eyes facing up, and cover with about an inch or two of soil. If you're planting multiple pieces in one wide pot, space them roughly 6 inches apart so each has room to spread.
Light, Water, and Warmth Ginger Actually Craves
Ginger is a tropical understory plant in its native habitat, which tells you almost everything you need to know about its preferences. It wants warmth, humidity, and bright but indirect light — not the blasting midday sun a tomato plant would love.
Keep the soil consistently moist, watering whenever the top inch starts to dry out. Ginger dislikes both drought and waterlogging, so check in on it every few days rather than sticking to a rigid schedule. If you're growing it indoors, a spot near an east-facing window usually gives the right balance of light without scorching the leaves.
Temperature matters more than most beginners expect. Growth slows significantly when temperatures drop much below about 55°F, and prolonged cold can cause the plant to become dormant or decline, so if you're keeping your pot outdoors for the summer, plan to bring it in well before the first autumn chill.
Feeding Ginger in Containers
Ginger is a hungry plant once it gets going, and container growing depletes nutrients faster than an in-ground bed does. Start with compost worked into the potting mix at planting time — that gives the rhizome a head start before it needs anything extra.
Once you see active growth above the soil, feed periodically with a balanced fertilizer according to the product label; every few weeks during the growing season is a reasonable starting point, adjusted for how vigorously your particular plant is growing. Avoid heavy nitrogen feeding, which tends to push lush foliage at the expense of rhizome development below. As the plant slows down and approaches dormancy in fall, taper off feeding along with watering.
What Growth Actually Looks Like (and Why Patience Matters)
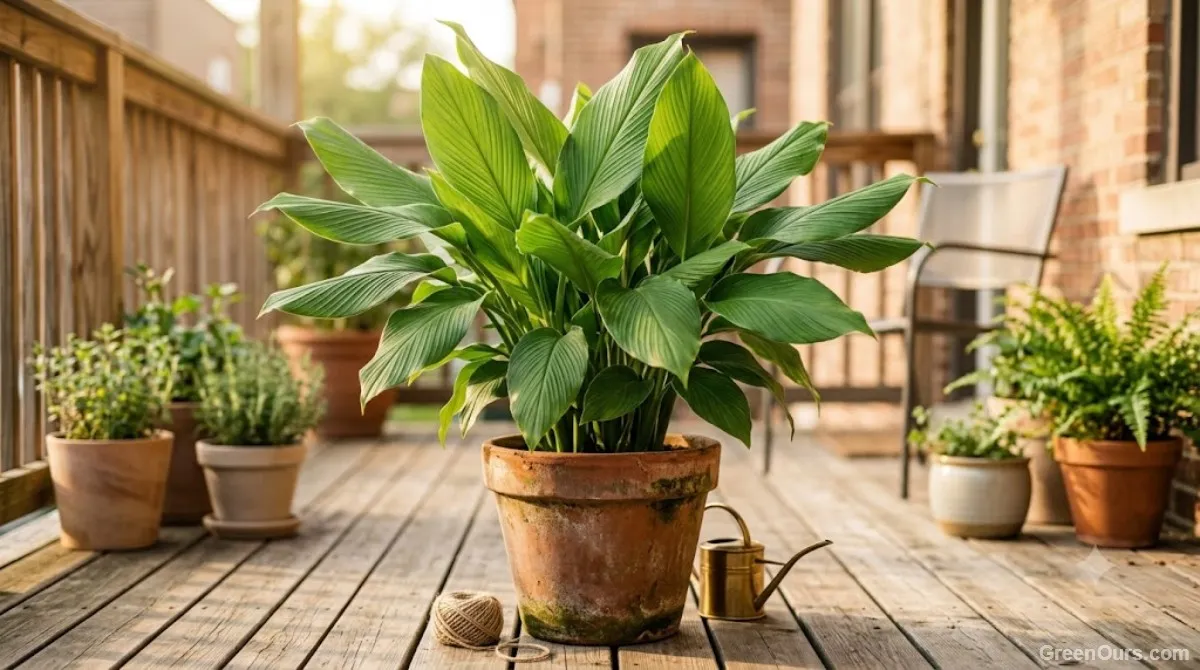
This is the part that catches new growers off guard: ginger is slow. You might not see a single shoot for three or four weeks, and that's completely normal. Once growth starts, thin green stalks push up and unfurl into narrow, bamboo-like leaves that can eventually reach two to three feet tall in a good-sized pot.
The plant itself is doing most of its real work underground the whole time, quietly building up the rhizome network you'll eventually harvest. Above-soil growth is really just a sign that things are progressing, not the main event.
Why Isn't My Ginger Growing?
If weeks have passed with no sign of a shoot, a few culprits are worth ruling out before you assume the piece has failed:
- The rhizome wasn't viable to begin with, or was too far gone by the time it went in the soil.
- Grocery-store ginger is sometimes treated with a growth retardant that delays or prevents sprouting.
- The soil has stayed too cold — ginger is slow to start even under good conditions, and cool soil slows it further.
- The piece was planted too deep, which can delay emergence significantly.
- The soil has stayed waterlogged, which risks rot before a shoot ever gets going.
- The rhizome was allowed to dry out excessively before or after planting.
- It simply hasn't had enough time yet — three or four quiet weeks is genuinely normal.
If you've ruled out the above and it's been more than six to eight weeks with no movement at all, it's reasonable to check the rhizome for firmness. A piece that's gone soft or moldy underground isn't going to recover, and it's worth starting fresh with a new one.
Pests and Problems to Watch For
Container ginger is fairly low-maintenance, but a few problems show up often enough to watch for.
Rhizome rot is the biggest risk, and it's almost always tied to soil that stays wet for too long. If you notice a sour smell, mushy tissue, or stalled growth alongside consistently soggy soil, ease off watering and check the rhizome — cutting away any soft or discolored tissue can sometimes save the rest of the piece, though a badly rotted rhizome usually needs to be discarded.
Fungal issues tend to follow the same pattern: poor drainage and stagnant moisture create the conditions they need. Good drainage holes and a well-draining mix go a long way toward preventing both problems before they start.
Spider mites and aphids can show up on indoor ginger too, particularly when the air is dry or the plant is under stress. Check the undersides of leaves periodically, and treat early if you spot them, since both pests multiply quickly in warm indoor conditions.
Harvesting Without Losing Your Plant
For young ginger, you can carefully harvest a small section once the rhizomes have had several months to develop — typically around four months in — sliding a hand into the soil at the pot's edge and gently loosening a piece without disturbing the main clump. This gives you a little fresh ginger while the rest keeps growing undisturbed.
For a full harvest with the best flavor and texture, wait around eight to ten months — the exact timing depends on your growing conditions and climate — or until the leaves begin to yellow and die back on their own. At that point, tip the entire pot out, brush away the loose soil, and you'll find a knotted cluster of rhizomes ready to use, share, or replant for next season.
How to Use and Store Fresh Ginger
Freshly harvested ginger can be peeled and used in tea, stir-fries, soups, marinades, sauces, smoothies, or grated into baked goods. Young ginger — the kind you harvest early from the edge of the pot — is usually more tender and less fibrous than a fully mature rhizome, with a milder flavor. Mature ginger, harvested after the full eight to ten months, has a stronger, hotter bite and a tougher skin that's worth peeling before use.
A quick rinse to remove soil clinging to the skin is usually all it needs; peeling is optional for young, thin-skinned ginger but makes mature ginger easier to grate. Store unpeeled ginger in the refrigerator and use it within a few weeks for the best quality. If you have more than you can use, slice or grate it and freeze it in small portions — it works straight from frozen, which is a convenient way to use up more than you'll need right away.
If you'd like to keep the cycle going, set aside a healthy, firm piece from your harvest with a few good eyes on it, and replant it the same way you started — there's no need to buy a fresh rhizome from the store next time.
Common Mistakes New Ginger Growers Make
A few habits tend to trip people up more than anything else:
Planting too deep. Ginger wants to stay near the surface. Bury it too far down and growth slows dramatically.
Choosing a pot that's too small. A cramped container limits how much the rhizome can spread, which means a smaller harvest.
Giving up too early. Three or four weeks of apparent nothing is normal, not a sign of failure.
Letting the soil dry out completely. Ginger's shallow roots are sensitive to drought stress, especially in the first few months.
Explore more beginner herb growing guides
There's something quietly rewarding about turning a piece of grocery store produce into a plant that feeds you back, month after month, from a pot on your windowsill. Give it the space, the warmth, and the patience it asks for, and your ginger will do the rest on its own timeline.