Three Different Processes, Not Three Versions of One
Countertop bins solve the "I just need somewhere for scraps until pickup day" problem — they don't compost anything themselves. Bokashi solves the "I want to handle a wider range of scraps, including meat and dairy, in a sealed system" problem. Worm bins solve the "I want to finish the whole process myself, indoors" problem. None of them is the objectively correct answer. They're built for different people and different kitchens.
One question narrows it fast: do you want to compost, or do you want to eventually use finished compost yourself? If it's the first, a countertop bin paired with a drop-off point is the least effort. If it's the second, bokashi or worms are worth the extra step.
If you're stuck between two methods, pick based on how often you're willing to deal with it — not on which one looks nicest in a photo.
Countertop Bins: The Lowest-Commitment Starting Point
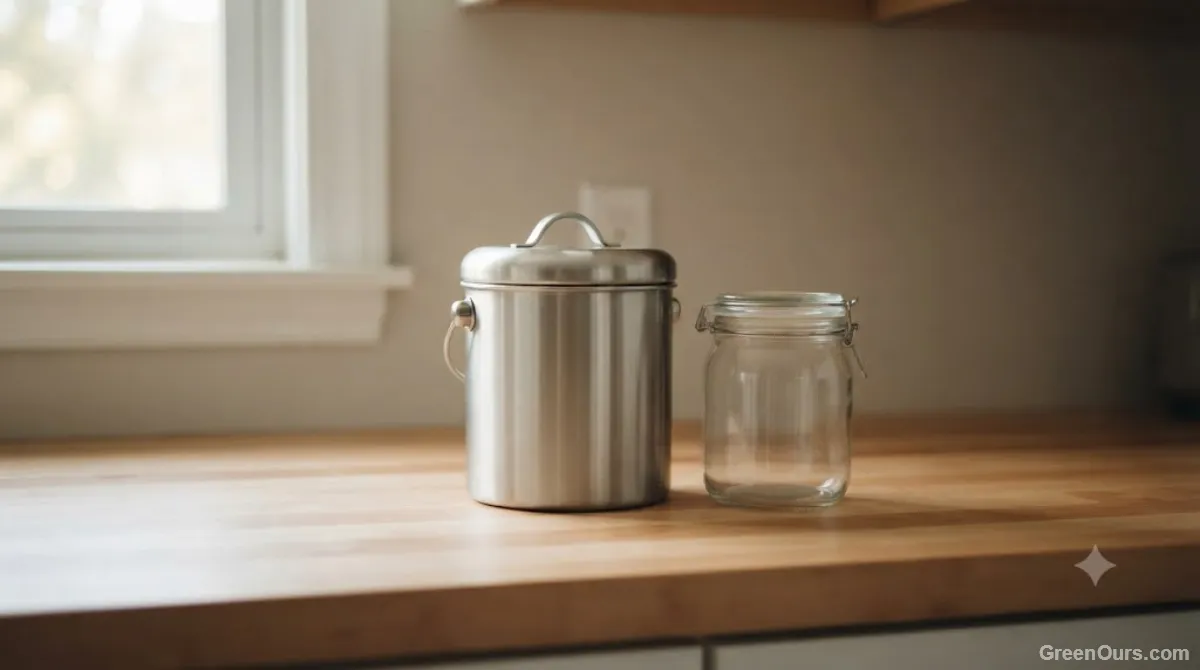
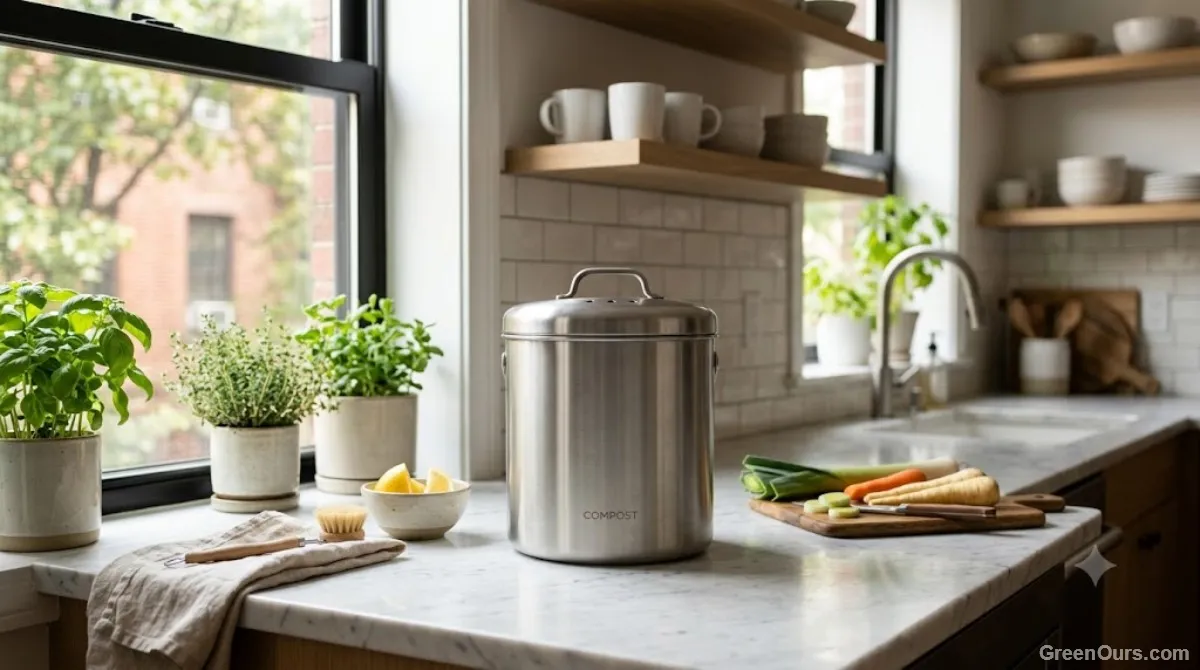
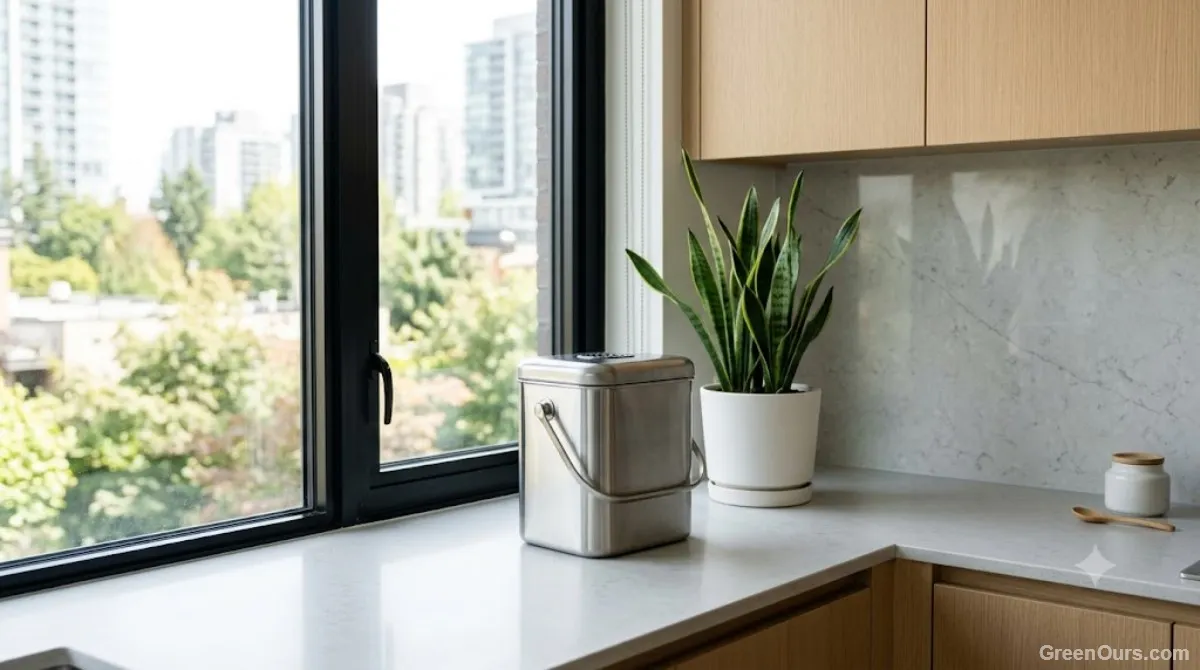
A countertop bin is exactly what it sounds like — a small, lidded container that holds scraps for a few days before you empty them somewhere else, whether that's a community compost drop-off, curbside collection, or a friend's backyard bin. It doesn't compost anything itself. It's a holding station.
You're not managing microbes or worm health here, just a bin that needs emptying every two to four days and a light wash to keep it from getting funky. Look for one with a charcoal filter in the lid — it does more than people expect, and it's the easiest fix if odor is your main hesitation.
Bokashi: Fermentation, Not Rotting
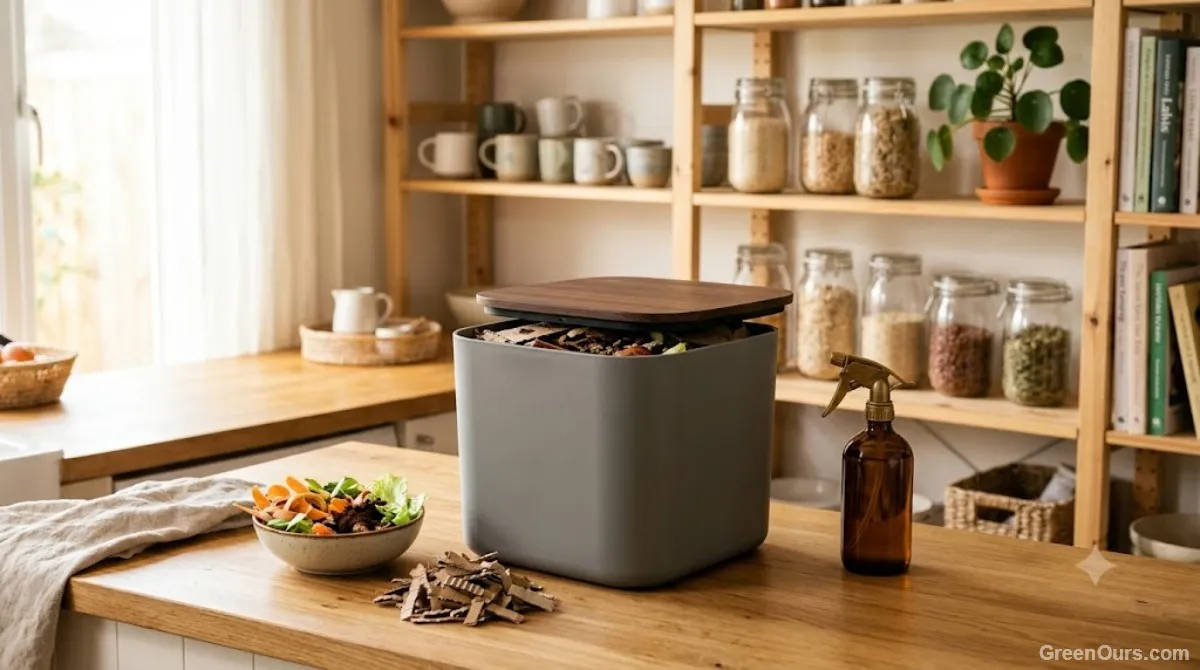
Bokashi confused me at first because it doesn't look or smell like composting at all. You layer scraps in a sealed bucket with a bran inoculated with beneficial microbes, press out the air pockets, and seal it tightly after each addition. Instead of decomposing through oxygen exposure, the scraps ferment in an anaerobic environment — closer to sauerkraut than a compost pile.
What sold me is that it accepts things the other two methods won't: cooked food, small bones, dairy, even a bit of meat. The tradeoff is that bokashi doesn't produce finished compost on its own — after two to three weeks of fermenting, you still need to bury the pre-compost in soil for a final few weeks of breakdown before it's usable.
Worm Composting: More Approachable Than It Sounds
Worms were the method I avoided longest, purely on vibes. Turns out a well-set-up bin is one of the least gross options here, mostly because a properly maintained one shouldn't smell like anything at all. Red wigglers — not garden earthworms — live in shredded bedding and slowly work through fruit and vegetable scraps, coffee grounds, and paper.
Setting Up the Bin
Stacked plastic tray systems are the easiest starting point for apartments — compact, stackable, and they contain any moisture that would otherwise pool at the bottom. You'll want damp shredded newspaper as bedding, worms sold by the pound, and a spot away from direct sun or heating vents.
Feeding Without Overwhelming Them
The biggest reason worm bins go wrong is overfeeding. A new bin can only process so much per week, and dumping in a week's scraps at once leads to a soggy mess that has nothing to do with the worms and everything to do with unprocessed food rotting. Start small and bury scraps under the bedding rather than leaving them exposed.
Where Each Method Actually Goes Wrong
The failure mode is different for each. A countertop bin left unemptied for a week invites fruit flies before you've noticed. A bokashi bucket that isn't pressed and sealed tightly lets in air, which throws off the fermentation and produces a genuinely bad smell instead of the normal tangy one. A worm bin fails almost exclusively from overfeeding, not from the worms themselves.
What to Actually Expect in Your First Month
Here's the honest version, not the Instagram one. If you're doing bokashi, the smell during fermentation is tangy and slightly sour — not pleasant, but not rotten, and it fades once sealed properly. If you're running a worm bin, you likely won't see much finished compost yet; that typically takes two to three months, not weeks.
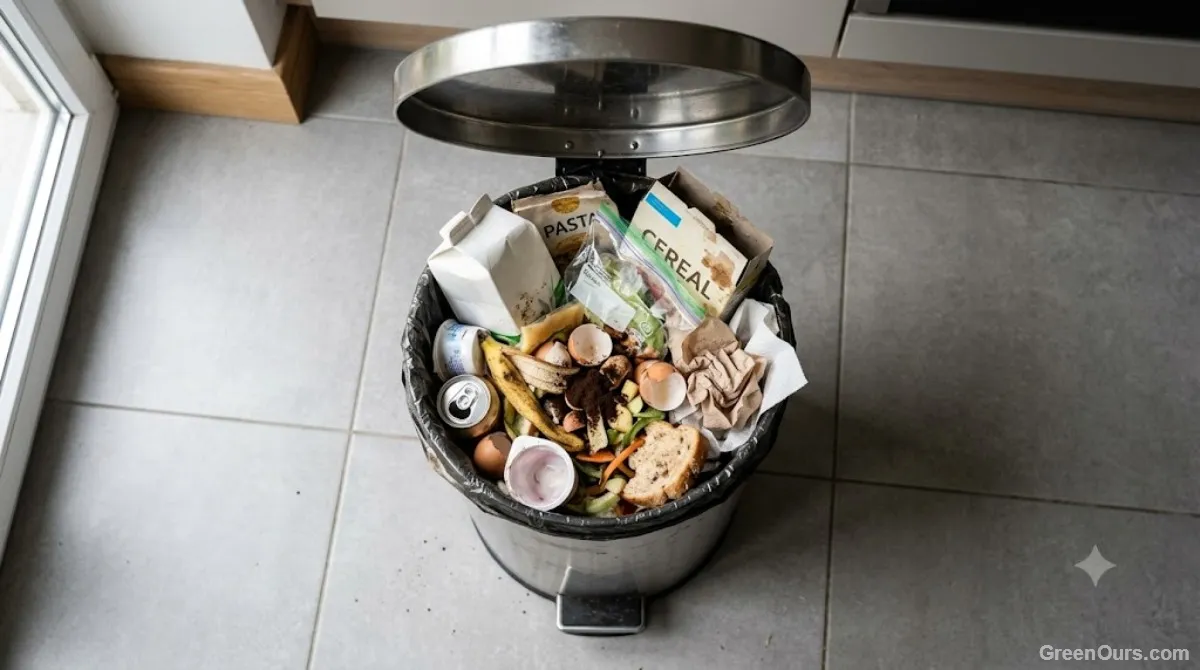
What you will notice almost immediately is a shift in what's in your trash — coffee grounds, vegetable ends, eggshells, all going somewhere with a purpose instead of straight into a landfill bag.
How the Three Methods Stack Up
| Method | What It Does | Space Needed | Effort Level | Accepts Cooked Food? | Produces Finished Compost? |
|---|---|---|---|---|---|
| Countertop Bin | Holds scraps for pickup or drop-off | Minimal | Low | No | No |
| Bokashi | Ferments scraps in a sealed bucket | Small | Moderate | Yes | After burial in soil |
| Worm Composting | Breaks down scraps into usable compost | Small to moderate | Moderate to high | Generally not recommended | Yes |
When in doubt, match the apartment composting method to your actual cooking habits rather than your aspirational ones. If you cook constantly, worm composting rewards the consistency. If your household throws away a fair amount of cooked food or dairy, bokashi handles what worms can't. And if you just want the waste diverted without managing a living system, a countertop bin paired with a local drop-off is genuinely enough.
What to Do Next
None of these systems need to be perfect to be worth doing. Mine started messy and a little smelly for the first two weeks, and it was completely worth sticking with once I picked the one that matched my actual kitchen habits — not the ones I wished I had.
More small-space composting and zero-waste guides.