Why Harvesting Feels Like the Scary Part
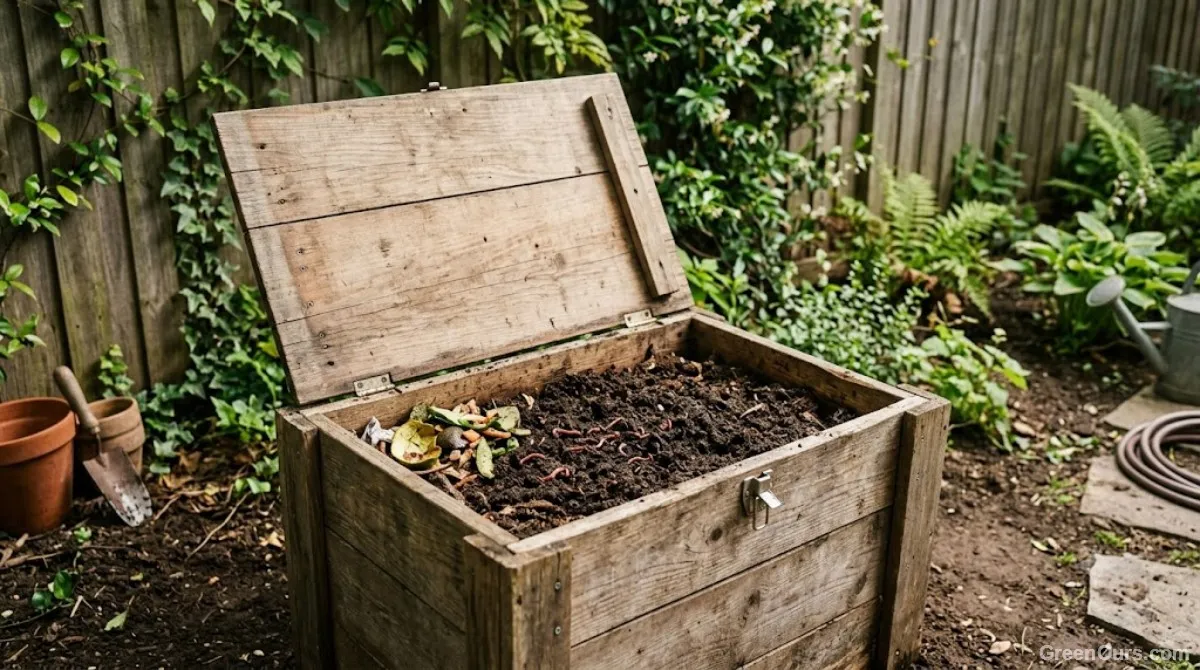
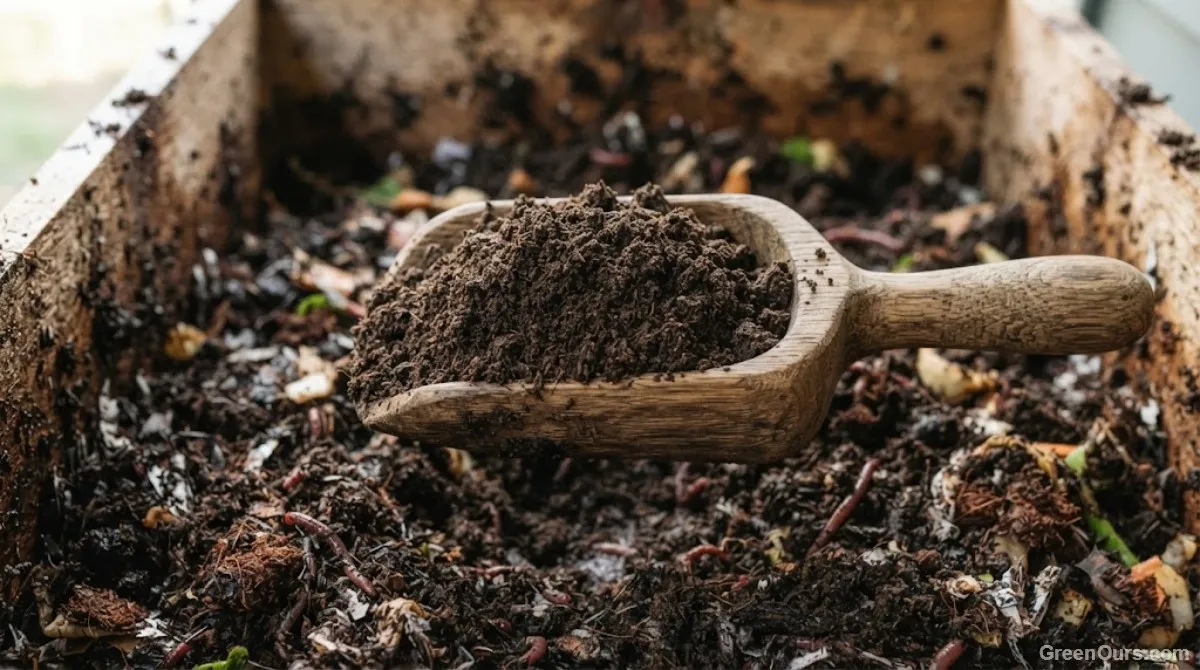
Most of the anxiety around harvesting castings comes from not knowing what a finished bin actually looks like. Ready castings are dark, crumbly, and smell like a forest floor after rain — nothing like the scraps you started with. If you're still seeing recognizable bits of lettuce or eggshell, your worms aren't done yet, and that's fine. Wait another week or two rather than rushing the process.
Here's a question I get a lot: how do you actually know it's time? I look for three things now — color, texture, and smell. If a handful looks uniformly dark brown to black, crumbles apart without effort, and smells like damp autumn leaves rather than kitchen trash, you're there. Learning how to harvest worm castings really just starts with trusting those three signals instead of a calendar date, because every bin runs on its own timeline depending on temperature, moisture, and how many worms you're actually working with.
If you're not sure whether your compost is ready, grab a handful and squeeze it. Finished castings hold their shape loosely and crumble apart easily — they shouldn't feel wet or clump like mud.
The Light Method: Let Your Worms Retreat for You
This is the one I reach for when I want castings the same day. Worms are photophobic, meaning bright light sends them burrowing downward fast. You can use that instinct to do the sorting for you.
Setting Up the Cones
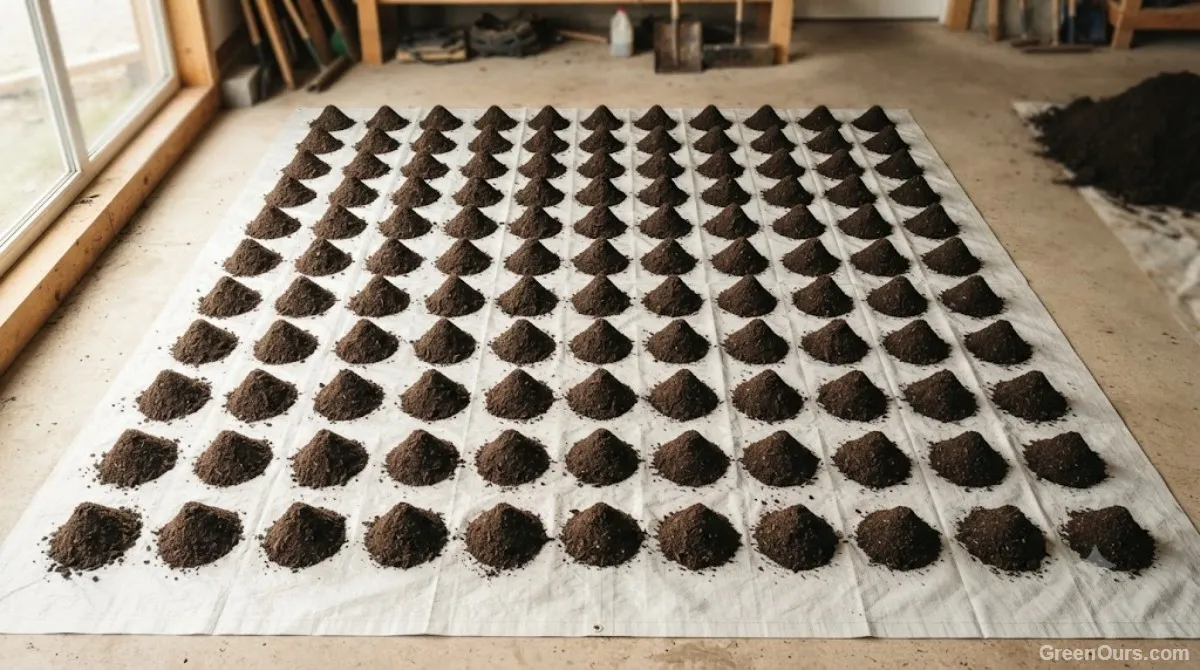
Dump your finished compost onto a tarp, a large tray, or even a stack of newspaper, and shape it into several small cone-shaped mounds rather than one big pile. Set the whole thing somewhere bright — direct sun or a strong work light both do the job.
What to Expect Each Round
Within a few minutes, the worms near the surface of each mound will tunnel toward the center to escape the light. Scrape away the top inch or two of castings from each cone, wait another few minutes, and repeat. You'll notice the mounds getting smaller and the worm clusters getting denser in the middle until you're left with a small ball of worms and almost nothing else. It takes patience more than skill, and it's oddly satisfying to watch. I usually do this on a Saturday morning with a coffee in hand, since it's more about waiting than working. If a mound seems to be taking longer than the others, it's often because it's slightly damper or shadier than its neighbors — nudge it into brighter light and it'll catch up. By the third or fourth pass, what's left in the center is mostly a tight, wriggling clump you can lift out with your hands and set straight into the new bin.
The Migration Method: For When You're Not in a Rush
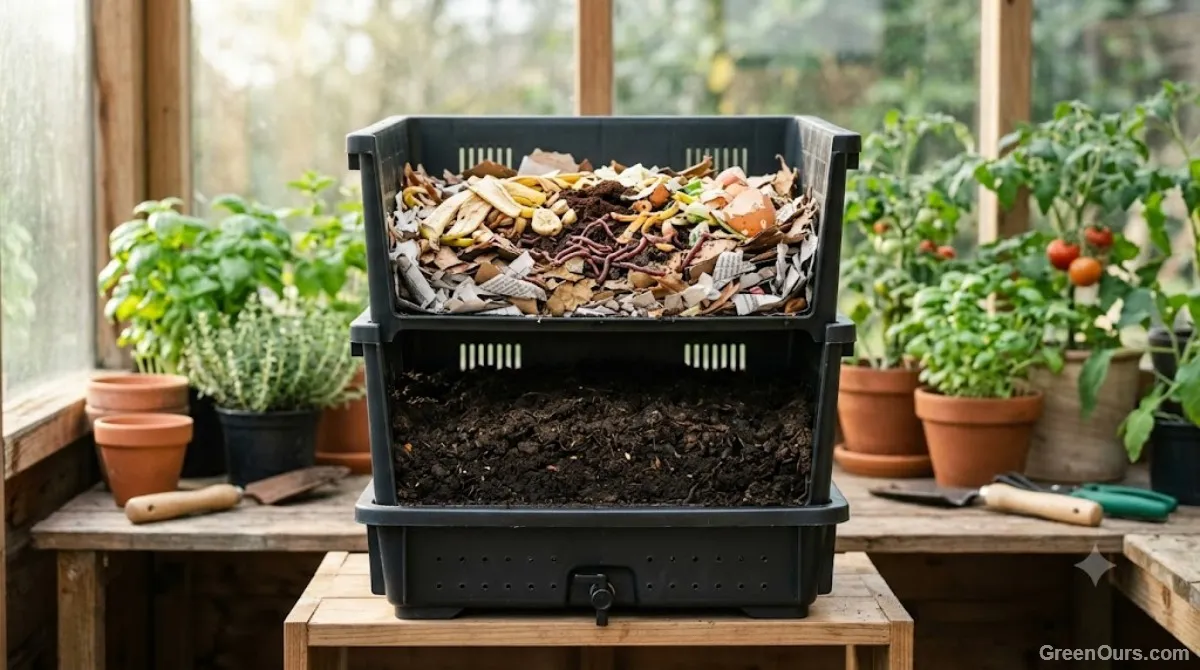
If you'd rather not babysit cones for an hour, the migration method does the same job passively over one to two weeks. It works especially well if your bin has a second tray or a mesh divider, but you can rig a version of it in a single bin too.
Push all your finished compost to one side of the bin, and pile fresh bedding and food scraps on the other side. Worms will gradually move toward the food, leaving the older side increasingly worm-free. If you're using a stacking tray system, this is even simpler — add a fresh tray on top with new bedding and scraps, and most of your worm population will climb upward within a week or two, following the smell of dinner.
The trade-off is patience. You won't get a satisfying pile of castings in an afternoon, but you also won't spend any active time on it beyond the initial setup — which makes this the method I reach for when harvesting isn't the only thing on my to-do list that weekend. It's also gentler on the worms themselves, since nothing about it involves handling them directly or exposing them to bright light for extended stretches.
What About the Cocoons You'll Find in There?
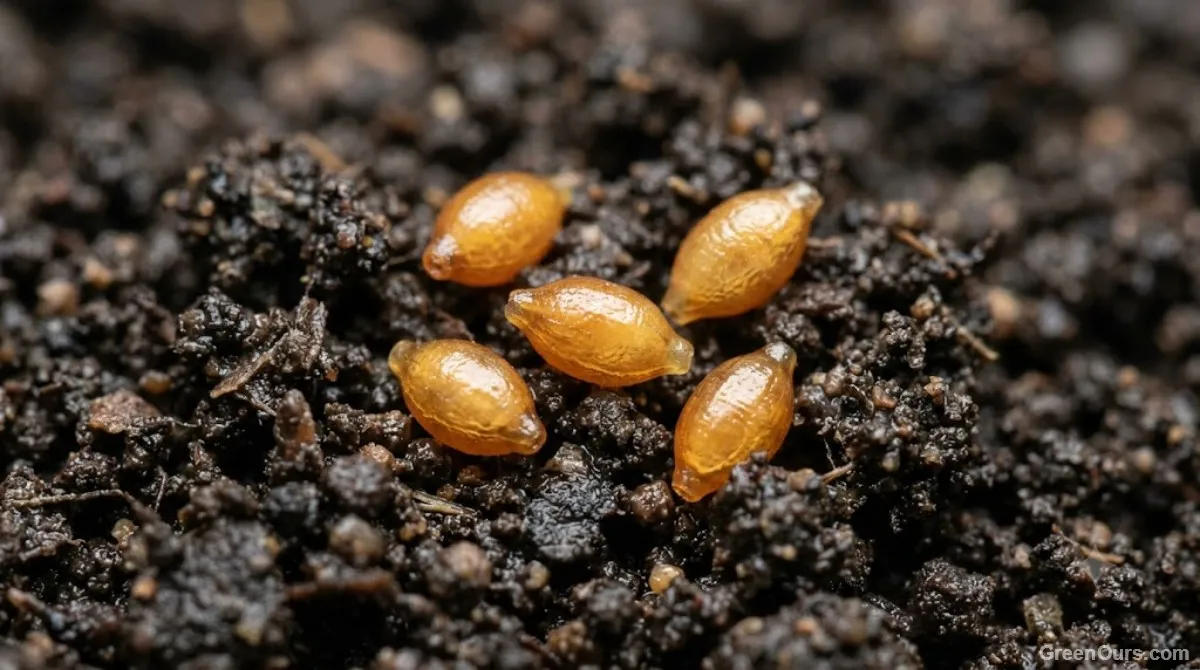
Somewhere in your harvested castings, you'll almost certainly spot a few small, lemon-shaped capsules, usually pale yellow or amber. Those are worm cocoons, and each one can hold several baby worms waiting to hatch. It's tempting to toss everything straight into the garden once you've pulled the adult worms out, but doing that means giving away future members of your colony.
If you want to keep your population growing, sift through the finished castings by hand or with a coarse screen and set any cocoons you find aside in a small container with a bit of damp bedding. Add them back into your reset bin, and they'll hatch on their own timeline, usually within a few weeks. If you're not fussed about growing your colony further, it's genuinely fine to let a few cocoons go into the garden with the castings — they'll simply hatch there instead.
It's worth getting familiar with what an unhatched cocoon actually looks like versus an empty one. Fresh cocoons tend to be a richer amber color and feel slightly firm to the touch, while hatched ones look pale, flattened, and almost papery. Once you've spotted a few of each, telling them apart becomes second nature, and you'll stop second-guessing whether you're accidentally composting future worms.
Resetting the Bin for Its Next Cycle
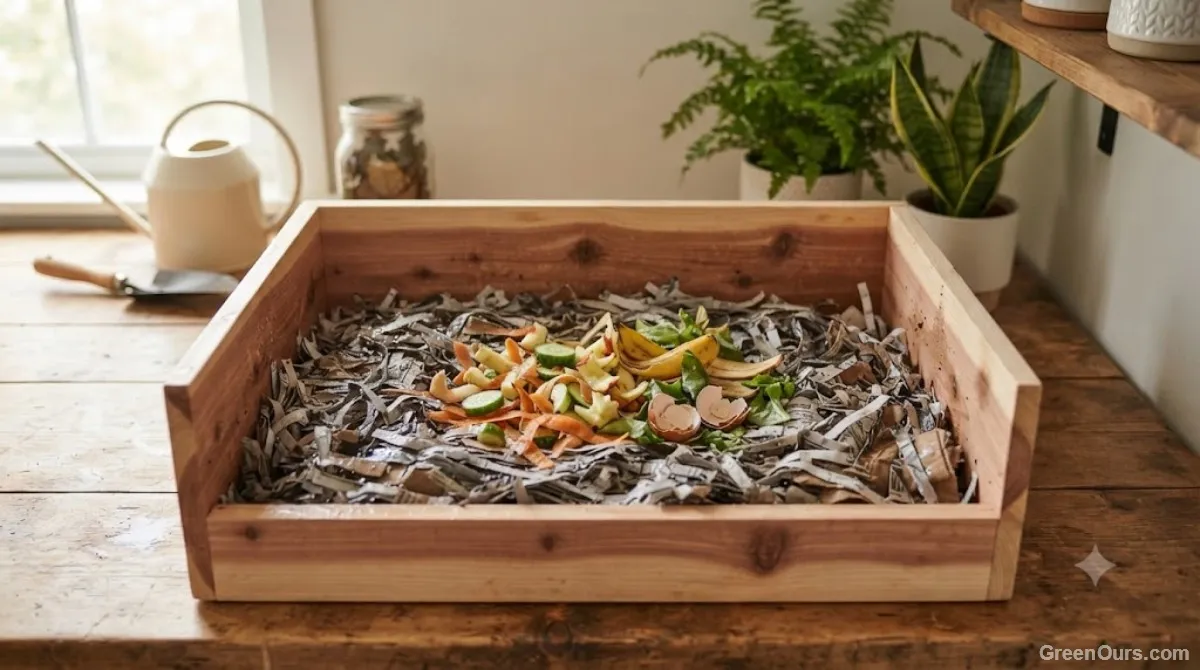
Once your worms are separated out, don't just dump them back onto empty plastic. Add a fresh layer of bedding first — shredded cardboard, coconut coir, or aged newspaper all work, moistened until it feels like a wrung-out sponge. Place your worm cluster on top and let them burrow in on their own over the next hour or so before you add food.
Start light with the first feeding. A newly reset bin doesn't need much, and overloading it right away is one of the fastest ways to end up with a smelly bin again. A cup or two of chopped scraps buried under the bedding is plenty for the first week while your worms settle back in.
Give the bin a day or two before you judge whether the moisture level is right. Bedding that looked perfectly damp when you added it can dry out faster than expected, especially in a warm kitchen or garage, so check back and mist it lightly if the top layer starts to feel dry to the touch.
I still find it a little magical, honestly, watching a few thousand worms turn kitchen scraps into something my garden actually fights over. Harvesting doesn't have to be the part that makes you nervous. Once you've done it once with either method, it starts to feel less like a rescue mission and more like just another step in a system that was already working the whole time.
More ways to close the loop in your kitchen:
Why Does My Worm Bin Smell Bad?