Picking a Bin That Actually Fits Your Space
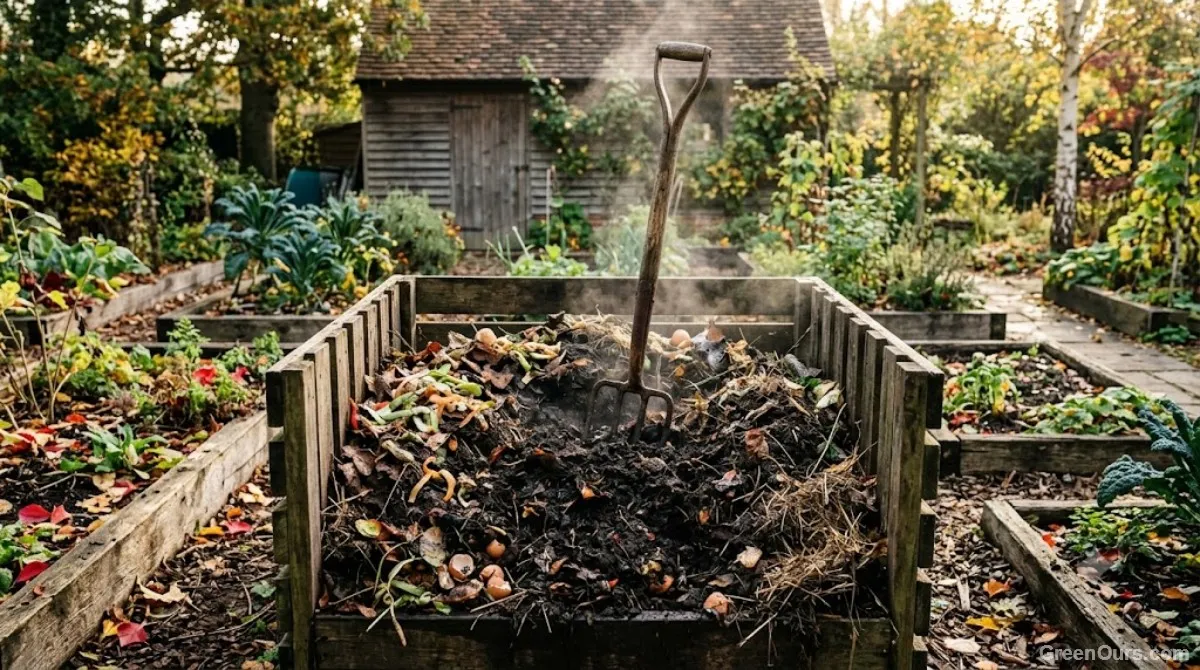
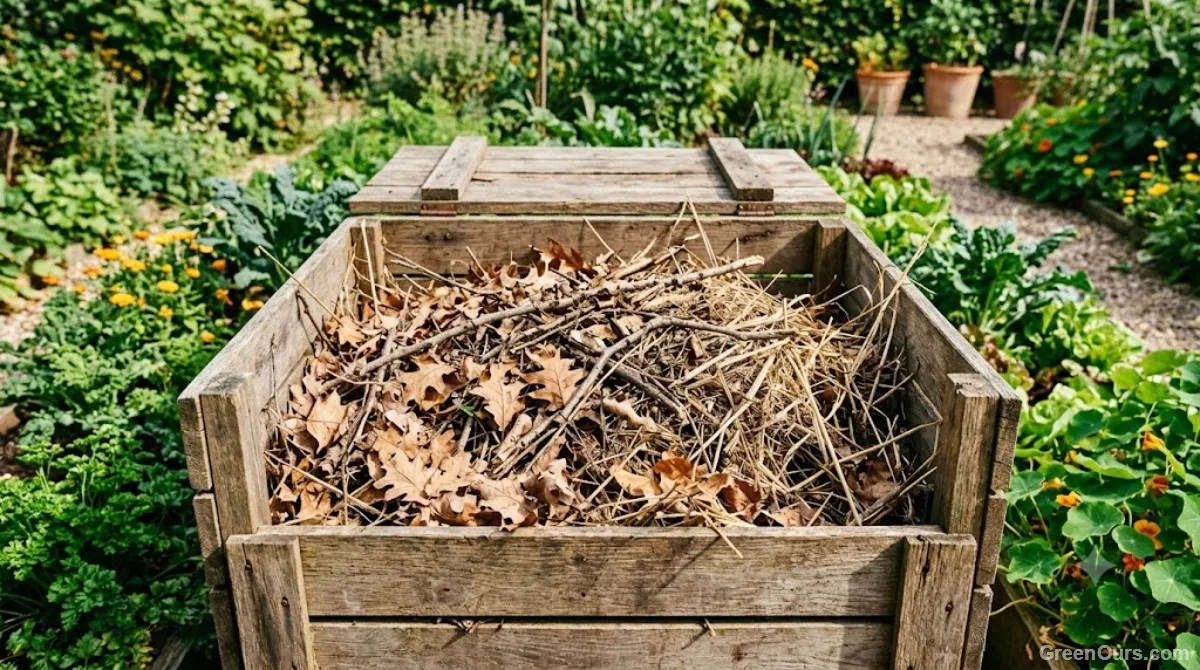
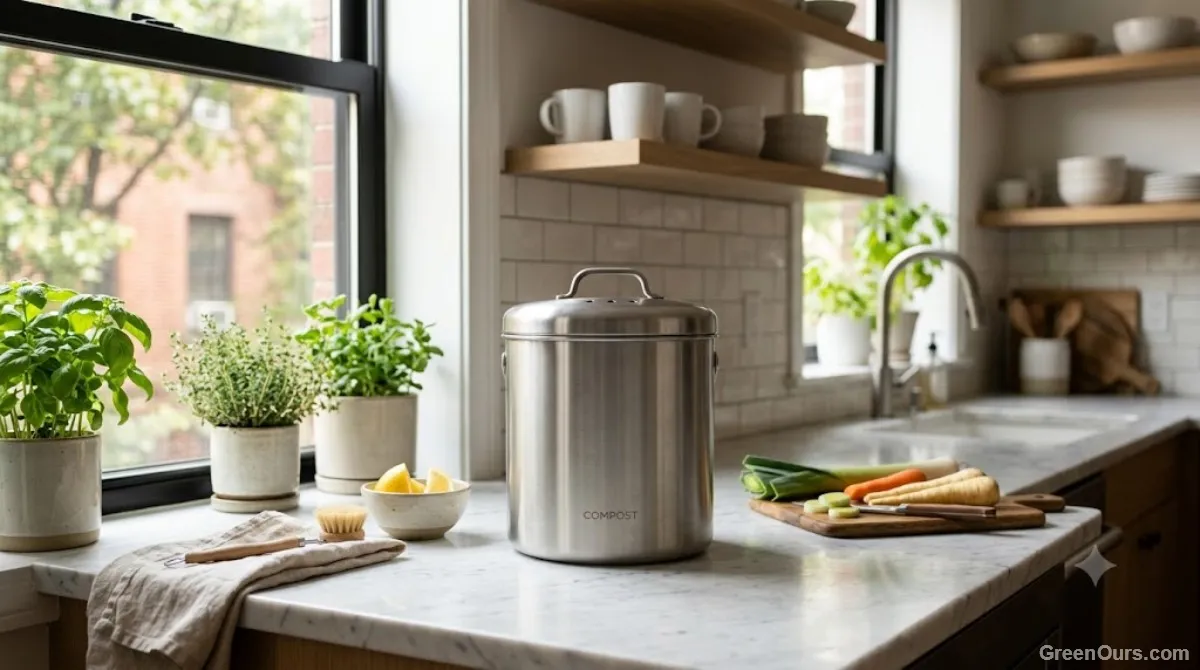
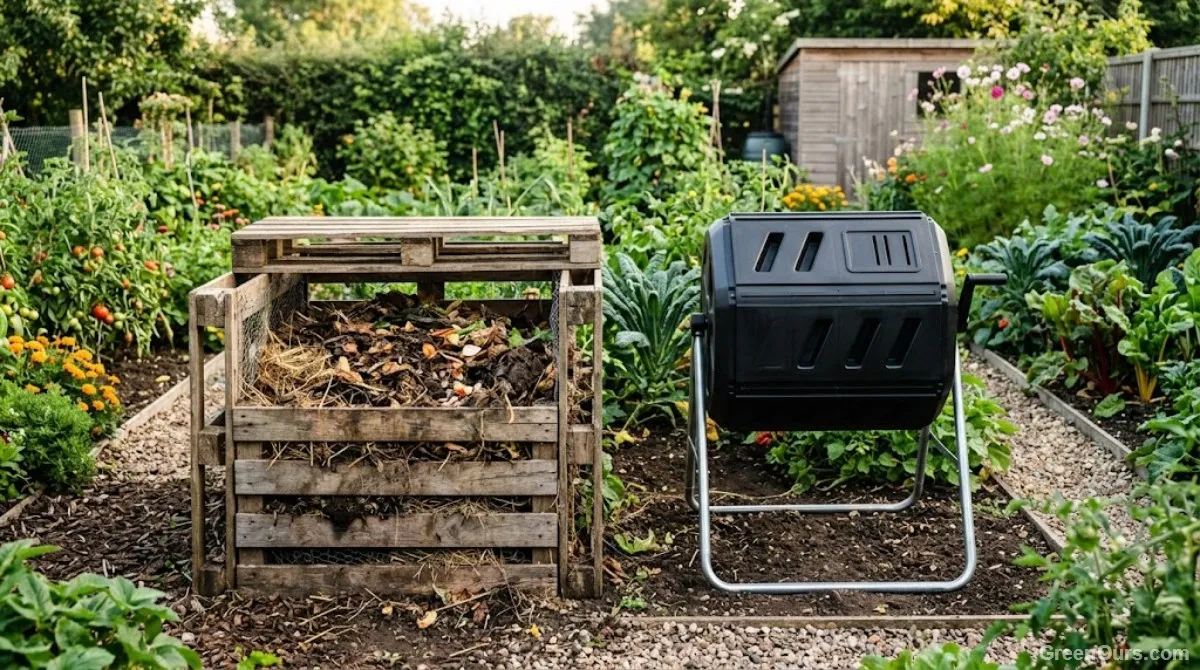
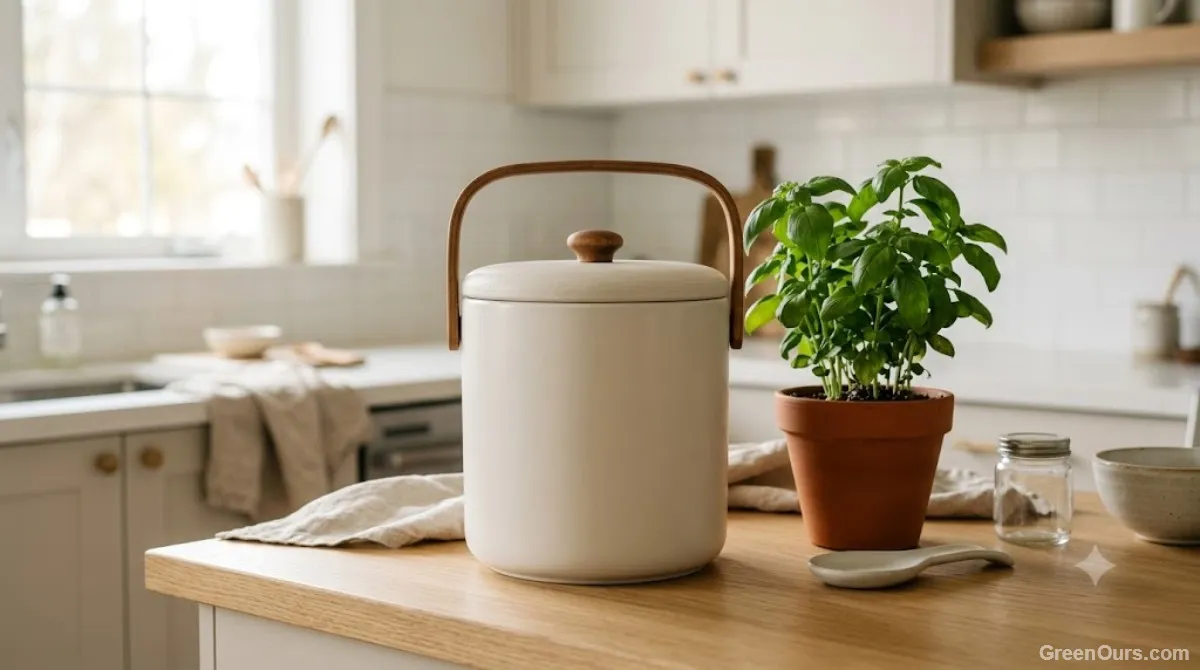
My first bin was a repurposed 18-gallon storage tote with holes drilled in the sides — cost me nothing, and it worked fine for a one-bedroom apartment with a small patio. If you've got a backyard, a tumbler or a simple three-sided wooden bin gives you more room and makes turning the pile less of an arm workout. If you're working off a balcony or a kitchen counter, a small enclosed caddy with a charcoal filter in the lid is worth the extra ten dollars — it's the difference between a faint earthy smell and something your roommate complains about.
Whatever container you land on, drill more holes than you think you need — I started with maybe six on my tote and ended up going back for another dozen once I realized how much airflow this whole process actually eats through. And don't overthink the material. Plastic totes, old trash cans, wooden pallets nailed together — compost doesn't care what it's sitting in as long as air and drainage can get in and out.
Size matters more than people expect. Too small, and the pile can't hold enough heat to break down properly, so it just sits there getting slimy. Too big for what you're actually feeding it, and you'll get dry patches that never decompose. For most households of two to four people, something in the 18- to 32-gallon range is the sweet spot — when I upgraded to a proper 32-gallon tumbler last spring, breakdown time dropped from around ten weeks to just under six.
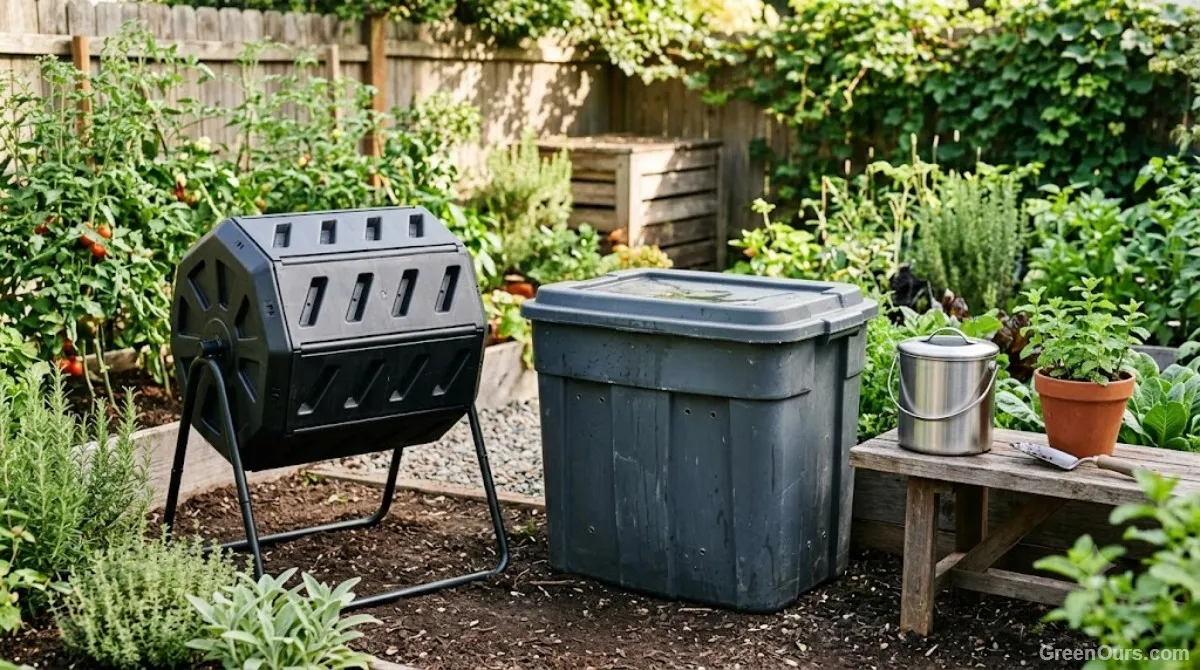
If you're just figuring out how to start composting at home, here's the one thing that matters more than which method you pick: whether the bin has a tight lid and real airflow at the same time. A sealed container with no vents turns into a swamp in under a week.
The Balance That Keeps It From Turning to Sludge
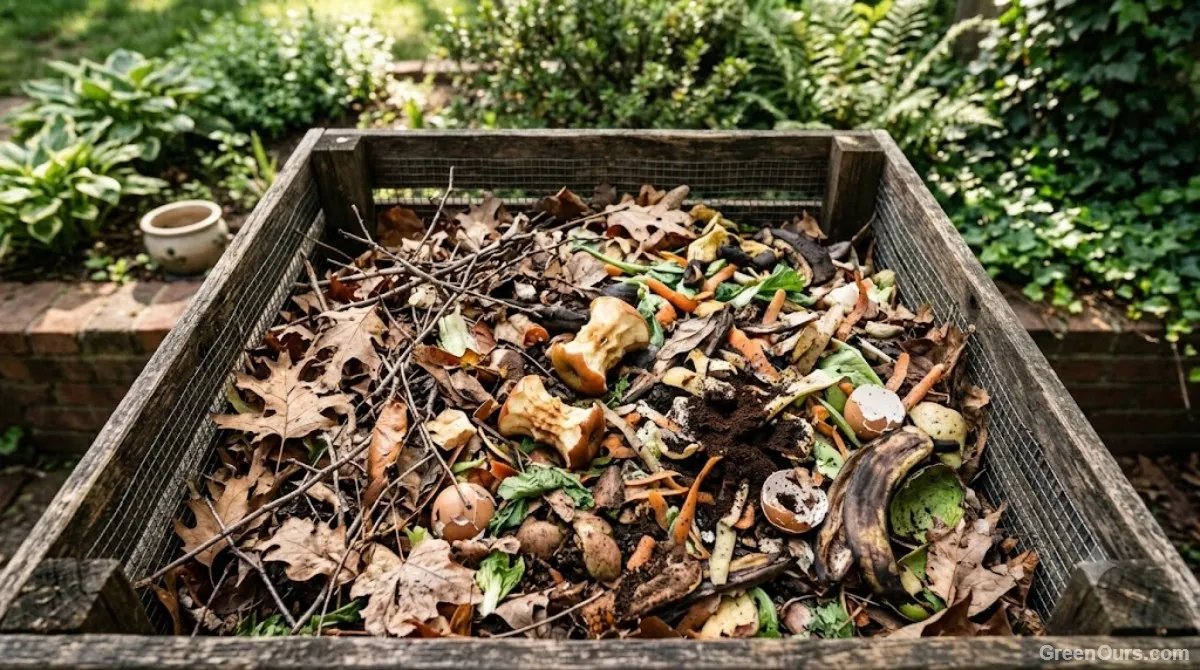
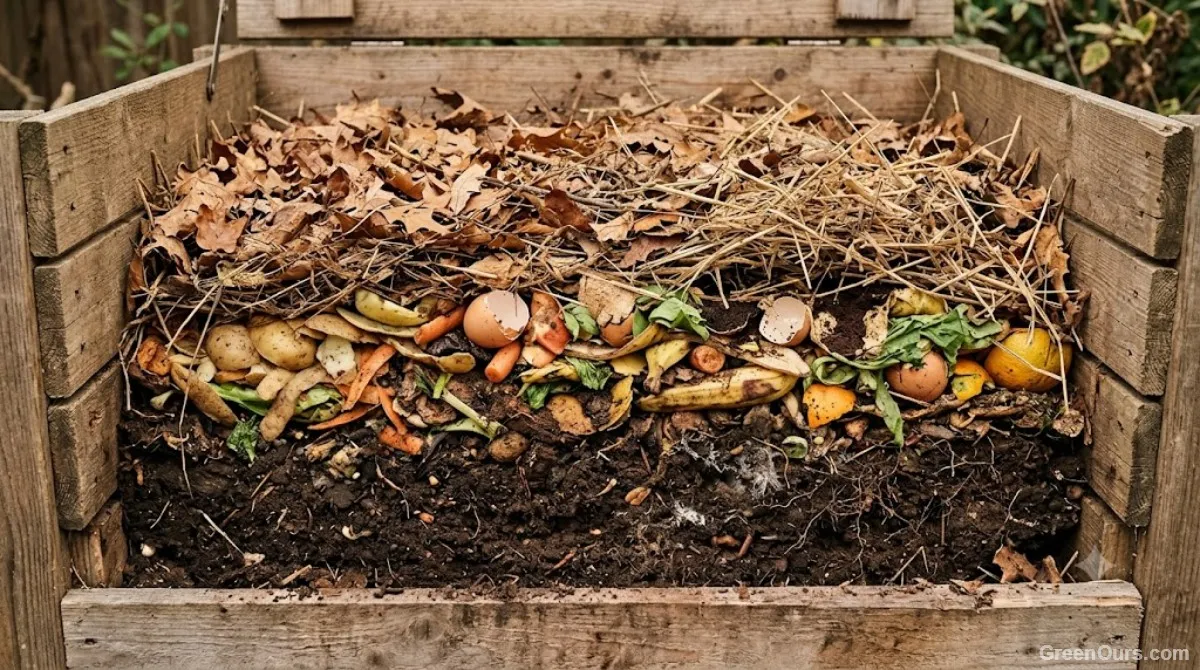
Compost needs two things: stuff that's wet and nitrogen-rich (food scraps, coffee grounds, grass clippings) and stuff that's dry and carbon-rich (shredded cardboard, dry leaves, sawdust). Skip the dry stuff and you get exactly what that video I mentioned showed — a dense, oxygen-starved mush that smells like a dumpster. I aim for roughly three parts dry material to one part wet scraps, though I'll be honest, I don't measure it with any precision. I just make sure I'm not dumping wet kitchen waste on top of wet kitchen waste for days in a row. I learned that one the hard way — I once let five days of coffee grounds and vegetable trimmings pile up without adding any browns, and the smell hit me before I'd even lifted the lid.
For a rough mental picture: a full countertop caddy of vegetable scraps usually wants about three handfuls of shredded cardboard or dry leaves to match it. Coffee grounds count as wet even though they don't look soggy, so I've learned not to skip the browns just because the grounds seem dry to the touch. Eggshells are the one exception I don't worry much about — they break down slowly no matter what, so I toss them in without measuring anything.
Keep a paper bag of shredded junk mail or dry leaves next to your kitchen bin. Every time you add scraps, toss in a handful of the dry stuff on top. It sounds too simple to matter, but it's the one habit that's kept my compost from smelling like anything worse than a forest floor.
Layering Instead of Dumping
The habit that changed everything for me was treating the bin like lasagna instead of a trash can. Dumping scraps straight onto the surface leaves them exposed to fruit flies and air, which is exactly how you end up with that sour, vinegary smell.
Start With a Carbon Base
Whenever I start a new bin, I lay down about four inches of dry leaves or shredded cardboard first. That base soaks up excess moisture from everything that comes after and gives air pockets somewhere to sit, which speeds up the whole process.
Bury Fresh Scraps, Don't Just Toss Them
Every time I add food waste, I dig a small well into the existing pile, drop the scraps in, and cover them with a layer of browns. It takes maybe fifteen seconds longer than dumping, and it's the reason I've never had a fruit fly problem worth mentioning.
Moisture: The Number One Mess-Maker
If your compost smells bad, moisture is almost always the reason — either too much or too little. The texture you're going for feels like a wrung-out sponge: damp enough to clump slightly when you squeeze it, but not so wet that water drips out. If it's soggy, mix in more dry browns. If it's crumbly and dust-dry, add a splash of water or a few more wet scraps.
Rain complicates this if your bin sits outside uncovered — a couple of heavy downpours can undo a week of careful balancing in an afternoon. I ended up propping an old plastic lid over mine at an angle, not sealed, just enough to keep direct rain out while still letting air move underneath. It's not elegant, but it's kept me from having to rescue a waterlogged pile more than once.
I check mine roughly once a week, mostly by just grabbing a handful. It sounds unpleasant, but finished compost has a pleasant, mineral smell — nothing like the sour stink of an overwatered pile. In humid weeks I'm adding extra browns almost daily; during a dry stretch in winter, I barely touch it for two weeks at a time.
Keeping Pests Out From Day One
Prevention beats treatment here. Bury fresh scraps under browns like I mentioned, skip meat, dairy, and oily foods entirely, and keep your bin's lid actually shut instead of propped open for "airflow" — the vents built into the design already handle that. I also keep my kitchen collection container small, about the size of a large yogurt tub, so scraps never sit on the counter more than a day or two before they get buried outside.
Raccoons and rodents are drawn to smell, not to compost itself, so a bin with a secure lid solves most outdoor pest issues before they start. The first summer I skipped that step, I ended up with a fruit fly cloud thick enough that opening the lid felt like disturbing a beehive. If you're running an open pile instead of an enclosed bin, a fresh layer of dry material on top after every addition works as a decent substitute for a lid.
What I Wish I'd Known Before My First Batch
I wish someone had told me composting doesn't need to look tidy to be working. My pile goes through an ugly, slightly matted stage around week three that looks nothing like the crumbly, dark soil in the photos — and that's normal, not a sign I've messed it up. I also wish I'd known that turning the pile every single day isn't necessary; once a week, or even every couple of weeks, is plenty for most home setups.
I also wish someone had warned me that the smell test is more reliable than the look test. A pile can look rough and still smell completely neutral, and that's the real sign things are on track — not how photogenic it is at any given moment. The one time I actually had a problem, I smelled it before I ever saw it, which is honestly the more useful early warning system anyway.
Honestly, the thing that finally made this stick for me wasn't mastering some formula — it was giving myself permission to let the bin look a little rough sometimes. I still eyeball everything, and I still second-guess myself during a soggy week here and there. But most weeks now, I genuinely forget the bin's even out there until it's time to check on it. That's kind of the whole point — it stops being a project and just becomes something you do.
Wondering how to tell when it's finally ready to use in the garden?
Find out what to do with finished compost