The Step Everyone Skips When They Start Composting
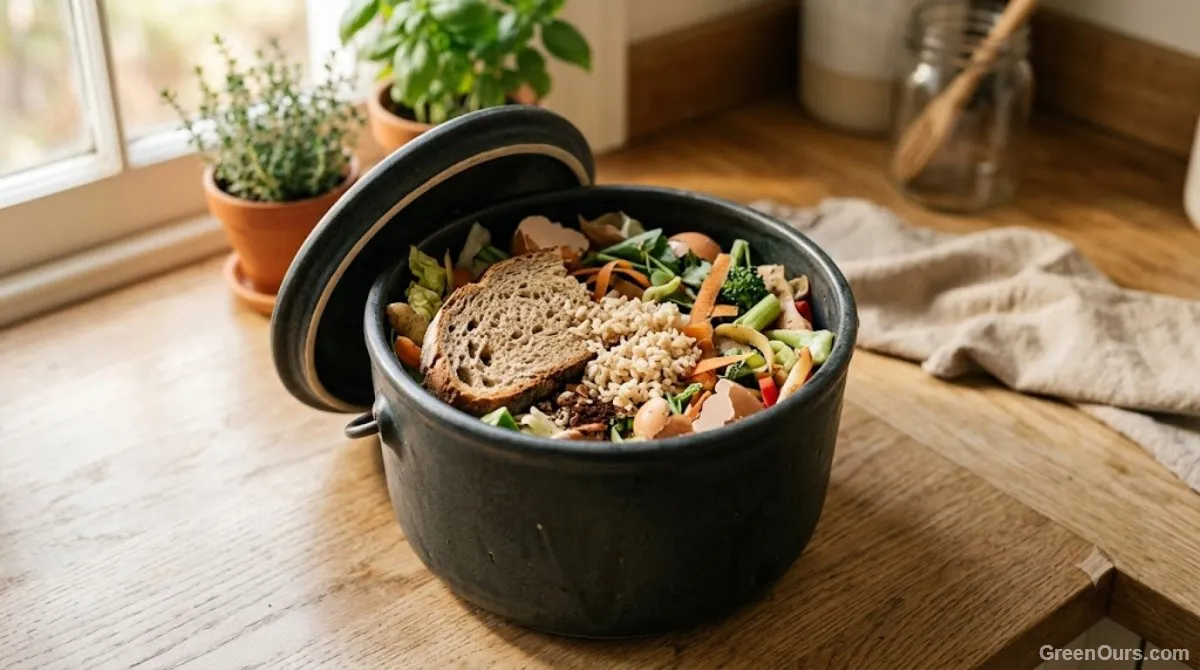
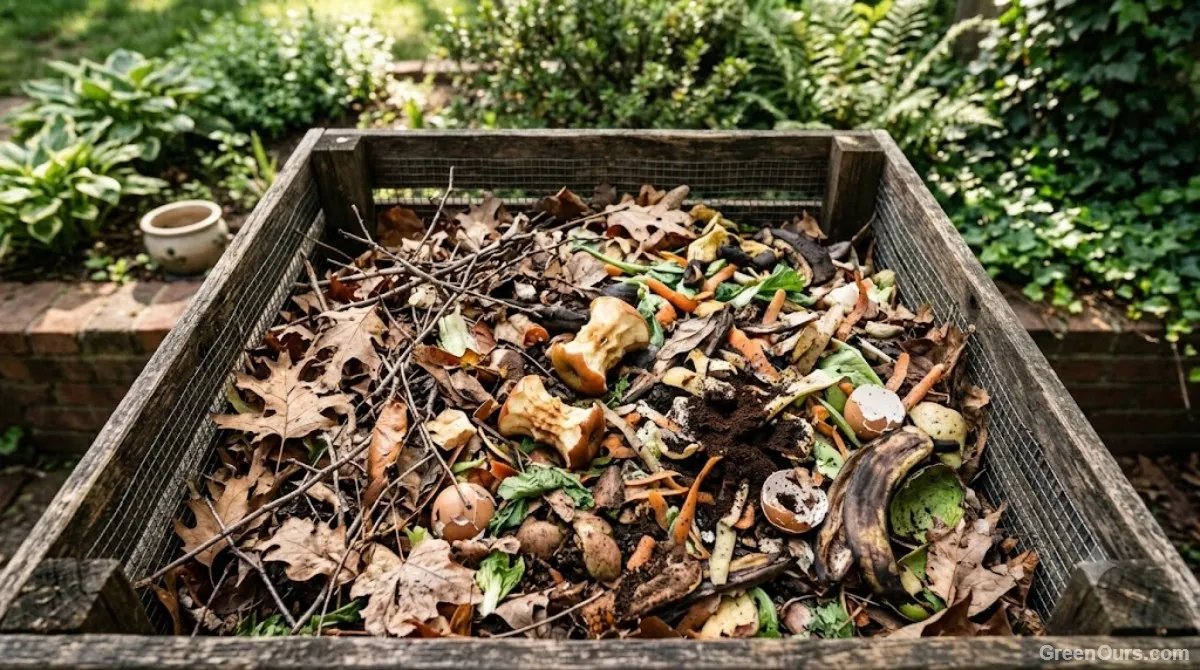
Most composting guides jump straight from "here's what you can compost" to "here's how to build a pile," and they skip the part in between entirely — as if scraps teleport from your cutting board to your backyard bin. In real life, they sit. Sometimes for hours, sometimes for days, depending on how often you're willing to walk outside.
That waiting period is where odors start, where fruit flies find their opening, and where a lot of well-meaning composting attempts quietly die in a junk drawer of good intentions. Solving it isn't complicated, but it does require picking an actual system instead of winging it with whatever bowl is closest.
The scraps themselves rarely smell right away — it's moisture sitting against organic matter in a warm kitchen for more than a day that starts the clock. Storage is really a race against that timer, not against the scraps themselves.
Countertop or Freezer? Picking Your Scrap Storage System
There are really only two indoor storage approaches worth considering, and which one fits you depends less on your kitchen size and more on how often you're realistically going outside.
The Countertop Bin
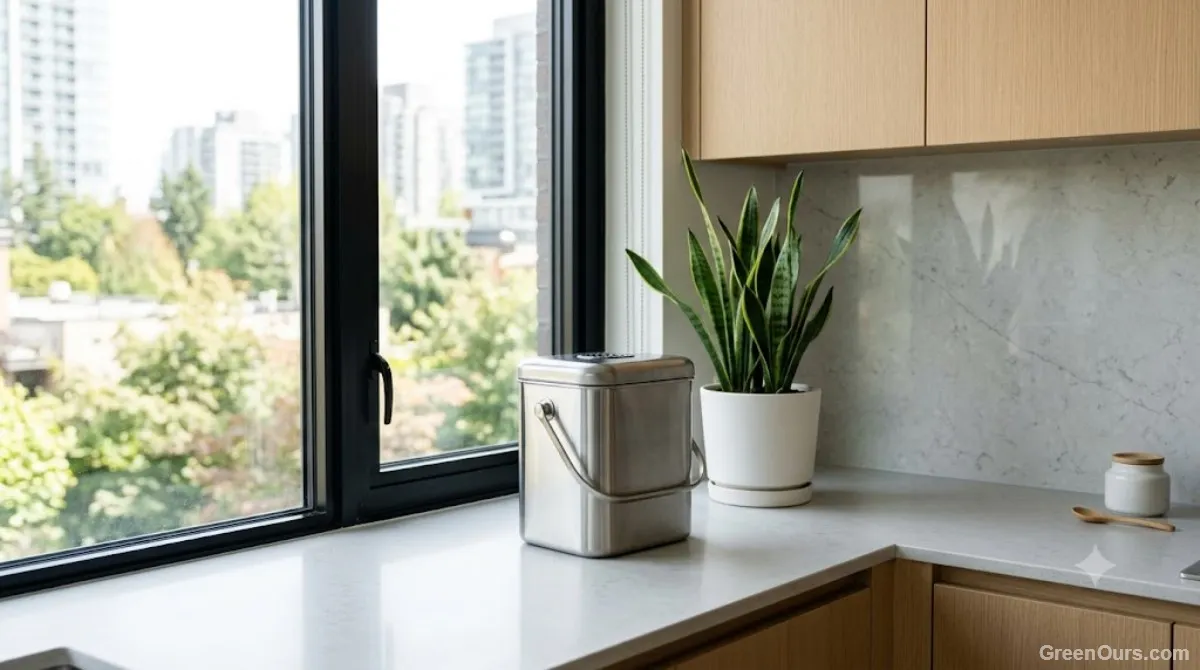
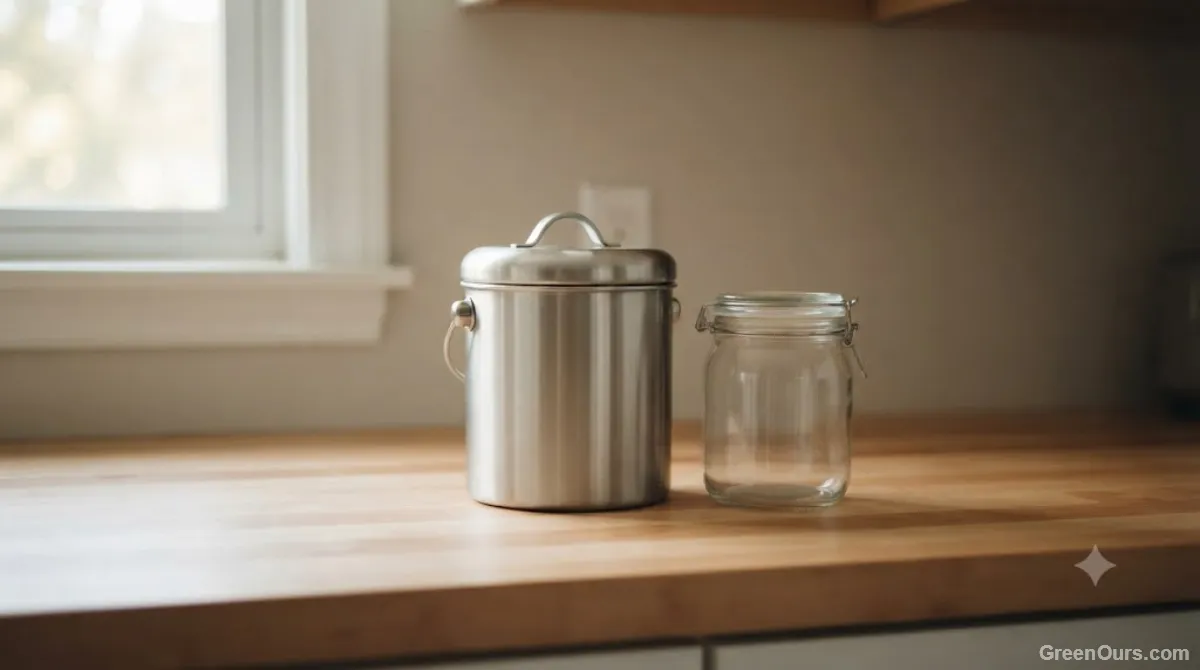
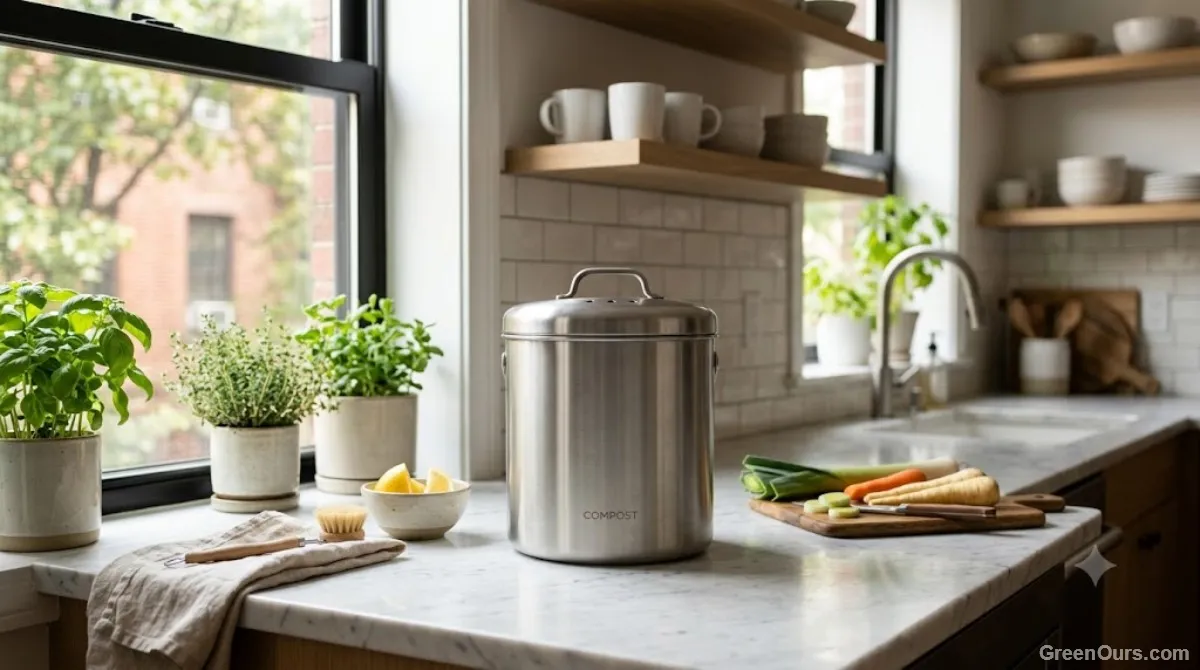
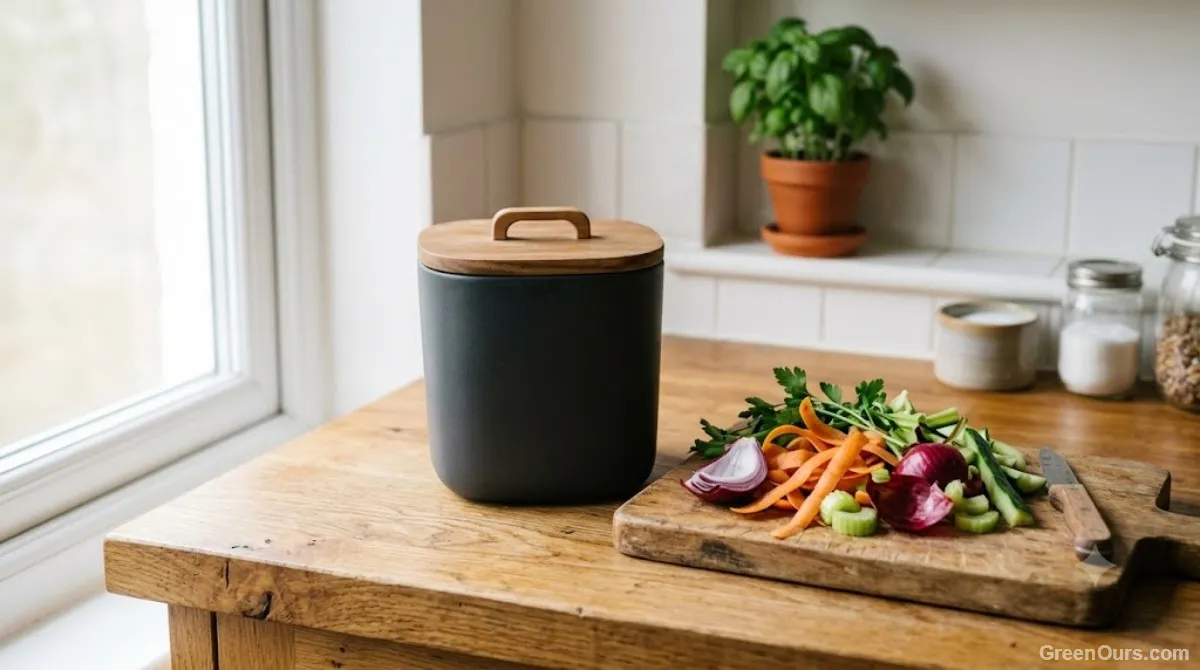
A small, lidded container — ceramic, stainless steel, or even a repurposed jar with a snug lid — works well if you're emptying it every one to two days. The lid matters more than the material. Anything that seals reasonably tight keeps smells contained and keeps fruit flies from treating it as an open invitation.
The Freezer Bag
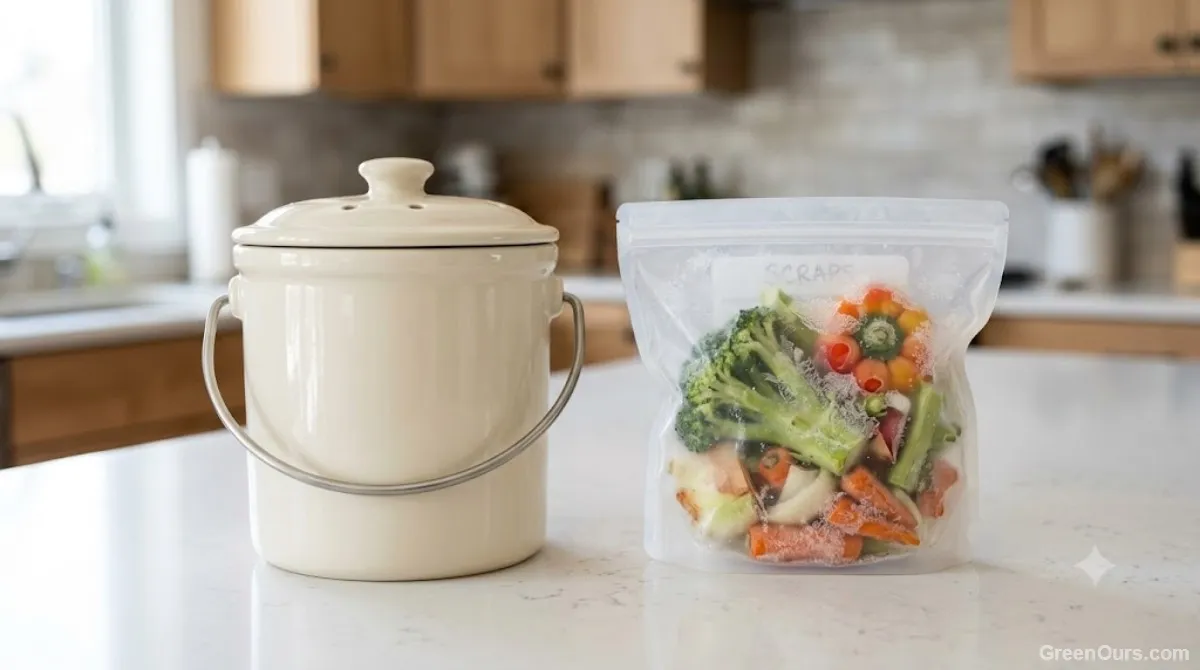
If you're the kind of person who composts once a week rather than daily, skip the counter entirely and keep a bag or container in the freezer. Cold storage stops decomposition in its tracks, which means no smell, no flies, and no pressure to run outside every evening in your socks. I switched to this method myself after one too many nights forgetting the countertop bin existed, and it's been the single change that made composting sustainable for me.
Container Tips That Actually Prevent the Mess
Not every container marketed for composting is worth buying, and you don't need anything expensive to make this work. A few small details matter more than the price tag.
Look for a lid that closes fully rather than just resting on top — gaps are exactly where fruit flies get in. If you're using a bag in the freezer, a reusable silicone bag or a repurposed container with a lid works fine; there's no need for anything single-use here. And if odor is a recurring issue even with the lid on, a thin layer of shredded paper or a compostable liner at the bottom absorbs excess moisture before it becomes a problem.
One thing I'd skip: charcoal-filter countertop bins that promise to eliminate odor completely. They help a little, but they're solving a problem that a consistent emptying schedule solves for free.
Keeping Fruit Flies and Odors Out for Good
Fruit flies aren't drawn to your scraps specifically — they're drawn to fermentation, which starts once sugars in fruit and vegetable matter sit exposed to air for a few days. That's why a sealed container solves most of the problem on its own, but there are two habits worth adding.
First, rinse the container each time you empty it, not just when it starts to smell. A quick rinse with dish soap takes fifteen seconds and prevents residue from building up along the sides, which is where flies tend to lay eggs in the first place. Second, if you notice fruit flies appearing despite a sealed lid, check the seal itself — over time, gaskets on reusable containers can wear down enough to let odor and flies through even when the lid looks closed.
Building the Habit So It Actually Sticks
The honest truth is that no container solves this if the system doesn't match your actual life. If you know you're not emptying scraps daily, don't set up a countertop bin and hope future-you shows up differently than present-you. Go straight to the freezer method and skip the guilt entirely.
I keep my freezer bag folded flat in the door shelf, and every scrap goes straight in the moment I'm done cooking — no separate bowl, no extra step, no chance to forget about it on the counter. Once a week, it comes out, gets emptied into the outdoor bin, and goes right back in. It's not glamorous, but it's the reason composting finally stuck for me after three failed attempts.
Storage isn't the exciting part of composting, and it never will be. But it's the part that decides whether you keep going after week one or quietly give up and go back to the trash can. Get this piece right, and everything downstream — the pile, the worms, the actual compost — gets a lot easier to stick with.
More easy ways to start composting without the mess:
How to Start Composting at Home Without the Mess