Identifying the Problem
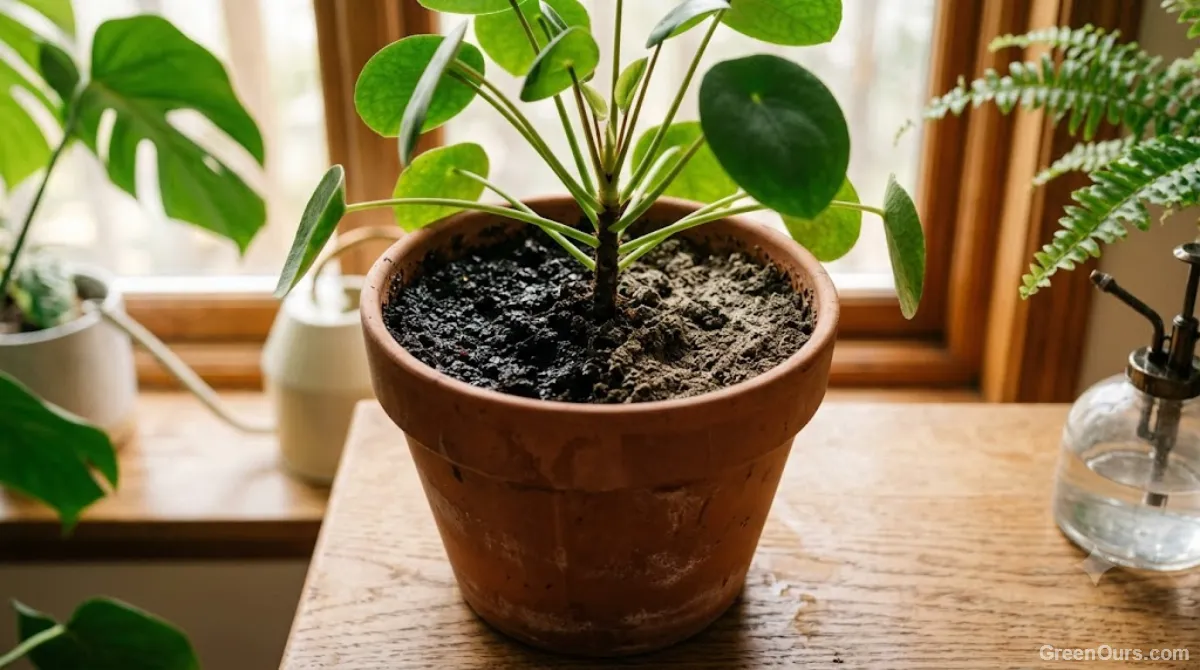
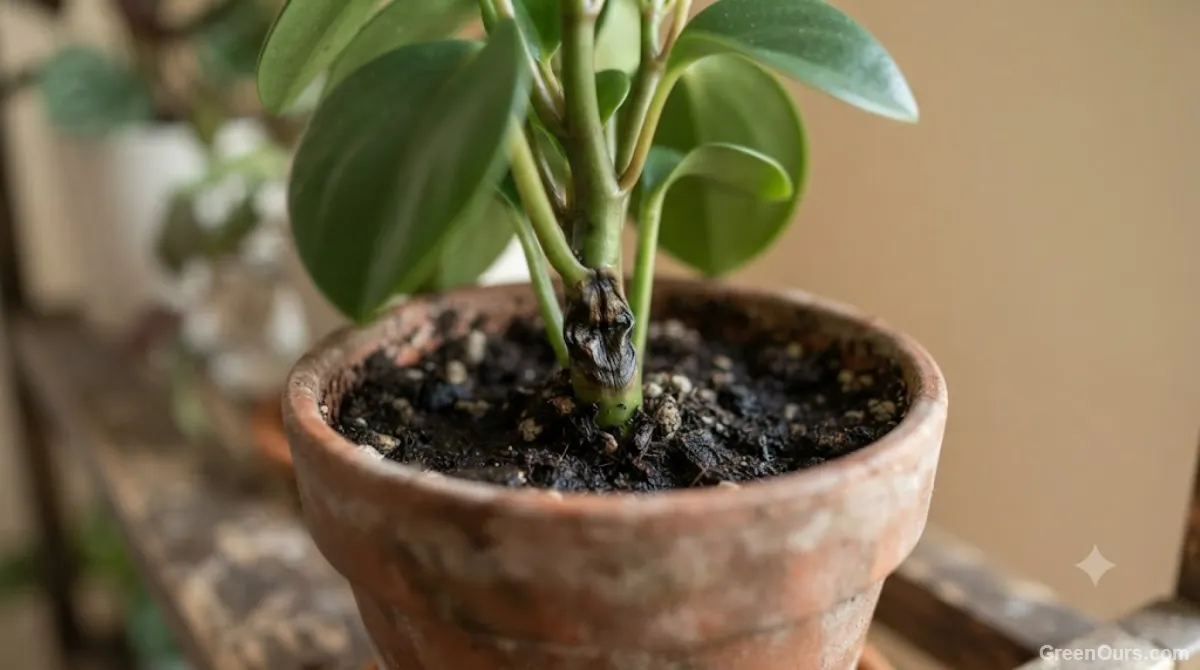
Black stem rot starts at or just below the soil surface. Look for a lesion that is dark brown to black, slightly sunken, and soft or mushy to the touch. Healthy stem tissue resists gentle pressure; rotted tissue gives way and can feel almost slimy.
A telltale sign is discoloration that rings the entire stem rather than appearing as a single spot. Fungal rot typically girdles the stem within 5-10 days of first symptoms, cutting off water and nutrient flow above that point. You'll often see the first external clue in the foliage before you spot the stem itself: lower leaves yellowing or wilting despite moist soil, which signals the plant can no longer move water past the damaged section.
Smell is a reliable secondary indicator. Bacterial soft rot produces a distinct sour or rotten odor at the affected site. Fungal stem rot is usually odorless or has a faint musty smell, which helps separate the two when you're deciding on treatment.
Why It Happens: The Main Causes
Overwatering and Waterlogged Soil
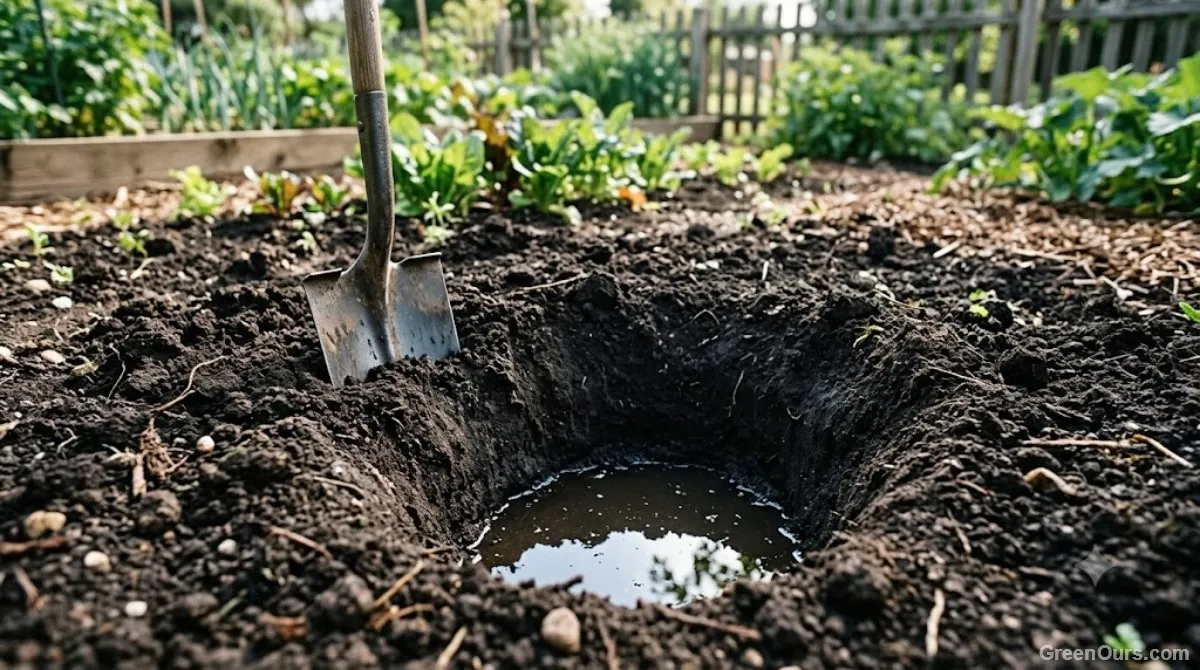
Soil that stays saturated for more than 48-72 hours creates the anaerobic conditions fungal pathogens need to establish at the stem base. This is the single most common trigger. Pots without drainage holes, oversized containers, and dense potting mixes all extend how long soil stays wet after each watering.
Fungal Pathogens in the Soil
Rhizoctonia, Fusarium, and Pythium are the three genera responsible for the majority of stem rot cases in houseplants and vegetable seedlings. These organisms are often already present in bagged potting soil at low, harmless levels. They become aggressive only when moisture and poor aeration give them the advantage.
Poor Airflow and Overcrowding
Stems packed close together, or plants pushed against a wall with no air circulation, stay humid at the base longer after watering. That extra humidity window is frequently the difference between a plant that dries out safely and one that develops rot.
Check soil moisture at 2 inches depth, not just the surface. Surface soil can look dry while the root zone stays saturated — this mismatch is where most stem rot cases begin.
Stem Rot vs Normal Aging: How to Tell the Difference
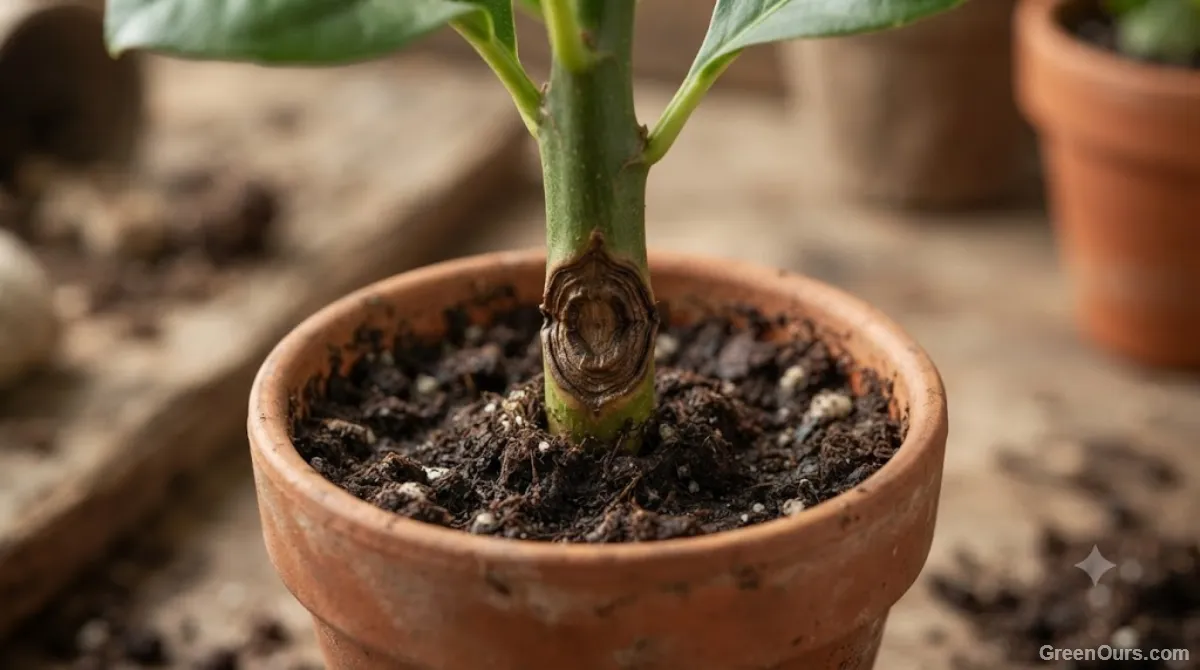
Many plants naturally develop a woody, brown lower stem as they mature — this is normal lignification, not disease. The distinction comes down to texture and color. Natural aging produces a firm, tan-to-brown stem that feels dry and slightly rough. Rot produces a dark brown-to-black lesion that feels soft, cool, or wet to the touch.
Location matters too. Age-related woodiness develops gradually over months and spreads evenly along the lower stem. Rot appears suddenly, usually within a one- to two-week window, and concentrates at a single point rather than spreading uniformly.
If you're still unsure, press gently on the questionable section. Woody stems resist. Rotted stems yield with almost no pressure and may leave an indentation.
Recovery: Step by Step
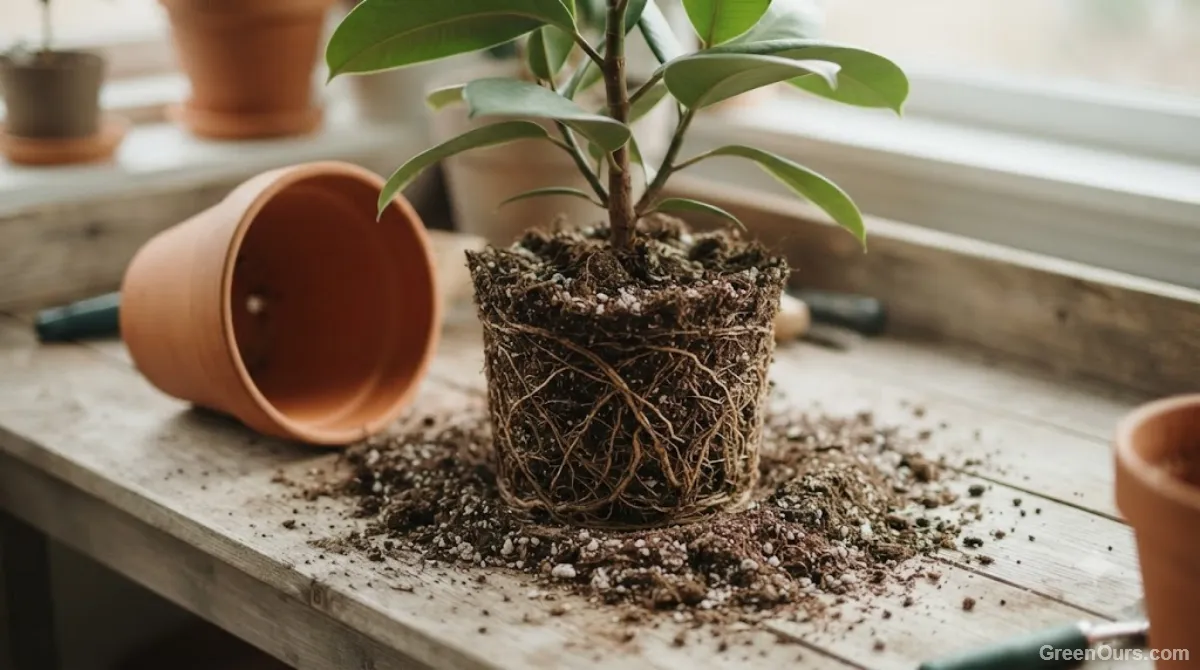
- Remove the plant from its pot and inspect the full root system. Roots should be pale tan to white and firm. Brown, mushy, or hollow roots confirm the rot has spread below the soil line.
- Cut away all infected tissue using a blade sterilized with isopropyl alcohol between cuts. Cut at least half an inch into visibly healthy, firm, pale tissue — a cut that stops at the edge of discoloration usually leaves pathogen behind.
- Let cut surfaces air-dry for 2-4 hours before repotting. This allows a protective callus to begin forming and reduces the chance of reinfection.
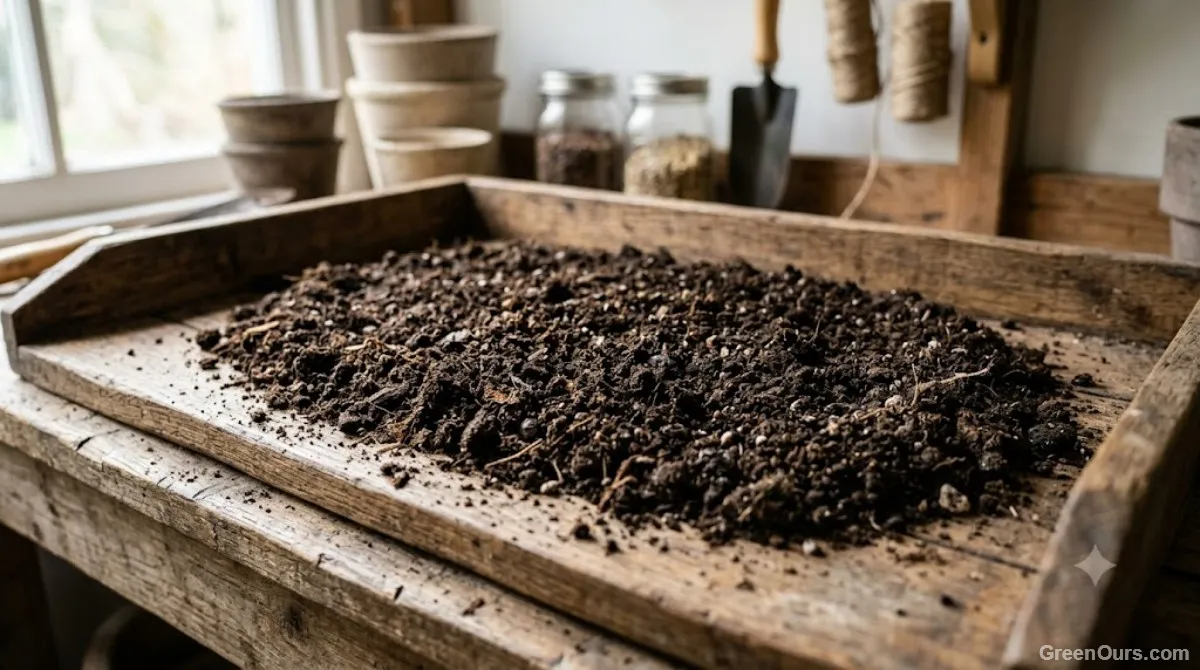
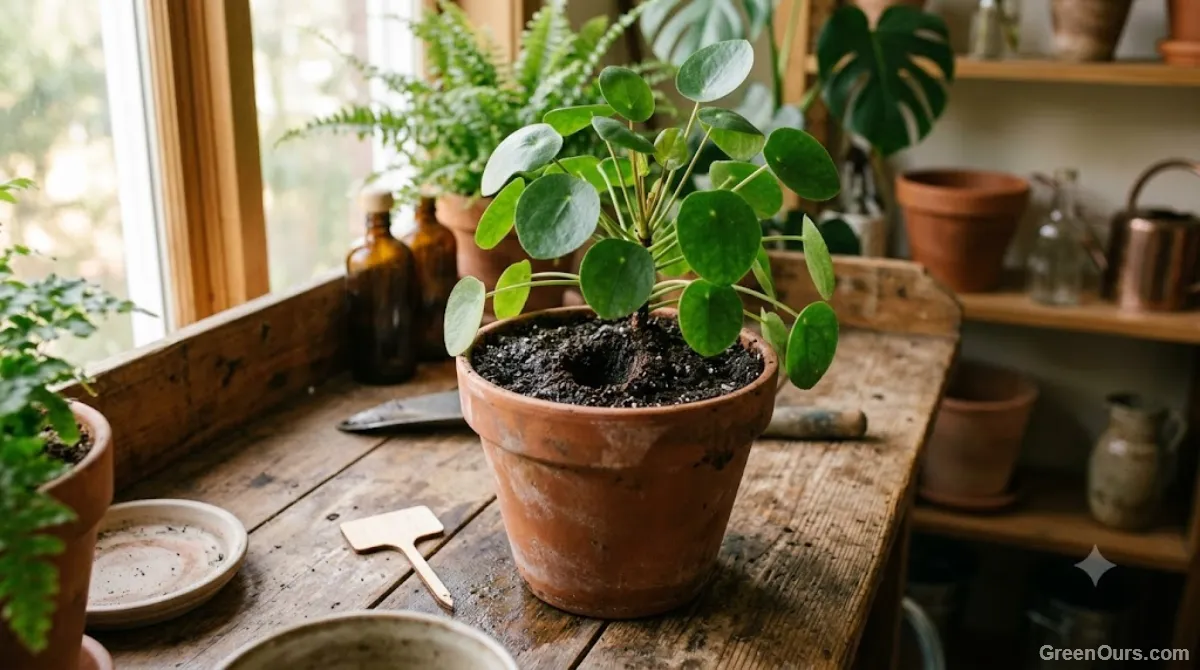
- Repot into fresh, sterile potting mix in a container with drainage holes. Never reuse the original soil — it likely still carries the pathogen load that caused the problem.
- Withhold water for 5-7 days after repotting, then resume watering only once the top 2 inches of soil are fully dry.
Prevention Going Forward
Soil and Drainage
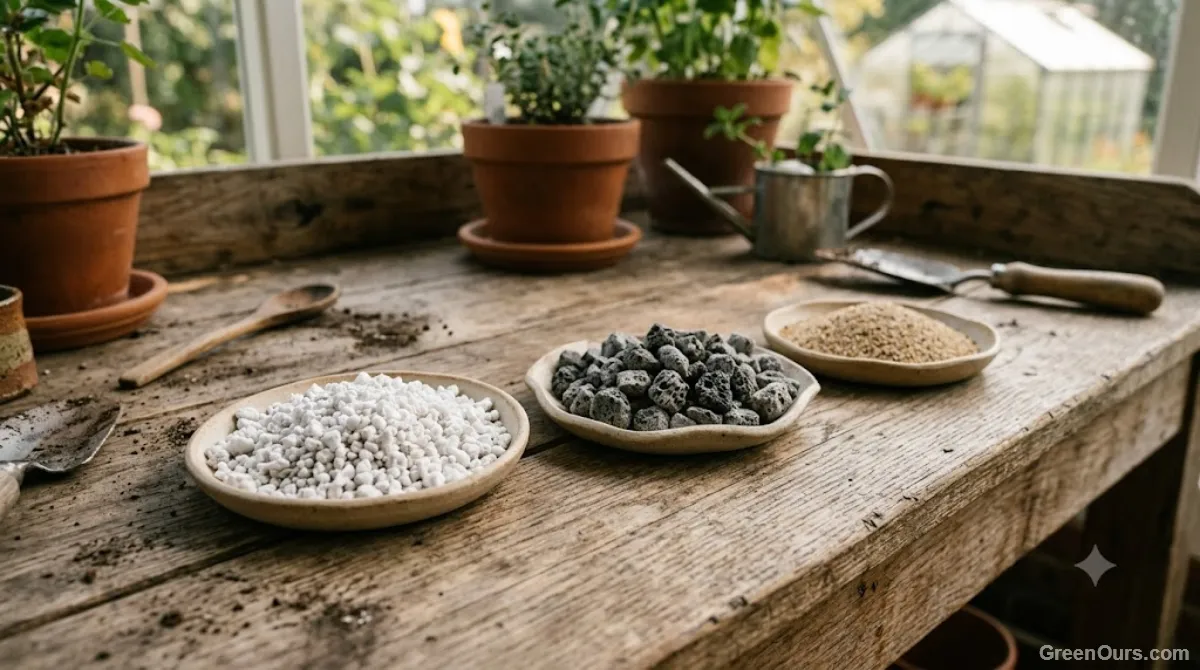
Use a mix that drains within 10-15 seconds when you pour water through it. Add perlite or coarse sand at a 1:4 ratio to standard potting soil if your current mix holds water longer than that.
Inspection Routine
Check the stem base every time you water — it takes under 10 seconds and catches early lesions before they girdle the stem. Early-stage rot caught within the first few days has a meaningfully higher recovery rate than rot that's been established for two weeks or more.
When to Let It Go
If the rot has girdled more than 50% of the stem circumference, or if the root system is more than half compromised, the plant's odds of full recovery drop sharply. In these cases, your best move is often to take a healthy cutting from unaffected upper growth and propagate a new plant rather than fighting to save the original.
What to Do Next
Stem rot is fast-moving, but it's not unpredictable. Catch it at the soil line, act within days rather than weeks, and you'll save more plants than you lose.
Read our latest pest and disease diagnostics for more plant problems solved.