Why These Pests Go Undetected
Adult pests get all the attention in identification guides because they're the easiest to photograph. But population growth happens in the nymph stage, and that's when these insects are hardest to see. A first-instar thrips nymph is pale yellow and under 1mm long. A juvenile spider mite is nearly clear before it starts feeding and taking on color from chlorophyll. Aphid nymphs are frequently a washed-out green that blends directly into leaf tissue.
Add typical indoor lighting and average human eyesight, and a population can triple before anyone notices a single bug. You're scanning for a shape that isn't there yet—these nearly invisible garden stowaways blend into normal leaf texture until the population is already established. If you only look for the classic silhouettes shown in textbooks, you will consistently miss the active infestations occurring right in front of your eyes.
A single adult female thrips can lay 150-300 eggs over a two-to-three week lifespan, and a spider mite population can double every 3-7 days under warm, dry conditions. Miss the nymph stage once, and you're not managing a handful of insects—you're managing several overlapping generations by the time symptoms show up on new growth.
Focus on texture and light, not silhouette. Regular inspection catches nymph populations while they're still a five-minute fix instead of a month-long treatment cycle. You must develop a keen eye for subtle deviations in surface quality, such as a localized loss of glossiness or a slight wrinkling that doesn't belong on a healthy leaf. By slowing down your observation routine, you can intercept these cycles of expansion before they reach the point of no return for your collection. When you encounter these translucent pests, the reality is that the damage you see is simply the aftermath of a hidden, thriving nursery.
Many growers find it helpful to document these inspections in a journal. By recording what you see—or what you don't see—you create a baseline for what a healthy leaf looks like on your specific plants. This habit reduces the panic of finding damage later because you have already established a history of vigilance that makes subtle changes stand out more clearly. Being proactive saves plants that might otherwise be discarded due to misdiagnosis.
Consistency is your best weapon. When you maintain a weekly routine, you learn the specific nuances of your plants' growth habits. You will quickly notice when a leaf feels slightly sticky or when a specific stem tip seems to be slowing down in its development compared to the rest of the plant. These minor shifts are the first warnings of an incoming wave of pests that have yet to reveal themselves through obvious color changes or foliage collapse. Incorporating a routine helps you track these miniature hitchhikers as they emerge across seasons.
Do not underestimate the speed at which these populations can establish themselves in your home. Often, the first sign of a problem is not a bug, but a change in the light reflection off the leaf surface. A healthy leaf has a specific, consistent sheen. When pests begin to feed, they disrupt the cellular structure, causing dull patches. Learn to identify the look of healthy foliage under different lighting conditions, and you will find that anomalies appear much sooner than you expect. Keeping a record of your findings is an excellent way to train your eyes. By prioritizing this vigilance, you create an environment where pests struggle to gain a foothold, essentially starving the infestation of the time required to multiply unchecked. This is how you master early detection for common indoor threats.
It pays to check plants from reputable nurseries as soon as you bring them home, as they often harbor these pests in the substrate or tucked away in deep folds of mature leaves. If you see debris that seems to move or debris that is perfectly aligned along a leaf vein, pause and inspect that area with a lens. Many people assume they are looking at dust or dirt, but a patient, methodical look often reveals the beginnings of a colonization effort. If you remain calm and thorough, you can isolate the plant before it touches others in your collection. You should also consider rotating your inspection schedule so you do not accidentally ignore plants that are located in corners or dim lighting conditions where pests are often overlooked for weeks.
What You're Actually Looking For
Skip the mental image of a visible insect crawling across a leaf. Look instead for texture, sheen, and movement—minute deviations in the leaf's natural matte or glossy finish. Because these creatures are so small, identifying them requires a change in your physical approach to plant care. You must learn to view the plant through a different lens, literally and figuratively.
Thrips Nymphs
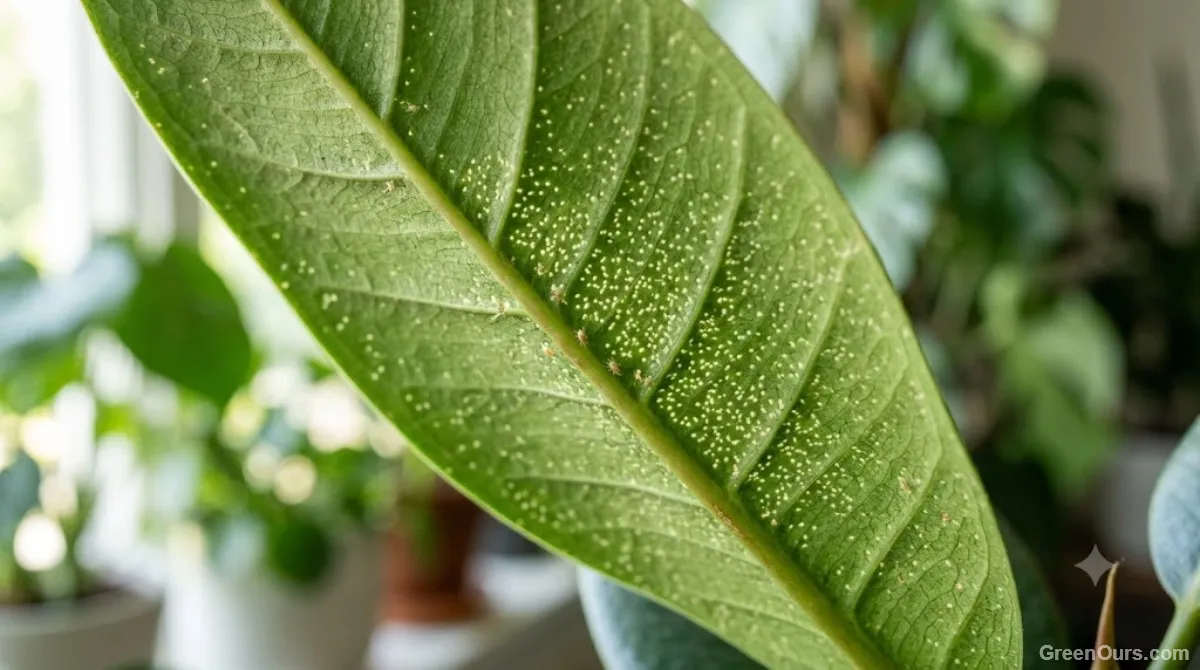
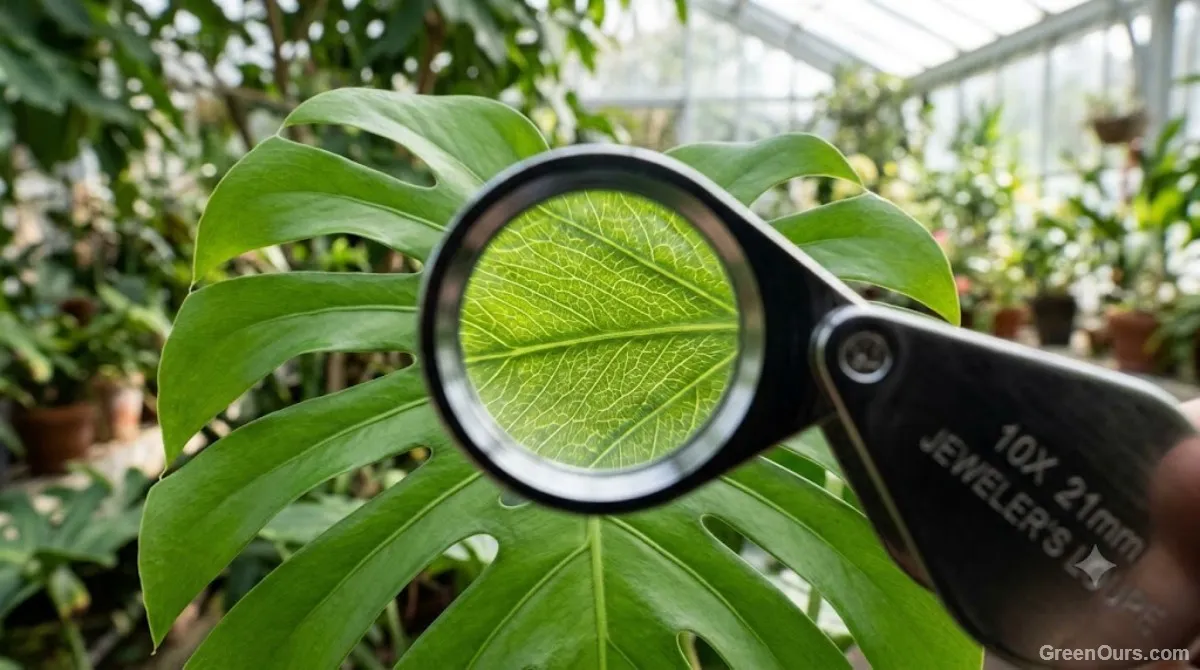
Pale yellow to white, slender, and fast-moving when disturbed. They cluster along leaf veins, and the folds of new growth serve as their primary hiding spot, protected from casual inspection. A 10x hand lens turns a vague fleck into a countable insect with visible legs—the fastest way to move from suspicion to certainty.
Spider Mite Juveniles
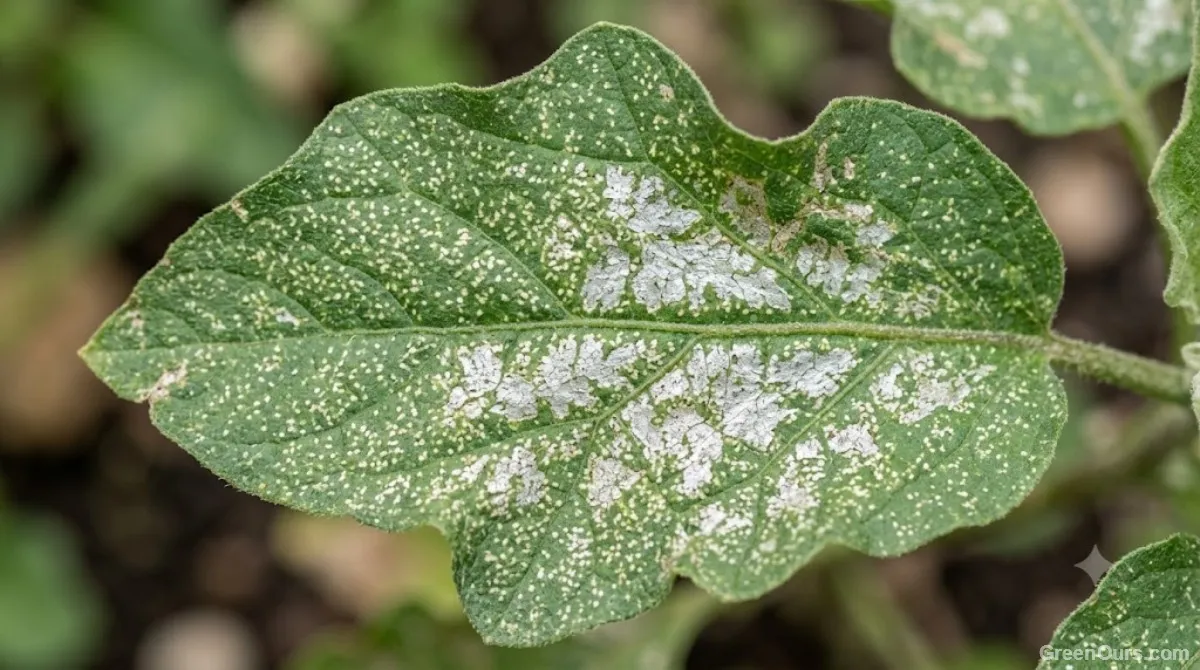
Nearly transparent with a faint greenish or amber tint, six legs instead of the adult's eight. They favor the undersides of leaves near the midrib, where humidity is slightly higher. Look for a faint dot pattern rather than a bug shape at first; the legs resolve clearly only under magnification.
Aphid Nymphs
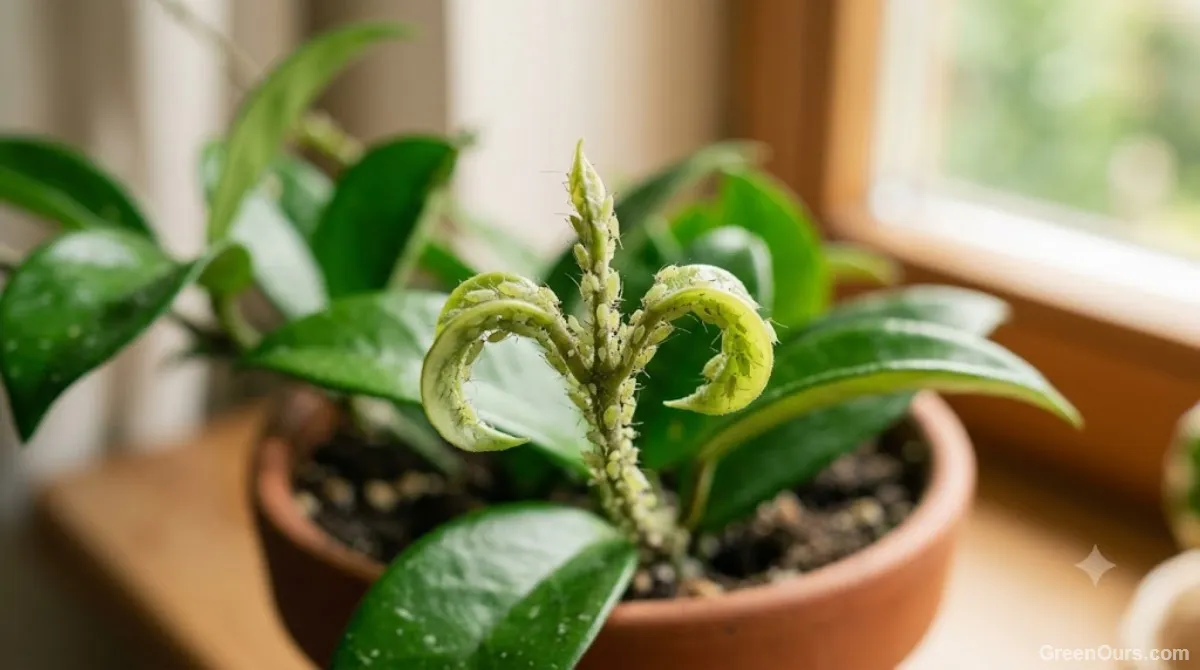
Soft-bodied, pale green to translucent white, and almost always found in tight clusters on new growth tips and flower buds rather than mature leaves. A cluster that looks like pale dust on a stem tip is a colony, not debris.
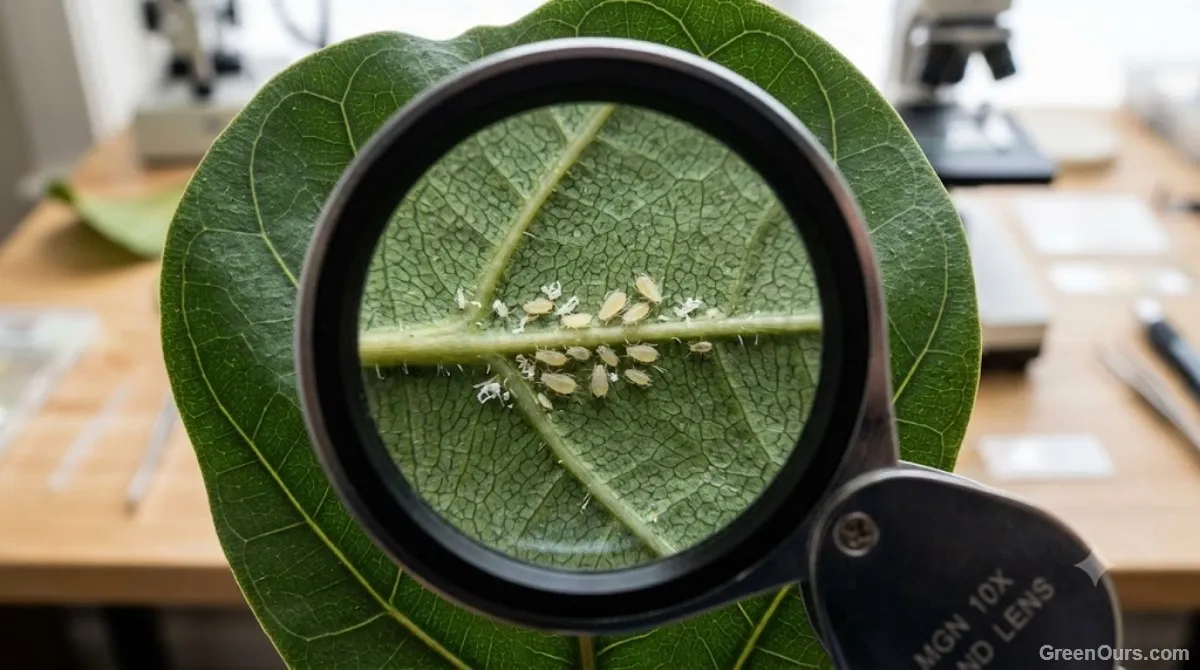
If you see fine white skins or shed casings stuck to a leaf surface, you're looking at molted exoskeletons. That's confirmation of an active, growing population even if you can't find a live insect in the moment.
The Three-Step Inspection Method
Standard visual scanning misses these pests almost every time. Use this sequence instead to gain total control over your plant environment.
- Backlight the leaf. Hold the leaf up against a bright window or phone flashlight from behind. Translucent bodies show up as small moving shadows that are invisible under normal overhead light.
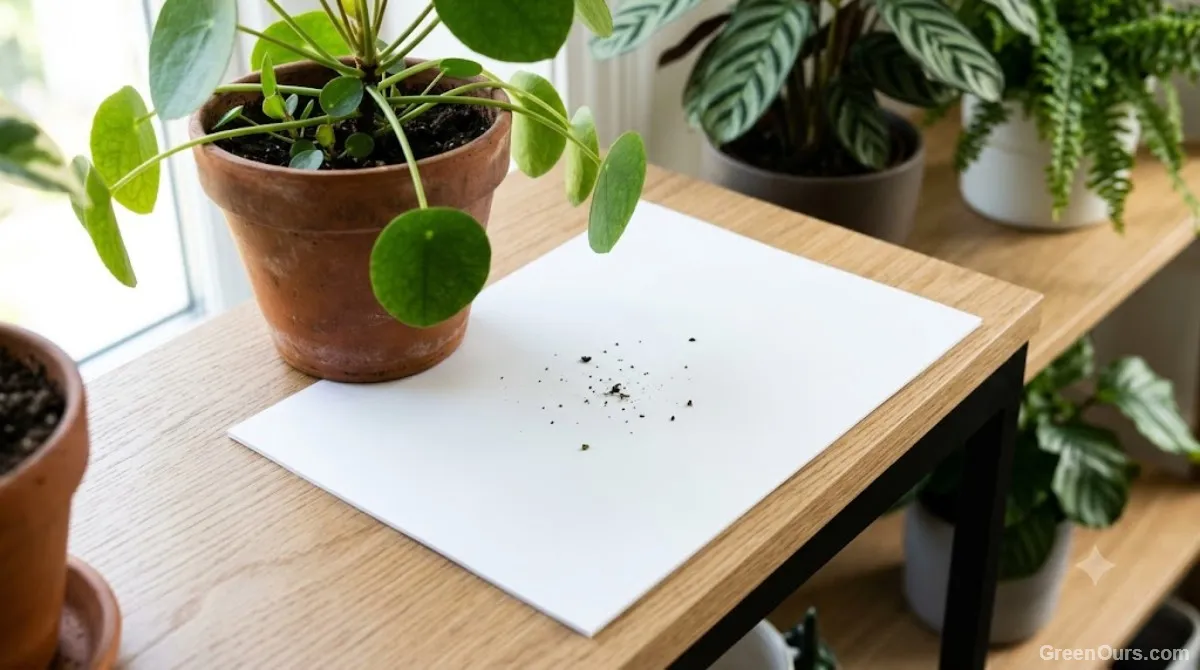
- Run the white paper tap test. Hold a sheet of white paper flat under a leaf or stem and tap it firmly two or three times. Anything that falls will show up clearly against the white background, including bugs too small to spot on the leaf itself.
- Magnify at 10x or higher. A jeweler's loupe or a phone camera set to macro mode resolves the leg count and body shape needed to tell thrips, mites, and aphid nymphs apart. Anything weaker than 10x usually isn't enough to distinguish these species.
None of these steps require special equipment—a phone flashlight, a sheet of printer paper, and a budget loupe cover all three. Skipping the backlight step is a frequent error; overhead light flattens the shadows that would otherwise give these pests away. By forcing light through the leaf tissue, you make the insects stand out as silhouettes against the green backdrop. This technique is highly effective for thick-leaved varieties where external inspection reveals nothing but healthy tissue. Furthermore, ensure your workspace is clear of other debris when performing the tap test. If you are inspecting a plant near a potting bench or a table with existing dust, you might mistake harmless particles for pests. Always clean your surface before starting to ensure that what falls onto your paper is actually coming from the plant in question. This eliminates false positives and keeps your focus where it belongs. Practicing this in a bright, clean area improves your accuracy significantly over time. As you refine this process, you will find that even the smallest hitchhikers become readily apparent.
Confirming Which Pest You Have
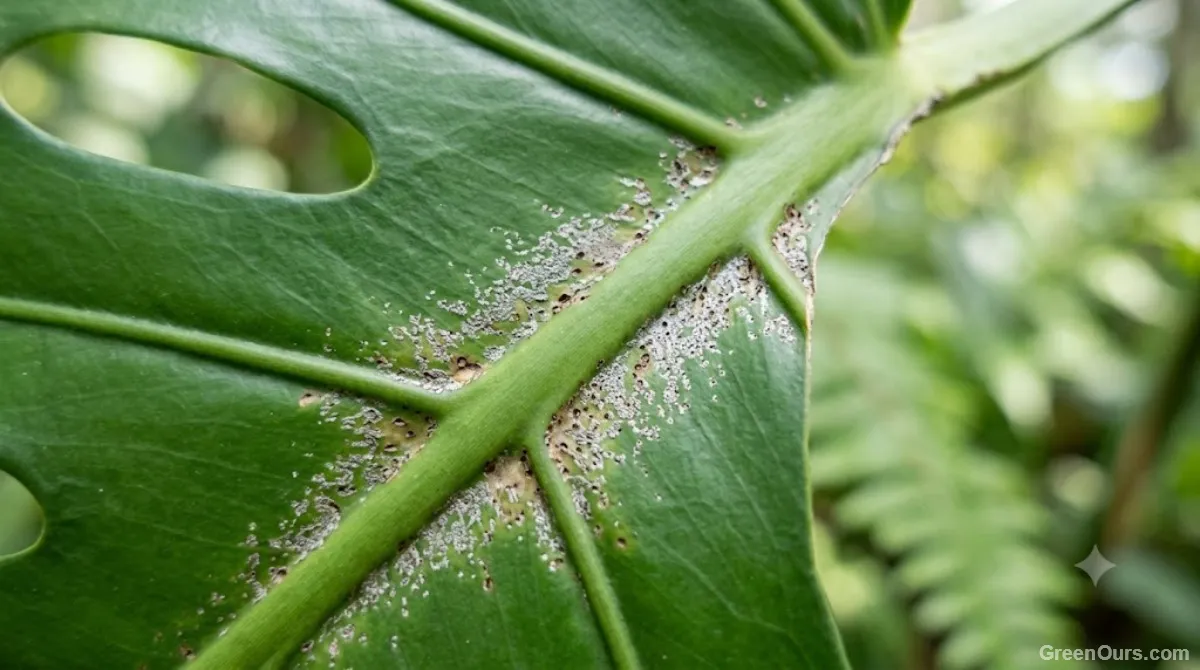
Once you've spotted something, the feeding pattern on the leaf narrows it down fast. Fine silvery or bronze streaking points to thrips, which rasp the leaf surface and feed on the fluid underneath. A stippled, dusty pattern with faint webbing near leaf joints points to spider mites. Sticky residue, curled new growth, and clustered insects at stem tips point to aphids. Identifying these small invaders becomes second nature once you recognize these specific signatures.
Thrips damage spreads rapidly, since a single generation completes in 7-14 days at room temperature. Spider mite damage looks worse than the live population would suggest—the stippling outpaces the mites causing it. Aphid damage is the easiest to reverse if caught in the nymph stage, since colonies stay clustered rather than dispersing across the plant. Early identification remains your best defense against long-term foliage decline.
Timing Also Helps
Thrips activity increases in warm, dry conditions and often follows a new plant purchase. Spider mites spike when humidity drops, particularly during heating season. Aphids tend to appear on soft new growth after a recent fertilizing or repotting. Track which condition changed right before symptoms appeared, and you'll usually have your answer before you finish the inspection. Keep a simple log of recent care events; this helps correlate environmental shifts with pest outbreaks.
Treatment: Step by Step
All three pests respond to the same first-line treatment, applied correctly and consistently.
- Isolate the plant from others immediately to stop cross-contamination.
- Rinse the plant thoroughly under lukewarm water, focusing on leaf undersides and stem joints, to physically remove a large share of the population.
- Apply insecticidal soap or a 1-2% horticultural oil solution, coating both sides of every leaf until runoff. Spot treatment misses eggs and nymphs hiding in leaf folds. Diluted too weak, and eggs survive; diluted too strong, and tender new growth burns—follow the product label's houseplant-specific ratio, not a generic outdoor rate.
- Repeat every 5-7 days for three applications. This interval targets newly hatched nymphs before they mature enough to reproduce.
- Keep the plant isolated for at least two full weeks after the last visible sign of activity.
- Track results with a simple date log—note the treatment date and any visible activity at each check. Two clean checks in a row is a better signal than a single good day.
Persistence is the key to recovery. Most treatment failures happen when applications stop after the first week, letting a second generation hatch from eggs that survived the first round. Stick to all three applications, and watch new growth—not existing damage—for the real measure of recovery. Patience during the treatment window prevents the need for harsher chemical interventions later. By keeping your plants clean, you avoid common pitfalls associated with these elusive pests.
Prevention and Long-Term Vigilance
Inspection Routine
Check new growth and leaf undersides weekly using the tap test, not just when a plant looks stressed. Five minutes per plant, done consistently, catches populations while treatment is still simple. By making this a part of your weekend chores, you eliminate the risk of hidden colonies taking hold. It is helpful to associate this task with your watering day, so you already have your tools out and ready to go. Establishing a rhythm makes this process feel less like a chore and more like a standard part of your plant parenting style.
Environmental Controls
Keep humidity above 40% to reduce spider mite pressure, and avoid letting soil dry out completely between waterings, which stresses plants and makes them more attractive to thrips. A basic hygrometer removes the guesswork—most indoor spaces run drier than owners assume, especially during heating season. Maintaining a consistent environment strengthens the plant's natural defenses, as stressed plants are significantly more prone to rapid colonization by these nearly invisible creatures.
Expert Assistance
If three full treatment cycles don't reduce activity, or multiple plants show simultaneous infestations despite isolation, a systemic treatment or a consultation with a local extension office is the next step. Bring a sample in a sealed bag, not a loose leaf—nymphs are fragile and often don't survive transport without protection. An extension office can also confirm pest identity under a microscope, which resolves any doubt a hand lens can't settle. Staying ahead of these populations remains the smartest way to manage your indoor greenery.
See our full houseplant pest diagnostics library.
Most houseplant damage isn't caused by the bug you eventually see—it's caused by the two or three generations that came before it, the ones too small to notice. Build the inspection habit, and the visible infestation stops being your starting point. Diligence is the primary requirement for healthy indoor greenery. By staying alert and focusing on the early stages, you protect your collection for the long term.