Blade Anatomy: What You're Actually Holding
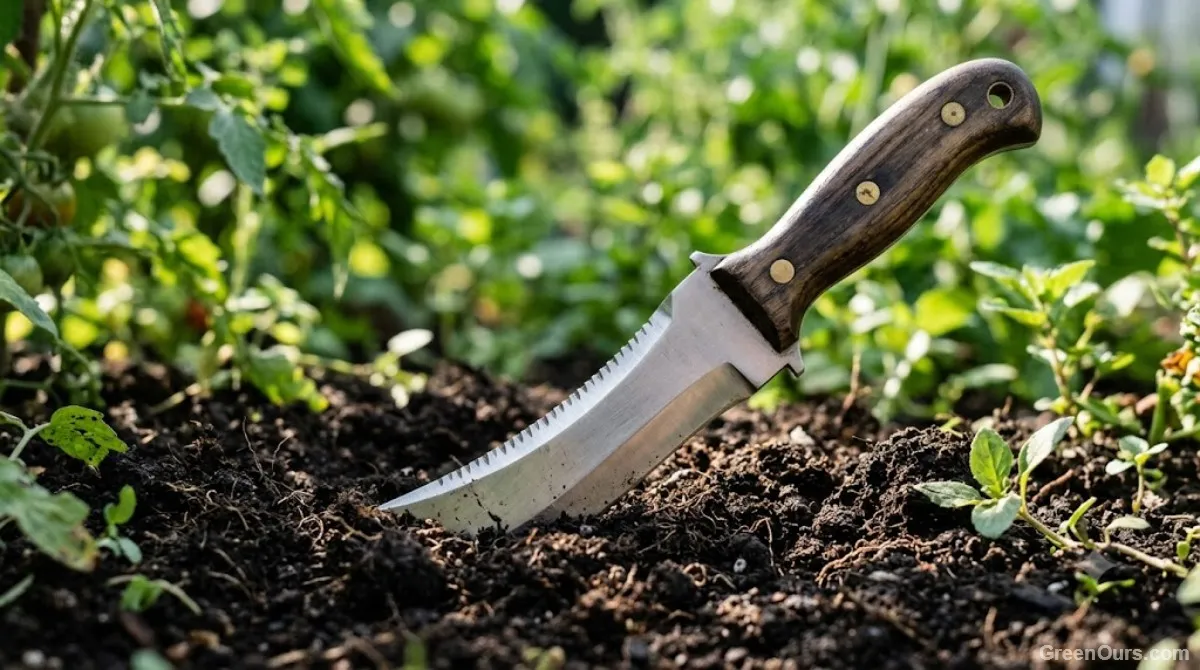
Most hori hori blades run 6 to 7.5 inches long and 1.5 to 2 inches wide, forged from either high-carbon steel or stainless steel. High-carbon steel holds an edge longer and sharpens more easily, but it rusts if left wet. Stainless resists corrosion but needs sharpening more often. If you garden in a humid climate or tend to leave tools outside, stainless is the lower-maintenance choice.
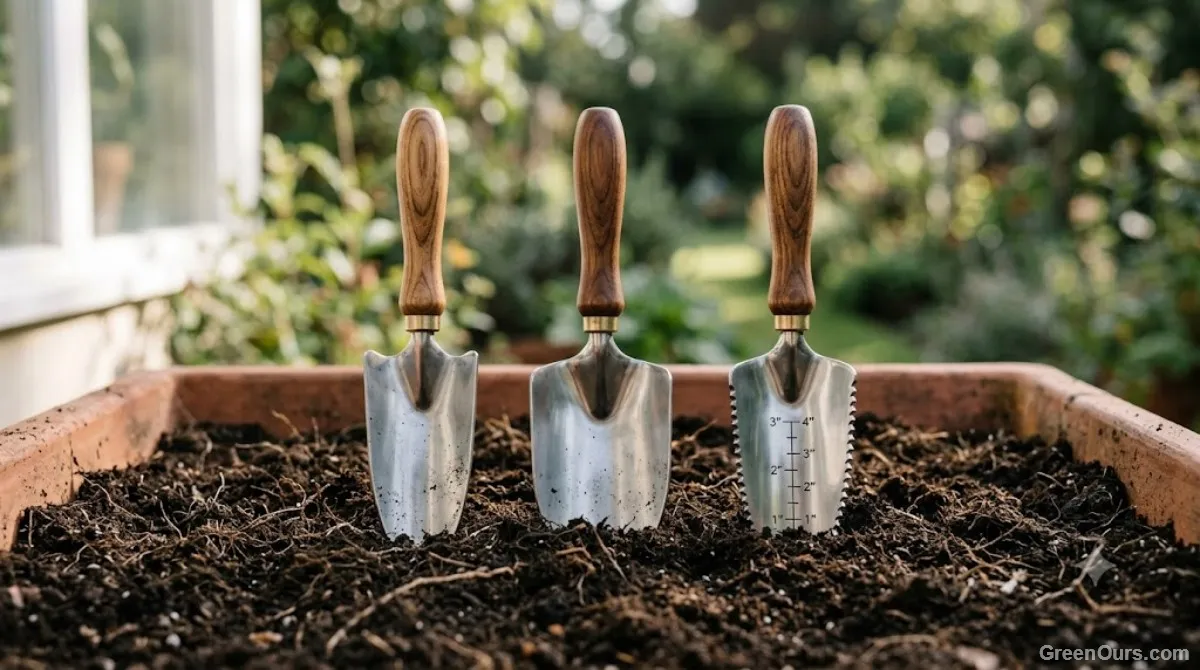
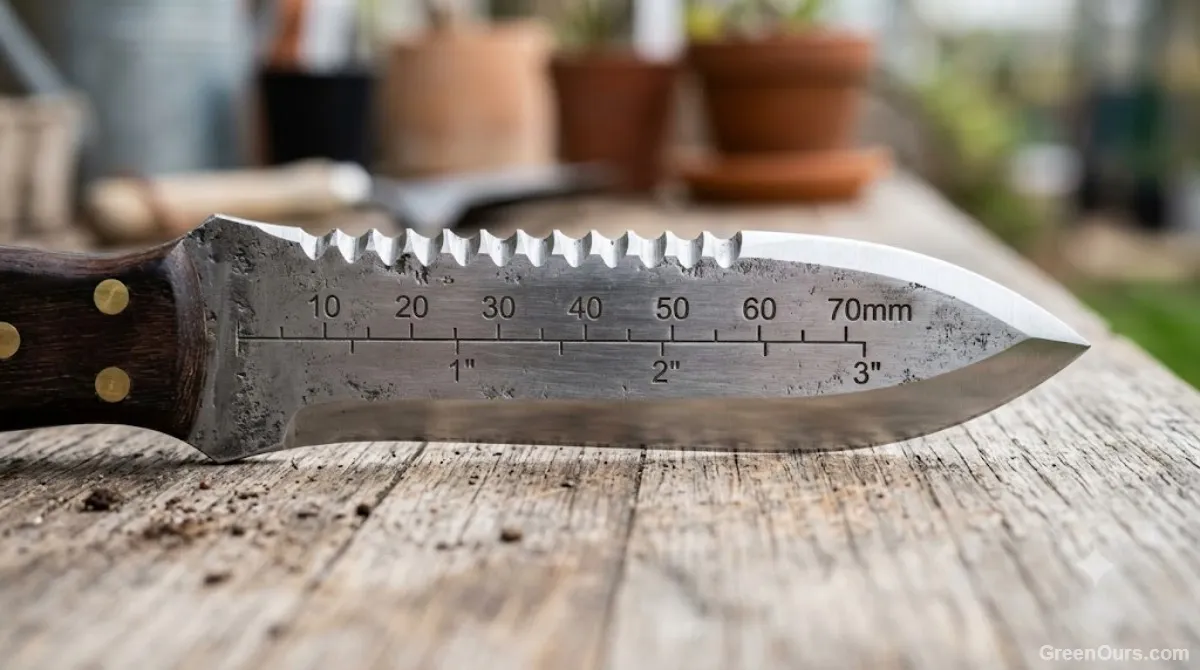
The blade is concave, curved slightly like a shallow trough. That curve lets it scoop soil rather than just slice through it, which is why it out-transplants a flat trowel. One edge is serrated — usually with 15 to 20 teeth per inch — for sawing through roots. The opposite edge is ground smooth for clean cuts into soil or turf. Many blades have depth markings etched or stamped every inch, useful for setting bulbs or seedlings at a consistent depth without pulling out a ruler.
The handle is typically wood, resin, or rubber-coated steel, with a full tang running the length of the grip. A full tang matters: it's the difference between a tool that survives prying against a root and one that snaps at the handle.
Check the tang before buying. Grip the handle and flex the blade slightly — if you can see or feel the blade separate from the grip material, the tang is partial, and the tool will fail under lateral pressure.
Transplanting: Lift the Whole Root Ball
The concave blade is built for this. Here's the sequence.
- Plunge the blade straight down 4 to 6 inches from the plant's base, angled slightly toward the stem.
- Rotate around the plant in a circle, keeping the same angle, until you've cut a full ring.
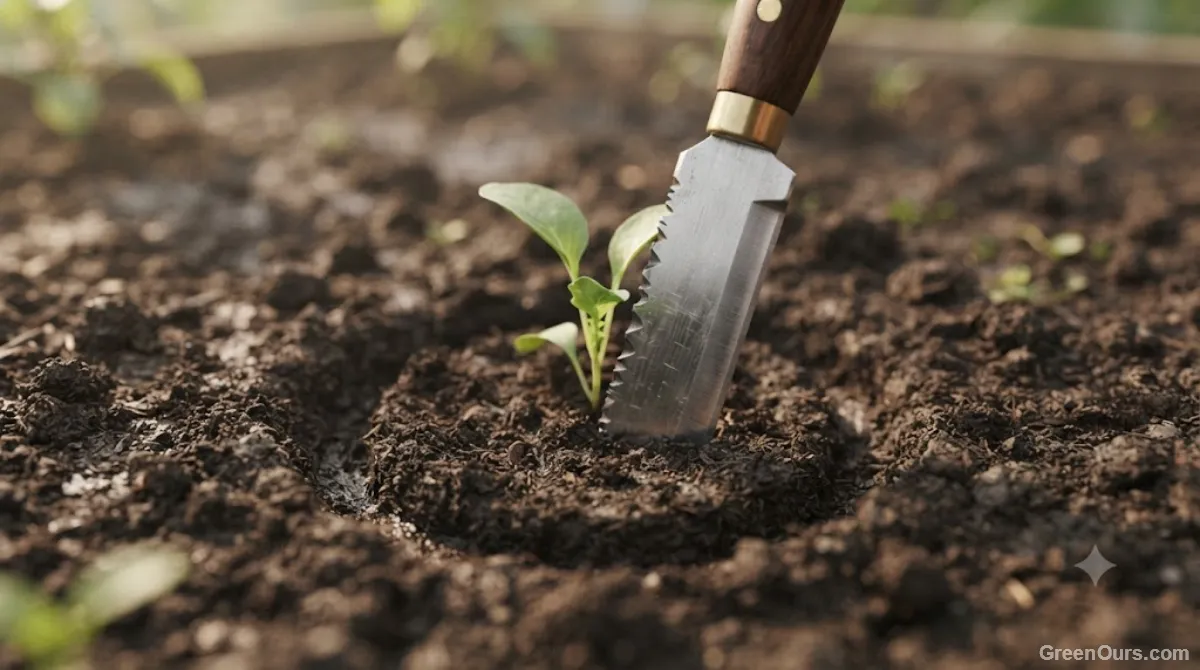
- Push the handle down and lever the blade back. The concave shape lifts the root ball with soil intact instead of shearing roots off at the cut line.
- Slide the blade under the root ball horizontally for a final lift if the plant resists.
This method preserves 70 to 90% of the fine root hairs on most annuals and small perennials, compared to 40 to 60% with a standard trowel, because the wider blade cuts a bigger, cleaner root ball on the first pass instead of requiring multiple stabs.
Dividing Perennials Without Damaging Roots
Division is where the serrated edge earns its place in the toolkit. Skip it and you'll tear roots that should have been cut cleanly.
Find the Natural Split Points
Lift the whole clump first. Look for gaps between crowns — the points where the plant naturally separates into distinct growth centers. Cutting through solid root mass instead of these gaps increases transplant shock.
Saw, Don't Chop
Position the serrated edge at the gap and use a back-and-forth sawing motion, not a downward chop. Sawing follows the natural fiber structure of the root crown and leaves a cleaner wound that heals faster. A chopped division is more likely to rot at the cut within the first two weeks after replanting.
Each division should keep at least three to five healthy shoots and a proportional share of root mass. Divisions with fewer than three shoots have a lower first-season survival rate.
Cutting Through Stubborn Taproots
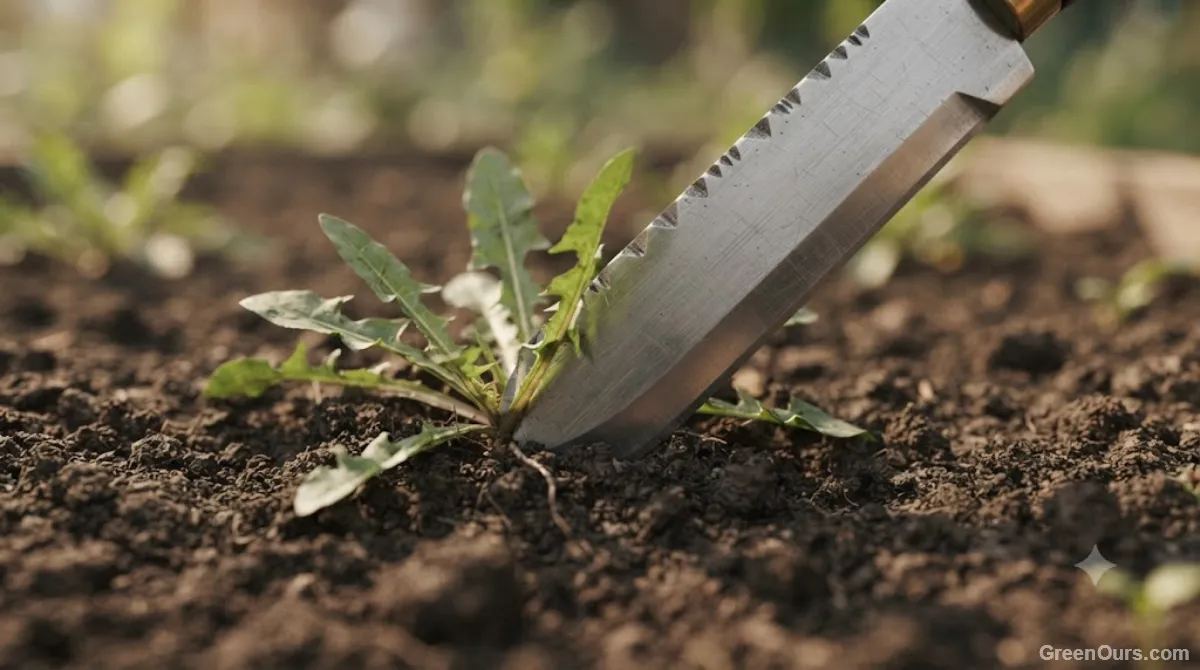
Dandelions, docks, and thistles anchor themselves with taproots that can run 8 to 12 inches straight down. Pulling from the top snaps the root at 2 to 3 inches and leaves enough tissue behind for regrowth within three to four weeks.
- Drive the blade straight down alongside the root, as close to the taproot as you can manage without severing it early.
- Angle the blade slightly toward the root at a 15 to 20 degree tilt.
- Work the blade downward in short push-pull strokes, following the root's path rather than forcing a straight line.
- Once you feel resistance drop, the root is severed below the crown. Lever the handle back to pop the whole root free.
Removing at least 6 inches of taproot cuts regrowth rates significantly compared to surface pulling. For roots deeper than 10 inches, expect to make two passes at slightly different angles to fully sever the base.
Blade Care and Safety
Rinse soil off after every use. Dried soil left on the blade traps moisture against the metal and accelerates rust, even on stainless steel.
Wipe the blade with a light coat of mineral oil or camellia oil before storage. This takes under a minute and prevents surface rust from forming between uses, especially on high-carbon steel.
Sharpen the smooth edge with a whetstone or diamond file every 8 to 10 uses, maintaining the factory bevel angle, typically between 20 and 25 degrees. The serrated edge needs less frequent attention — a few passes with a tapered diamond file along each tooth restores cutting power.
Always cut and pry away from your body. The blade's leverage under a root ball can release suddenly once resistance breaks, and a knife moving toward your hand or leg at that moment causes real injury. Keep your off-hand clear of the blade's path when levering.
Keep the blade clean and sharp, and it'll outlast three separate trips to the shed.
A hori hori knife earns its spot in a tool bag by replacing three separate trips back to the shed. Once you've used the serrated edge on a taproot or the concave blade to lift a root ball intact, going back to a trowel alone feels like a step backward.