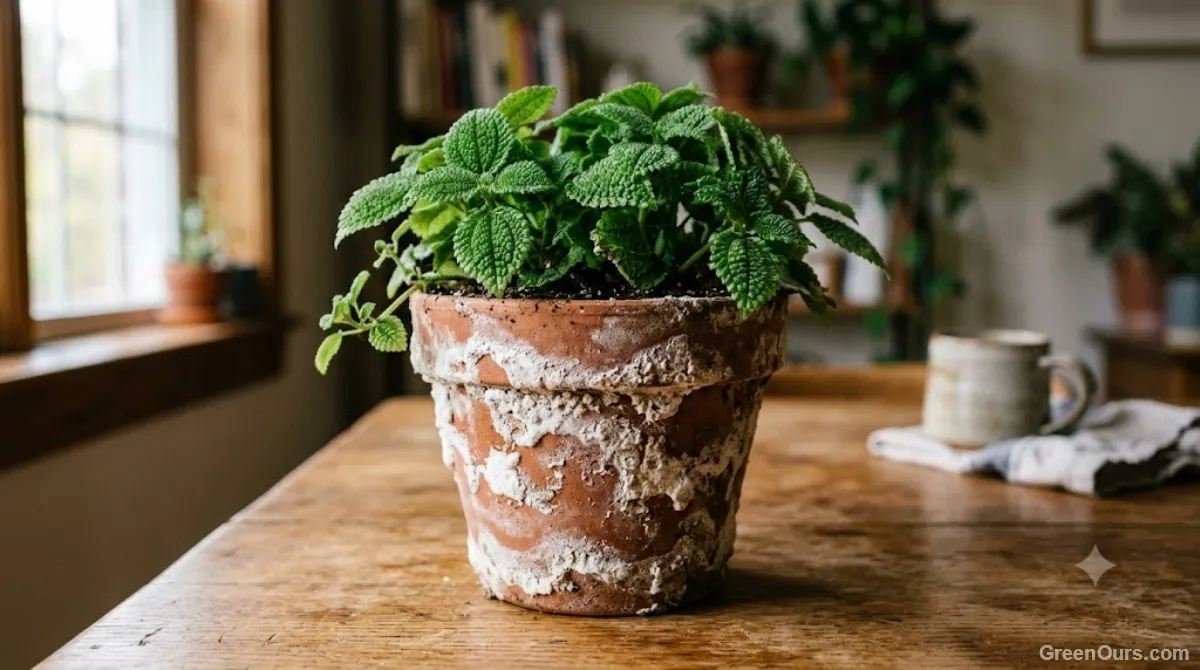
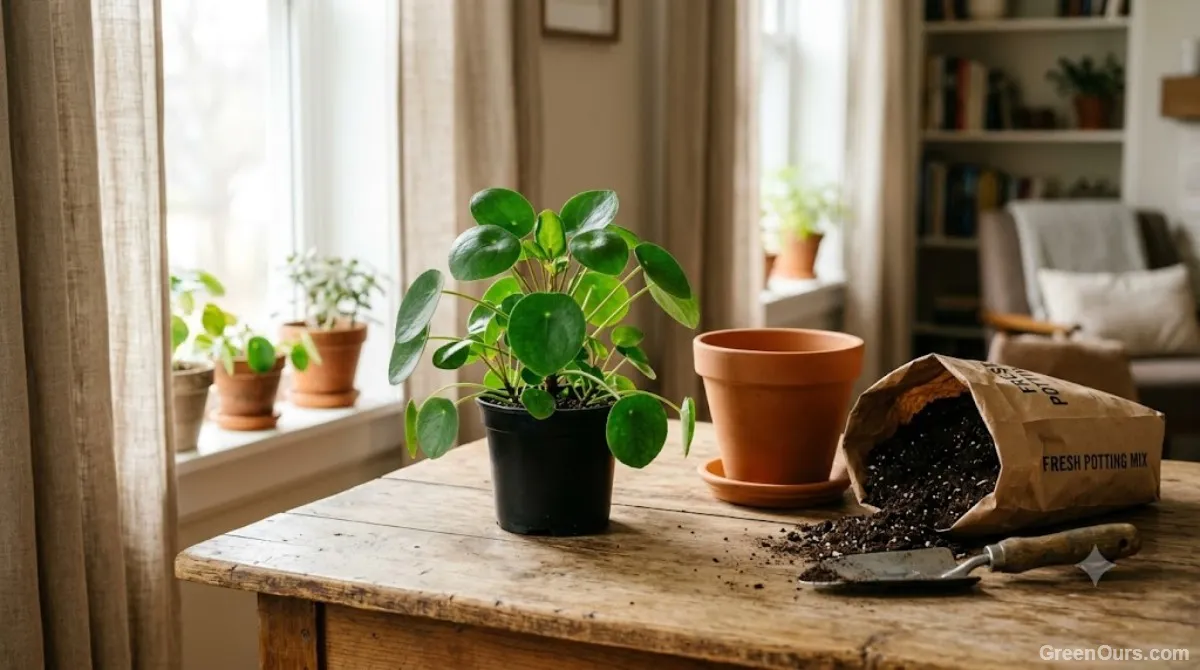

Repot Now, Wait, or Refresh?
Judge by the roots and the pot, not by how big the plant looks.
| What you find | Decision |
|---|---|
| Roots circling tightly or growing out of drainage holes | Repot into a pot slightly larger |
| Water runs straight through, or the pot dries out unusually fast | Check the roots, and repot if they fill the pot |
| Growth has stalled despite good light and care | Check the roots before assuming another cause |
| Plant tips over easily because it is top-heavy | Repot, or choose a heavier pot |
| Plant healthy, roots not crowded, soil drains normally | Wait. Check again in a few months |
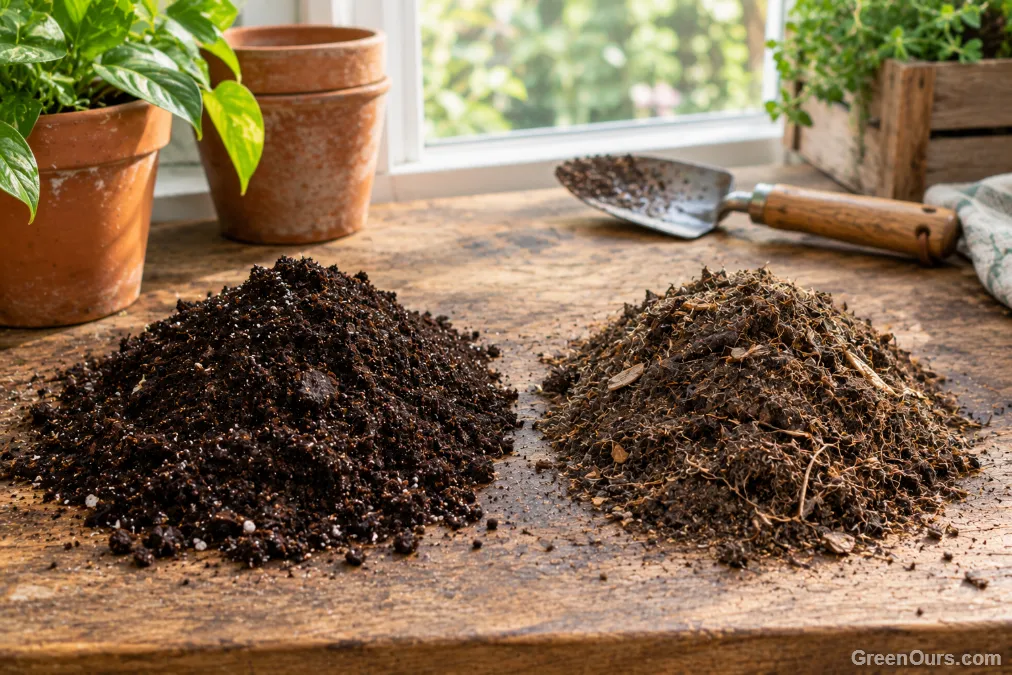
| Roots fine but mix is compacted or stays soggy | Refresh or replace the mix. A bigger pot is not needed |
The quickest check is to slide the plant out and look. If roots are crowded and circling, repot. If there is plenty of loose soil, put it back.
When to Repot
Repot when the plant is actively growing, which in temperate climates means spring or early summer. Roots recover and fill new soil faster then. Avoid repotting a plant that is dormant or about to flower unless there is a pressing reason.
In a warm climate the growing season can be longer, so watch for active growth rather than the calendar. If roots are packed or water rushes through, do it now rather than waiting for the ideal month.
Gather Supplies and Choose the Pot
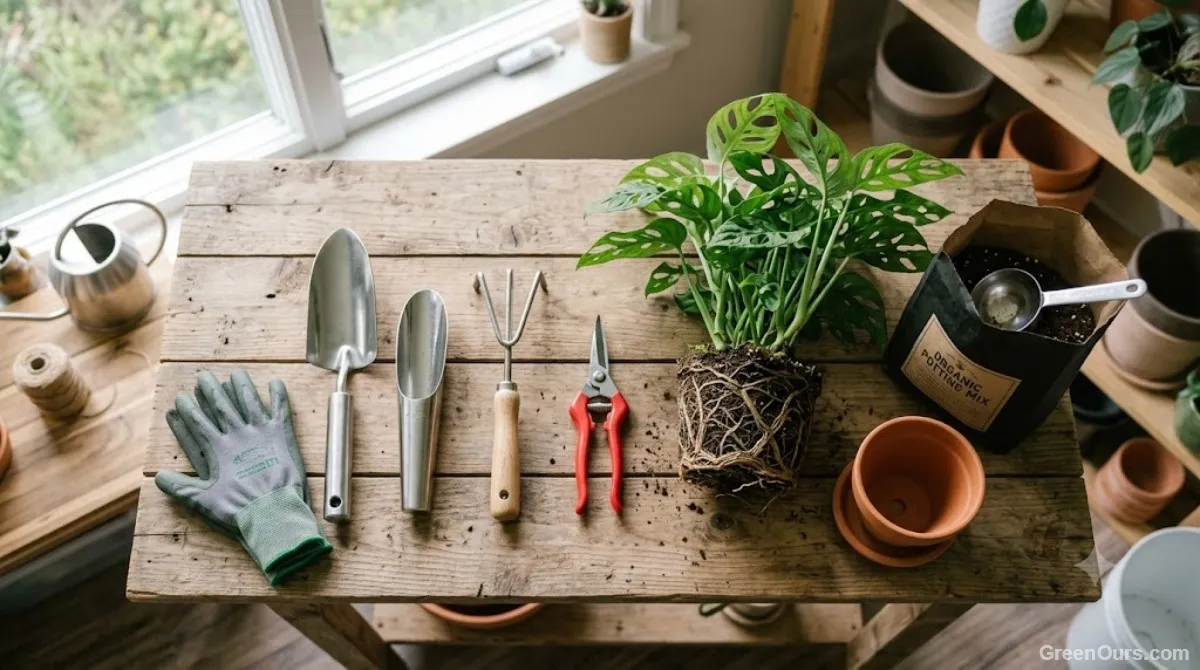
- A new pot with drainage holes
- Fresh potting mix suited to the plant (for example, a cactus mix for succulents)
- A small trowel or your hands
- Clean scissors or snips
- A tray or newspaper for the mess
Choose a pot only 1 to 2 inches (2.5 to 5 cm) wider than the current one. A much bigger pot holds a lot of unused wet soil, which can lead to root rot. If the roots are not crowded, you may not need a bigger pot at all.
The Repotting Steps
- Prepare the plant. If the soil is bone dry, water a day or two beforehand. Slightly damp soil releases from the pot more easily than dry soil.
- Remove it gently. Tip the pot on its side, squeeze the sides if it is plastic, and support the base. Do not pull on the stem.
- Loosen the roots. Tease out circling roots with your fingers so they can spread outward. If they will not loosen, make a few shallow cuts down the sides of the root ball.
- Check and trim. Healthy roots are firm and usually light-coloured. Trim only roots that are soft, mushy, dark or foul-smelling. Do not trim healthy roots to make the ball look tidy.
- Set it at the same depth. Add fresh mix to the bottom, set the plant so its base sits where it was before, and fill around the sides. Press lightly to remove large air pockets, but do not pack it down.
If the plant is really several plants sharing a pot, dividing it is better than moving it all into a larger container.
Aftercare
Put the plant in bright, indirect light for the first week or two, not direct sun.
Water well after repotting so the mix settles around the roots, then let the pot drain fully. There are exceptions. If the mix was already damp, if you trimmed a lot of roots, or if the plant prefers to dry out between waterings (succulents, snake plants and ZZ plants), wait a few days to a week before the first watering. After that, go back to checking the soil first.
Hold off on fertilizer for several weeks or until new growth appears. Fresh mix usually has some nutrients already.
If the Plant Sulks
A drooping or yellowing leaf or two in the days after repotting is common, and often eases within a week or two. Some plants take longer.
Look closer if decline continues past that window. Check that the new pot is not much too large, that the drainage holes are open, and that the soil is not staying wet.
Where to Start
If you are unsure, gently slide the plant out and look at the roots. Crowded and circling means repot. Loose with plenty of soil means wait. Gather a pot, fresh mix and a quiet half hour, and take it step by step.
Ready to give a plant more room? Gather a pot, some fresh mix and a quiet half hour this weekend.