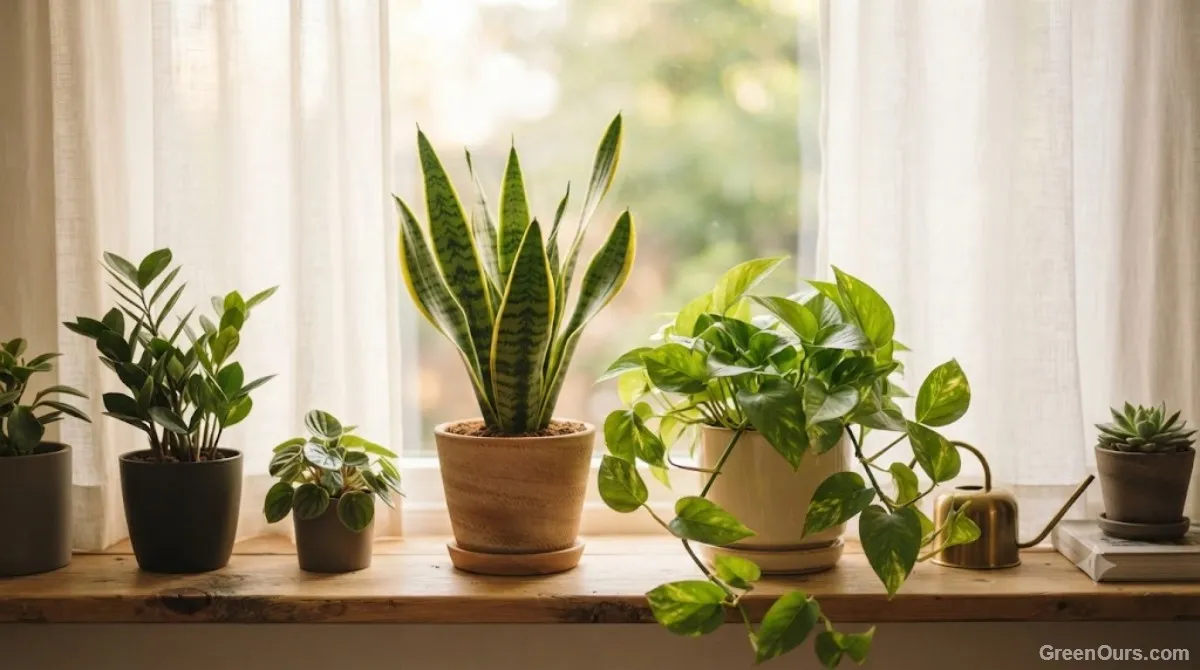
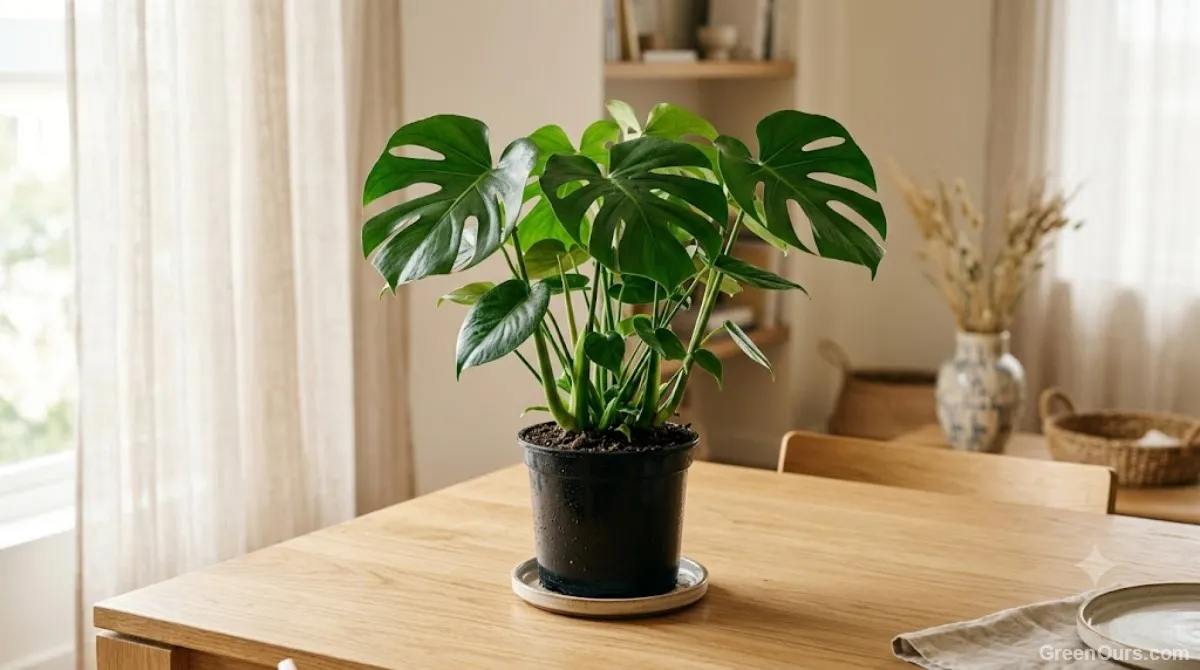
Hour Zero: Inspect and Set the Newcomer Apart
Before your new plant meets the rest of your collection, give it a proper once-over. New plants can arrive with pests that are easy to miss at the shop, and a few minutes now can save your other plants a lot of trouble.
Check the undersides of leaves, the stems, and the soil surface for anything unusual, such as tiny insects, fine webbing, sticky residue, or cottony white bits. Remove any plastic sleeve, and empty water that has pooled in a decorative outer pot.
Keep It Separate for a Little While
If you already have houseplants, keep the newcomer apart for a short observation period, often a couple of weeks. A spare room, a bathroom shelf, or the far end of a room works fine. Look it over again after a week or two, and only then move it in with the others.
Don't fertilize or repot at this stage. Right now the job is simply to look, then let the plant be.
Snap a photo of the leaves on day one. A week later, it's much easier to tell whether a few yellowing leaves are new or old news.
Days One to Three: Pick a Spot and Let It Sit
Before you've even unwrapped the pot, your plant has already been through a lot. It was grown under specific greenhouse conditions, often with steady humidity and light, then boxed or carted and dropped into your home's very different air. If you see some drooping, slight leaf curl, or a bit of yellowing on the oldest leaves in the first few days, that's often a normal response rather than a diagnosis.
You'll be tempted to hunt for the single best spot in your home. Resist that. A plant that gets moved every few days to chase slightly better light is under more stress than one sitting in a decent, imperfect spot that never changes.
Look for bright, indirect light, away from direct afternoon sun and away from drafts, whether that's a cold window in winter or an air conditioning vent in summer. Then avoid repeated moves while it adjusts, ideally for two to three weeks. Repeated moves can prolong the adjustment period because each new location changes the light, temperature, and airflow the plant is adapting to.
The exception is a spot that's clearly unsuitable. If the light, temperature, or airflow is obviously wrong, reassess the location sooner instead of waiting it out.
Week One: Water by the Soil, Not the Droop
This is where a lot of us get into trouble, myself included. A drooping leaf reads as thirsty, so the instinct is to water. But overwatering a plant that's already adjusting to a move is one of the fastest ways to add root problems on top of transplant stress.
Check the soil before you reach for the watering can. For most common houseplants, push a finger an inch or two (2.5 to 5 cm) into the soil, or use a wooden skewer, and water when it feels dry at that depth. Moisture-loving plants like ferns prefer evenly moist soil, so check your plant's tag. Pot size and plant type change how fast the soil dries, so let the soil guide you.
Many new arrivals need less water in their first couple of weeks than you'd expect, partly because they're not actively growing yet and partly because nursery mix can hold moisture differently than the soil you'll eventually repot into. Change one thing at a time, so you can tell what's actually helping.
When you're unsure, waiting a day is often safer than adding water to already-moist soil.
Normal Adjustment vs. Something's Actually Wrong
Knowing the difference between a plant that's settling in and one that's struggling saves a lot of unnecessary worry.
Normal Adjustment Often Looks Like
- A few lower, older leaves yellowing and dropping
- Mild, temporary drooping that perks up within a day or two of watering
- Slowed or paused growth for the first couple of weeks
A Genuine Problem Looks More Like
- Widespread yellowing across the whole plant, not just older leaves
- Black or mushy stems
- A sour smell from the soil
- Leaves dropping rapidly across the entire plant within days
Those signs can point to root rot, pests that traveled home with the plant, or a spot that's too dark or too cold.
When to Skip the Wait
Patience is the default, but a few things shouldn't wait: visible pests, mushy stems or a sour-smelling pot, or a spot that's clearly too cold or too dark. Deal with those right away instead of waiting out the adjustment.
Weeks Two to Four: Settling In and Deciding on a Bigger Pot
Somewhere around weeks two to three, many plants start to stabilize. Leaf drop slows or stops, the soil dries out at a more predictable pace, and if you're watching closely, you might spot the first hint of new growth, a tiny leaf unfurling or a fresh shoot at the base. That's often the plant telling you it has found its footing, though timing varies by plant and season.
This is also the point to think about repotting. Fresh pot, fresh soil feels like the responsible thing to do on day one, but repotting is its own stress on roots that are already adjusting, so it's usually kinder to wait a few weeks. Two changes at once ask a lot of a plant that hasn't settled in yet.
The exceptions are a plant that's visibly root-bound, with roots circling tightly at the surface or pushing out of the drainage holes, or a nursery pot with no drainage at all. In those cases, repotting sooner is worth it.
If new growth appears, you can begin a light feeding, following the label. If a few weeks pass with no new growth at all, that's a different question with its own answer.
Your First Month at a Glance
Here's the whole first month on one screen. Treat the timing as a guide, since plants and seasons vary.
| Stage | Do | Skip |
|---|---|---|
| Hour zero | Inspect leaves, stems, and soil for pests; keep it apart from other plants | Fertilizing or repotting |
| Days 1 to 3 | Choose one bright, indirect, draft-free spot | Moving it around to find a better one |
| Week 1 | Check the soil before watering; change one thing at a time | Watering because a leaf droops |
| Weeks 2 to 4 | Watch for new growth; repot only if it's root-bound or has no drainage | Repotting or feeding before it settles |
Where to Start
If you only do one thing today, look over the leaves and soil for pests, then pick one steady spot and leave the plant there. Everything else can wait for the next few weeks.
A new houseplant doesn't need a perfect start. It needs a steady one. Give it a decent spot, a light touch with the watering can, and a few weeks of being left alone, and most of what feels uncertain right now will often sort itself out. What will you notice first when it settles in?
Bringing home a new plant this week? Start with a quick pest check and one steady spot.