Why Terracotta Pots Develop That Chalky White Crust
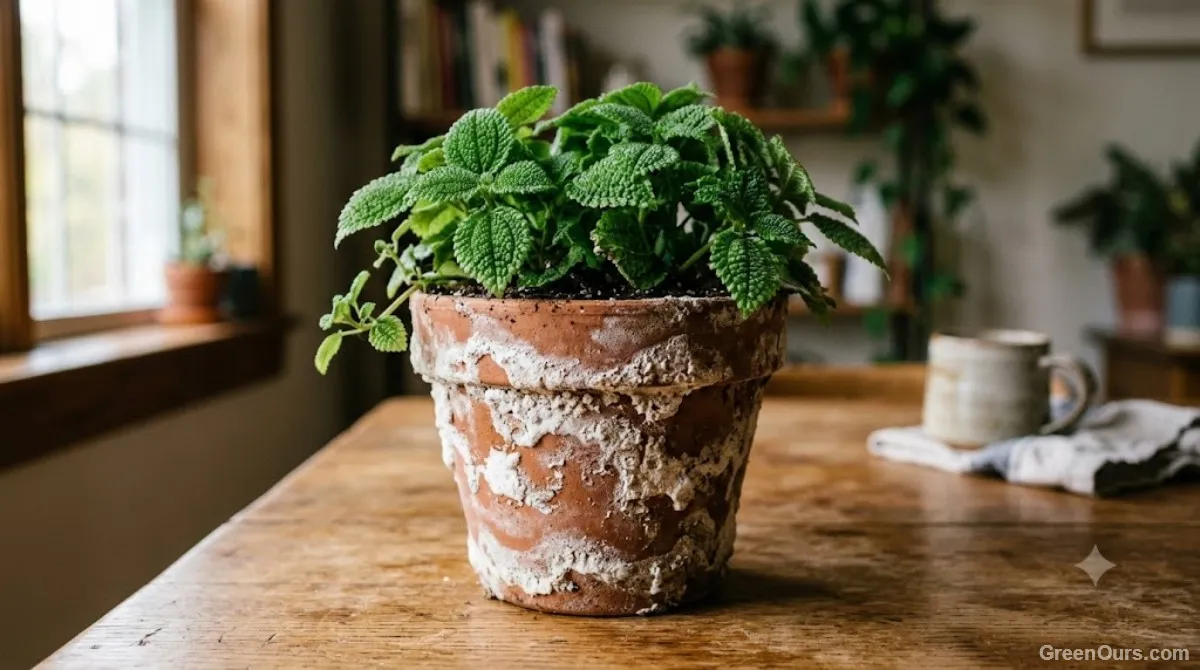
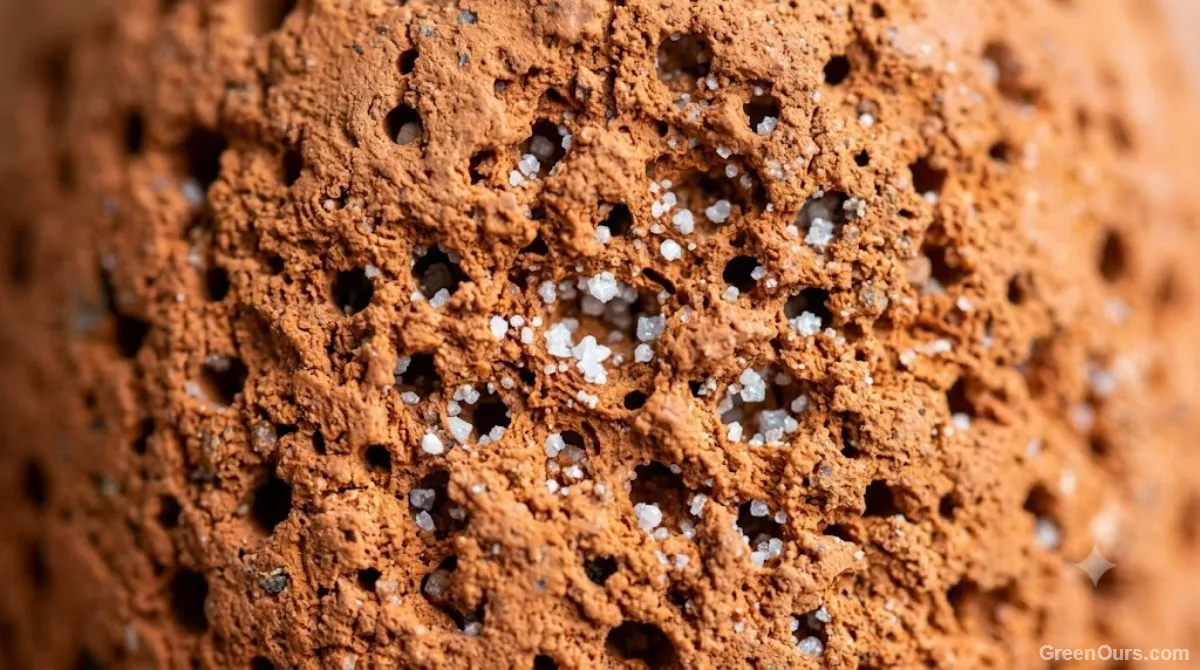
That crust has a name — efflorescence — and it's dissolved minerals left behind after water evaporates. Terracotta is unglazed and porous, which is exactly why gardeners love it: air and moisture pass through the clay walls instead of staying trapped. That same porousness means water wicks sideways through the clay and evaporates from the outer surface.
As the water leaves, the minerals stay behind. Calcium, magnesium, and any fertilizer salts collect on the pot's surface as a white residue, layer after layer, until you're looking at a pale, powdery ring. Hard tap water tends to speed this along, and so does frequent feeding at full strength.
Is It Minerals, Mold, or Algae?
Before you scrub, make sure you know what you're looking at. A quick check of the texture usually tells you.
| What you see | Likely cause | What to do |
|---|---|---|
| White, chalky, dry, and powdery or crusty | Mineral deposits (efflorescence) | Soak and scrub, as below |
| Fuzzy or cottony gray or white patches, often with a musty smell | Possible mold, often in a damp, poorly ventilated spot | Scrub with soap and water, dry fully, and improve airflow |
| Green or slimy film, usually on a shaded or constantly damp side | Algae | Scrub it off and let the pot dry between waterings |
Mold and algae are surface growths that come from a lot of moisture, while mineral crust can build up even in a well-kept pot. If growth also shows up on the soil, or your plant looks unwell, look at your watering and airflow too.
What the Buildup Means for Your Plant's Roots
A little efflorescence is cosmetic and nothing to worry about. A thick, crusty layer may reduce how easily air and moisture move through the clay walls, though ordinary light buildup isn't a cause for concern.
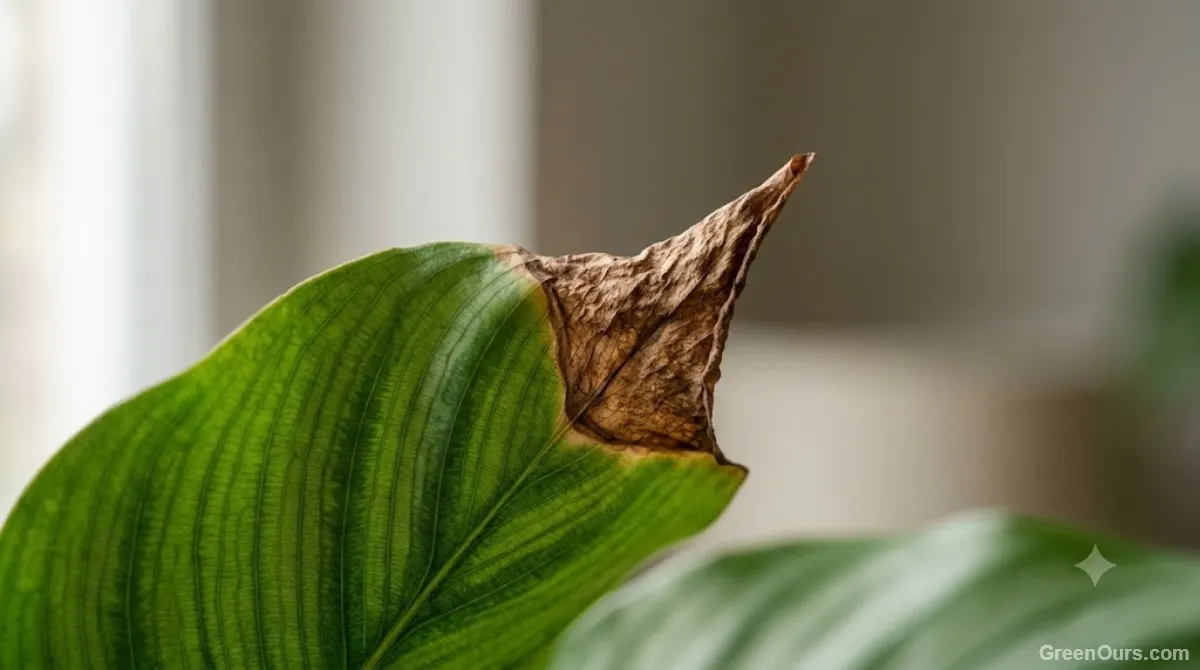
Heavy crust can also hint that the same water and fertilizer salts are building up in the potting mix, especially if you see crusting on the soil surface too. If you notice brown, crispy leaf tips alongside a chalky pot, it's worth flushing the soil as well, and the guide below walks through how.
Gather Your Simple Cleaning Kit
You really don't need anything specialized here — this is a kitchen-cupboard job.
- Plain white vinegar
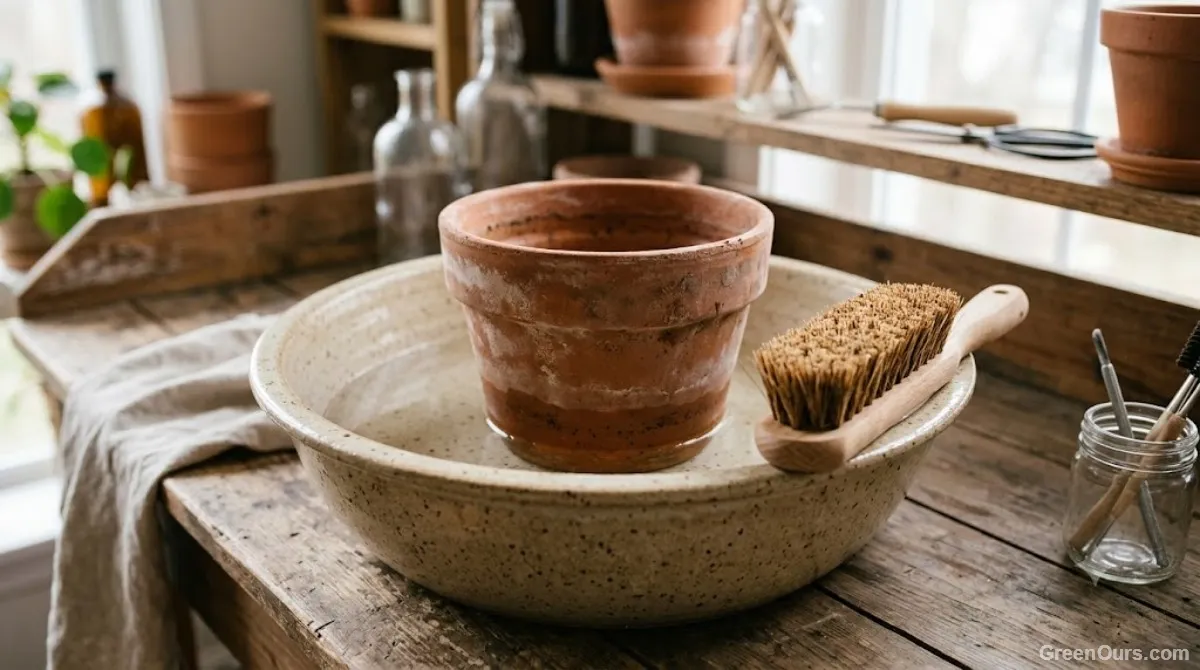
- A large bucket, basin, or your kitchen sink
- A stiff-bristled brush or an old toothbrush for tight spots
- A mild dish soap
- Rubber gloves, if you'd rather keep your hands vinegar-free
Skip anything abrasive like steel wool for mineral deposits. It's overkill, and it can strip the clay's natural texture. Keep bleach out of this step too, since it isn't needed for mineral crust and it shouldn't be combined with vinegar.
The Soak-and-Scrub Method, Step by Step
Step One: The Vinegar Soak
Mix one part white vinegar with one part water in your bucket or sink — enough to submerge the pot, or at least the crusted section if it's too large to sink completely. Let it soak for 15 to 20 minutes. Light buildup often starts to soften quickly.
For a pot with years of buildup, a longer soak of an hour or so is usually fine. Terracotta generally tolerates a diluted vinegar soak well; it's the scrubbing tools you want to be gentle with. If your pot is painted or sealed, test a small hidden spot first.
Step Two: Scrubbing Away the Crust
Once the pot's had its soak, work over the surface with your brush in small circles, using steady, even pressure rather than scraping hard in one spot. The vinegar will have done most of the heavy lifting, so you shouldn't need much muscle. Stubborn patches often respond to a second dip in the solution followed by another light scrub.
If the brush leaves light scratches, ease up. Terracotta is sturdier than it looks, but it's still a soft, unglazed material, and you're aiming to lift the deposits off the surface, not sand the clay down.
Step Three: Rinse, Dry, and Check Your Work
Rinse thoroughly under running water to clear away lingering vinegar and loosened minerals. A quick wash with a drop of mild dish soap and a final rinse helps remove any residue. Then set the pot somewhere with good airflow to dry completely before it goes anywhere near soil.
Once it's dry, run your hand over the surface. You're looking for that familiar rough, matte texture to come back, and if a faint haze remains, a shorter second soak usually finishes the job.
Sanitizing Before You Reuse the Pot
Cleaning off minerals and disinfecting are two different jobs. A vinegar soak removes mineral crust, but it isn't a reliable disinfectant, so don't count on it to make a pot safe after a sick plant. If a fresh crust is the only thing you're dealing with, a thorough rinse is enough to send the pot back into rotation.
If the pot previously held a plant with root rot, a fungal problem, or another disease, take one more step. First scrub off all soil and plant debris with hot water and dish soap, since disinfectants don't work well on a dirty surface. Then soak the pot in a commonly recommended solution of one part household bleach to nine parts water for at least ten minutes, or follow your local extension service's guidance if it suggests something different. Rinse several times and let the pot dry completely before use, since porous terracotta can hold onto bleach.
Never mix bleach with vinegar or other cleaners. The combination can release harmful fumes. If you've just done the vinegar soak, rinse the pot well and let it dry before it goes near bleach, work in a well-ventilated space, and wear gloves.
Keeping the Efflorescence From Coming Back
You can't stop efflorescence completely — it's simply how unglazed clay behaves — but you can slow it down. Watering thoroughly until water runs freely from the drainage hole, rather than giving frequent small sips, helps carry minerals through the soil instead of letting them concentrate near the surface. Following the label on your fertilizer also keeps the salt load down.
A quick wipe-down with a damp cloth every few weeks catches new deposits early, before they turn into a crust that needs a full soak. If hard water is behind most of your buildup, the water guide below covers your options.
Quick Answers About Cleaning Terracotta Pots
The short versions, for when you just need the answer:
| Question | Short answer |
|---|---|
| How do you remove white mineral deposits from terracotta pots? | Soak the pot in one part white vinegar to one part water for 15 to 20 minutes, scrub gently, rinse well, and let it dry completely. |
| Can you clean terracotta pots with vinegar? | Yes. A diluted vinegar soak generally works well on mineral crust. Test painted or sealed pots on a hidden spot first, and remember that vinegar cleans but doesn't reliably disinfect. |
| How do you disinfect a terracotta pot before reuse? | Scrub off soil and debris, soak in a commonly recommended one part bleach to nine parts water solution for at least ten minutes (or follow your local extension guidance), rinse several times, and dry fully. Never mix bleach with vinegar. |
| Why do terracotta pots turn white? | Water wicks through the porous clay and evaporates, leaving minerals behind as a white crust on clay pots. Hard water and fertilizer salts can speed it up. |
Where to Start
If you only do one thing this week, take your crustiest pot, mix the vinegar solution, and let it soak while you get on with something else. Then scrub, rinse, and let it dry fully before it goes back into use.
Terracotta was never meant to stay pristine — that soft, weathered look is part of what makes it such a forgiving material to garden with. Give your pots an occasional soak and scrub, and they'll keep doing their job of letting your plants breathe for years.
Ready for a cleaner pot? A bucket, some vinegar, and a stiff brush are all you need.