Understanding Why Potted Thyme Struggles
Thyme isn't a fussy plant, but it is a specific one. In the ground, its roots spread wide and shallow, drying out quickly between rains and never sitting in standing water for long. A pot changes that equation completely. Water that would normally drain away and evaporate can linger in the soil for days, and roots that would normally spread outward instead hit the walls of a container within a season or two.
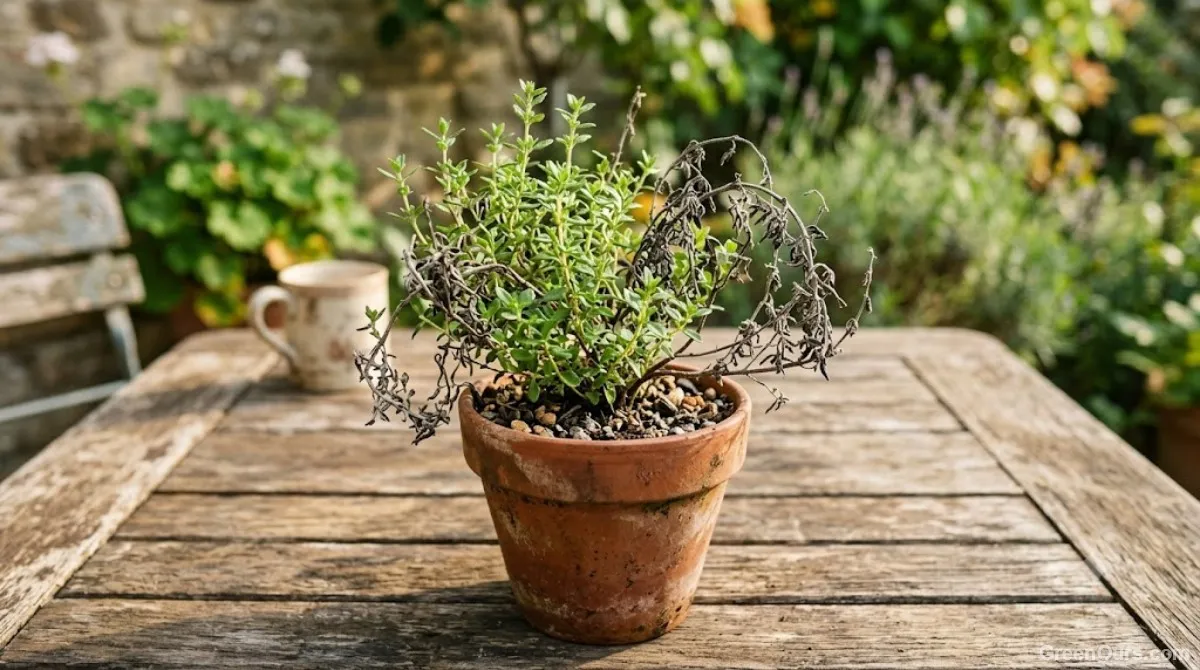
That mismatch between what thyme evolved for and what a pot naturally provides is behind many cases of dying potted thyme. You'll notice the plant doesn't usually collapse all at once — it tends to fade gradually, with lower leaves browning first, stems going woody faster than expected, or growth just stalling out entirely.
You may also notice that the leaves can hold their color even as the stem underneath goes brittle, which makes the problem harder to catch early. A quick check is to run your fingers along a stem: if it snaps cleanly instead of bending, that section usually isn't coming back, and the plant has often been stressed for longer than the leaves let on.
If your thyme's soil still feels damp two or three days after watering, that's often your first clue. Thyme prefers the soil to dry substantially between waterings rather than staying consistently damp, and dampness for days at a time is one of the biggest early warning signs.
What Thyme Actually Needs to Thrive in a Container
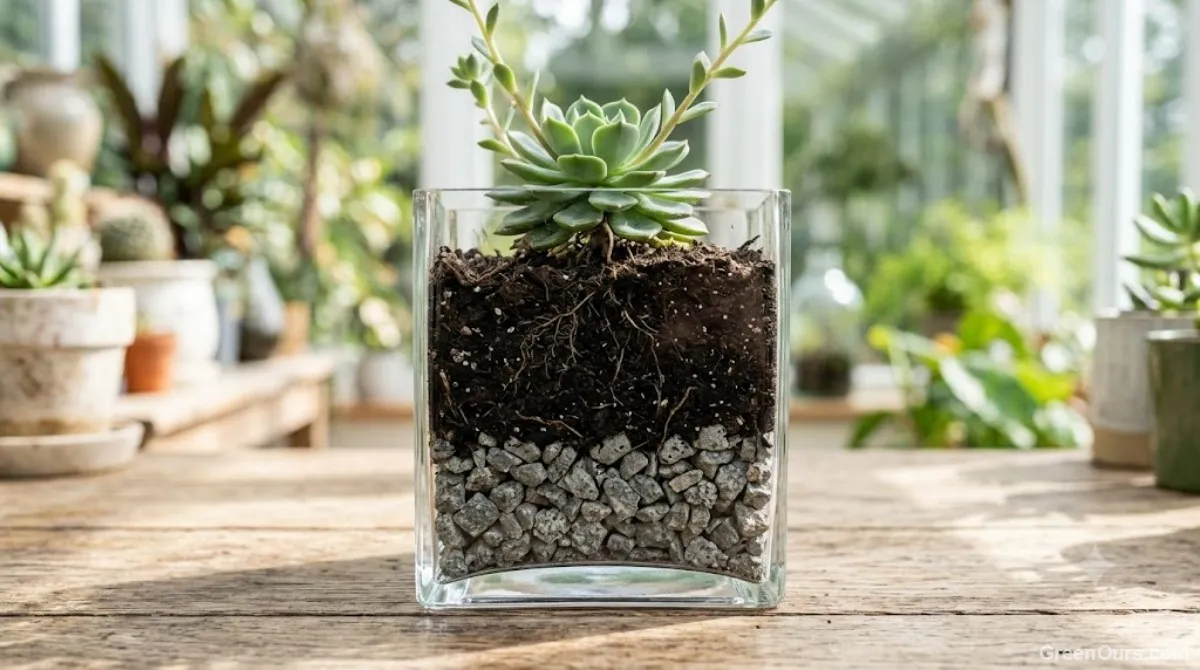
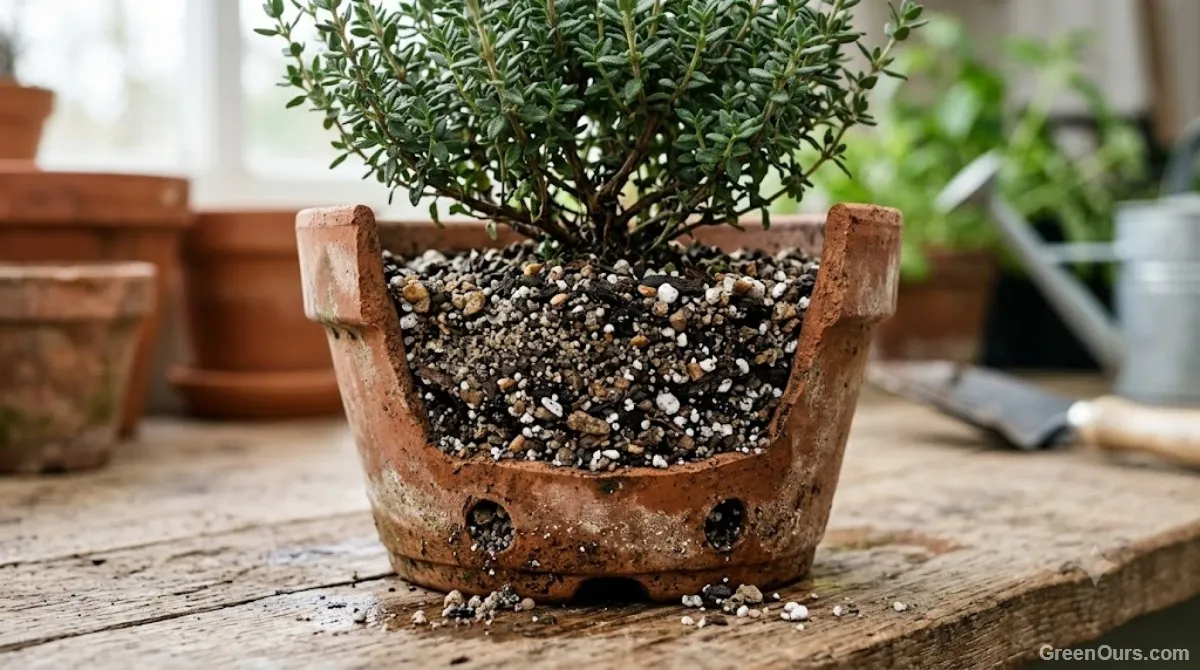
Get the basics right and thyme becomes remarkably forgiving. It generally does best with around six or more hours of direct sun a day where that's practical, so a sunny windowsill or an open patio spot works well. It needs soil that drains fast: try roughly 3 parts potting mix to 1 part perlite or pumice. And it needs a pot with real drainage holes, not just a decorative liner with a saucer underneath.
Terracotta is worth considering here specifically because it's porous. Unlike plastic or glazed ceramic, unglazed terracotta lets moisture evaporate through the walls of the pot itself, which gives thyme's roots a bit of extra insurance even if you water slightly more than you meant to.
How you water matters almost as much as how often. A slow, deep soak that reaches the whole root ball, followed by letting the soil dry substantially before the next watering, suits thyme far better than frequent light sprinkles that only wet the top inch of soil. Shallow watering trains roots to stay near the surface, where they're more exposed to temperature swings and drought stress — the opposite of the deep, resilient root system a healthy thyme plant needs.
Overwatering and Poor Drainage
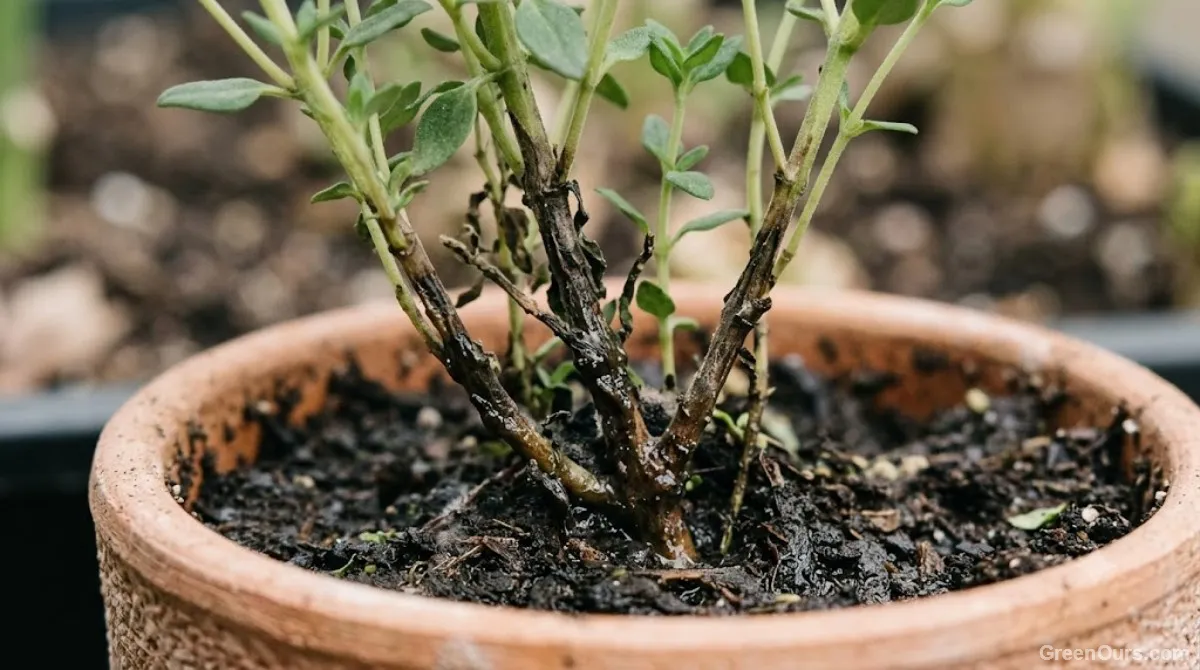
This is one of the most common causes of dying potted thyme. Roots that sit in wet soil for extended periods start to suffocate and rot, and once root rot sets in, the plant can't take up water or nutrients even if you keep watering it — which, confusingly, makes the wilting look like thirst. Check the base of the stems for any darkening or softness. If you find it, the plant needs drier soil right away, and possibly fresh soil altogether.
Humidity and airflow matter here too. In humid conditions, poor airflow can keep foliage and soil damp longer than thyme likes, especially when the pot is crowded against others. Give the plant some breathing room and, indoors, a spot with a little air movement.
Not Enough Light
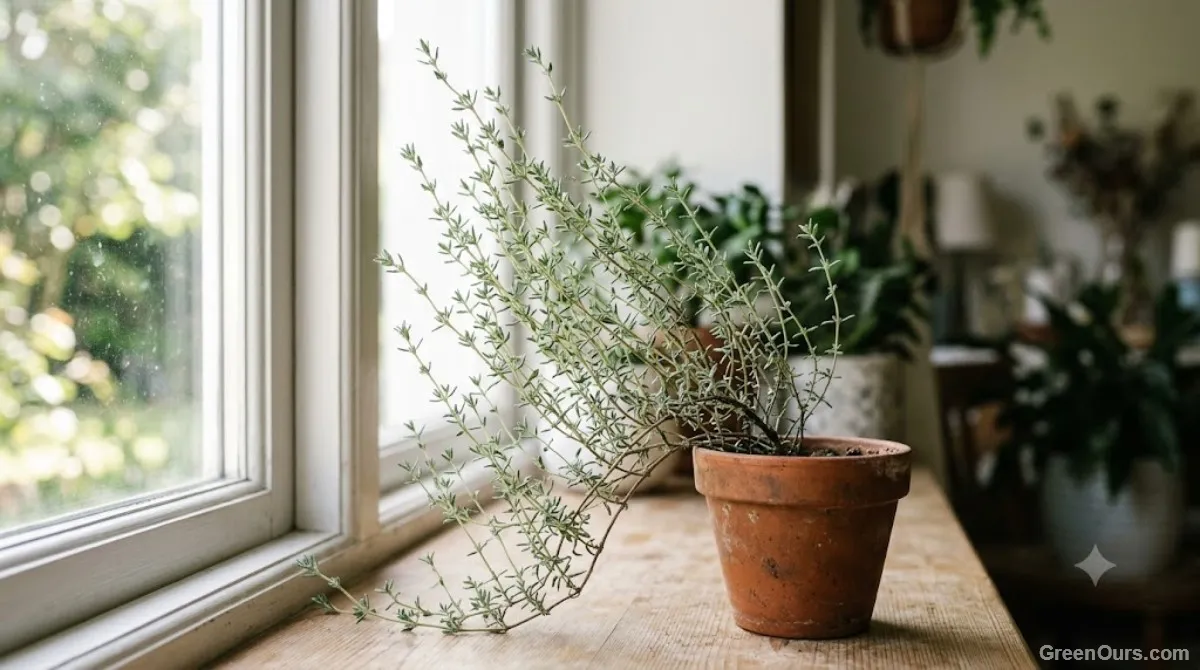
Thyme kept in a spot with just a few hours of indirect light will often survive for a while, but it won't thrive. You'll notice the stems stretching and stretching toward whatever light source is available, with sparse leaves and long gaps between them instead of the tight, bushy growth thyme is known for. Over time, a light-starved plant becomes weak enough that it can't recover from even minor stress.
Overcrowded Roots
Thyme can grow faster than most people expect, and a small starter pot can become root-bound within a single growing season. Once roots fill every bit of available space, the plant can't take up water efficiently even when you're watering correctly, and growth slows or stops. If you gently slide the plant out of its pot and see a dense tangle of roots circling the bottom, this is likely part of what's going on.
Root-bound thyme often shows a subtler symptom too: watering the plant seems to just run straight through the pot and out the drainage holes within seconds, without the soil actually absorbing much of it. That's usually a sign there's more root than soil left in there to hold moisture. At that point, a slightly bigger pot isn't a luxury — it's what lets the plant take up water at all.
Simple Fixes You Can Make Today
Start with the soil. If it's been staying wet, let it dry down substantially before watering again, and consider repotting into a mix that drains faster. Skip the saucer, or empty it within twenty minutes of watering so the roots aren't sitting in runoff.
Next, move the plant. If it's more than a few feet from a bright window, or if it's been living somewhere with only filtered light, relocate it to the sunniest spot you have. Outdoor spots that get direct afternoon sun work especially well once the weather cooperates.
Finally, size up the pot if needed. Move to a container just one or two inches (2.5 to 5 cm) larger in diameter, not a dramatically bigger one — thyme actually prefers being slightly snug, and an oversized pot holds more moisture than the roots can use, which brings you right back to the drainage problem.
Trim away dead growth while you're at it, but avoid cutting back into old, leafless wood, since thyme often won't resprout from it. A light prune above the leaves encourages fresh green shoots.
Keep an eye on the soil for the first couple of weeks after making changes, since that's when old habits are easiest to slip back into. Before each watering, check the upper soil and lift the pot to feel its weight — a dry pot feels noticeably lighter. How quickly thyme dries out depends on pot size, mix, temperature, and light, so let those cues guide you instead of a fixed schedule.
When It's Time to Take Cuttings Instead
Most struggling thyme can be helped, but not all of it can. A plant may be past saving if the stems are brown and brittle all the way through, the roots are mostly black and mushy, rot at the soil line keeps spreading after you've fixed the conditions, or there's no healthy green tissue left.
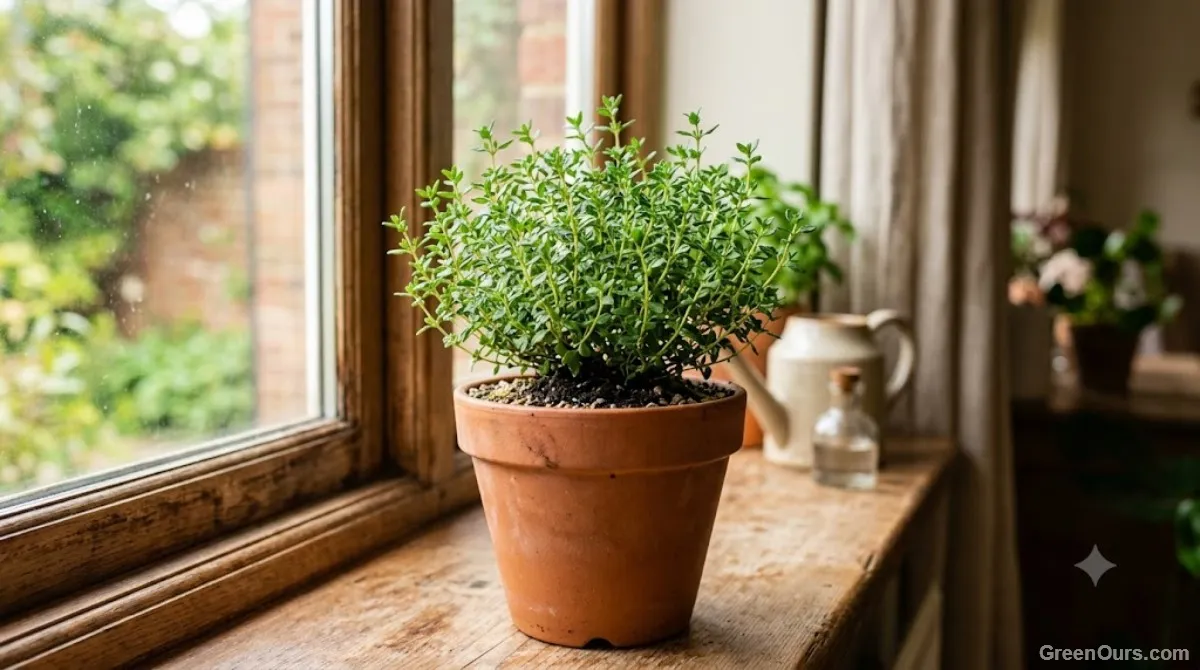
If any firm, green stems remain, take a few cuttings about 3 to 4 inches (8 to 10 cm) long, strip the lower leaves, and root them in a gritty mix or a glass of water. Starting fresh from healthy cuttings is often easier than nursing a plant whose roots have failed.
Where to Start
If you only do one thing this week, tip the plant out of its pot and look at the roots, then check that water drains freely from the bottom. Those two checks tell you a lot before you change anything else.
Give it a few weeks after making changes before you judge the results. Thyme is slow to show recovery, but once the roots are breathing and the light is right, you'll start seeing small, tender new growth at the tips — and that's the clearest sign your plant has turned a corner.
Ready to give your thyme a fresh start? Check the roots and the drainage this weekend.